
After two typewriters in good condition obtained in April 2017, I was ready for something else for machine number 3. I found on eBay a 1913 Royal 5 1 and I decided to get it. Shipping was about the same as the price of the machine itself, but I just liked the look of the machine and the idea of a challenge!
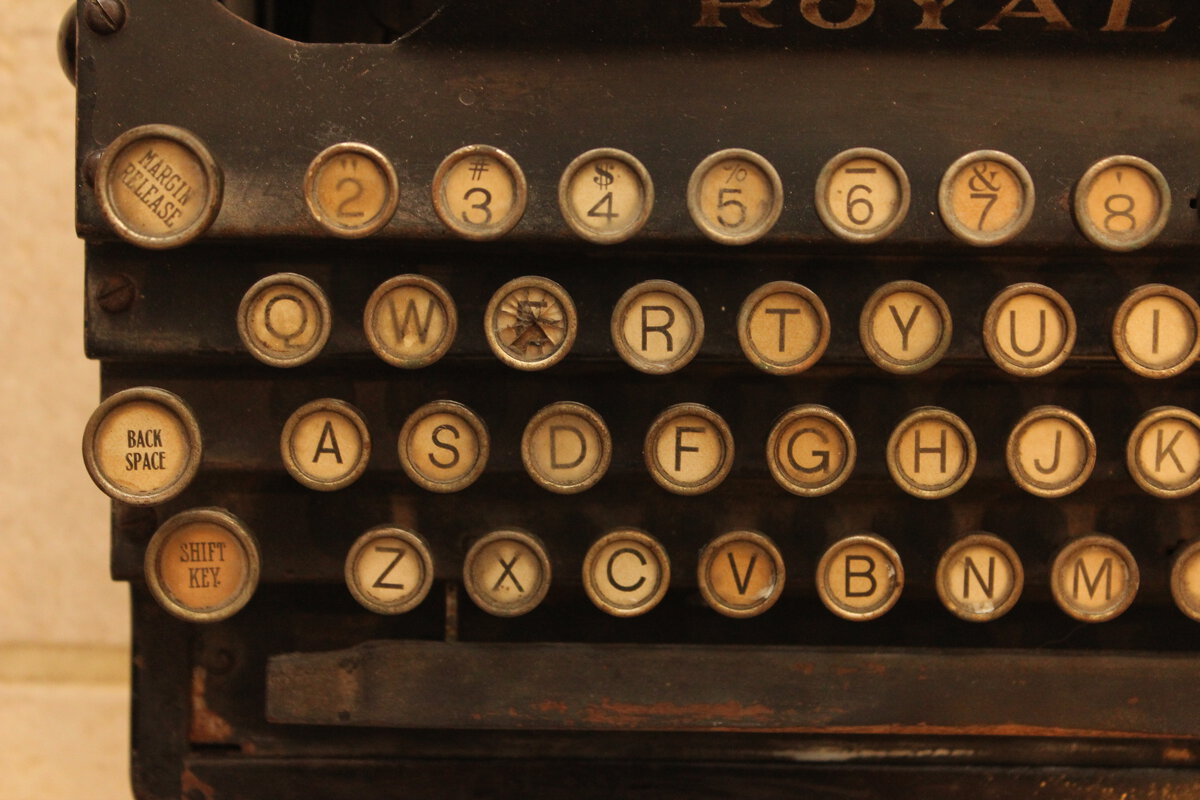
Indeed, this machine was not great when I got it: the carriage was very rusty, the internals were extremely filthy, a platen knob was broken, and the letter “E”’s glass was shattered. It was missing the draw band and a rubber foot (the other 3 feet were in bad shape). It didn’t work at all. When I got it and took the first pictures, I thought that there was some beauty in its degradation, but I just couldn’t let it stay this way!
Soon after receiving the machine, I started cleaning it. I removed the carriage (which was fairly easy after my experience with the KHM), dunked it into Evapo-Rust, removed all the panels, used PB Blaster to clean the inside, etc. I also made my first mistake: while cleaning the exterior, I made some of the decals worse. Live and learn! But to be fair, they were covered in grime and shellac and whatnot, which appears to be typical for Royal 5s.
In October 2017, I cleaned the keys, which look surprisingly good now, and sanded the space bar, whose paint was flaking. I plan to keep the wood look, as I think it looks pretty good. I might coat it if I can figure out how.
At the same time, I realized that the carriage was missing its feed roller entirely! That’s something I hadn’t noticed at all when acquiring the machine. But, checking pictures, there was no doubt: the machine had been missing that part since the beginning. No matter how well I would clean it, it wouldn’t work without that feed roller. So I put the project on a break.
In May 2018, thanks to the magic of a Facebook group and a kind donor, I obtained a set of spare parts for Royal 5 which happened to include said feed roller, platen knobs (one of the original ones was broken), and even a screw which I was missing! So I had all the parts needed to fix the machine!
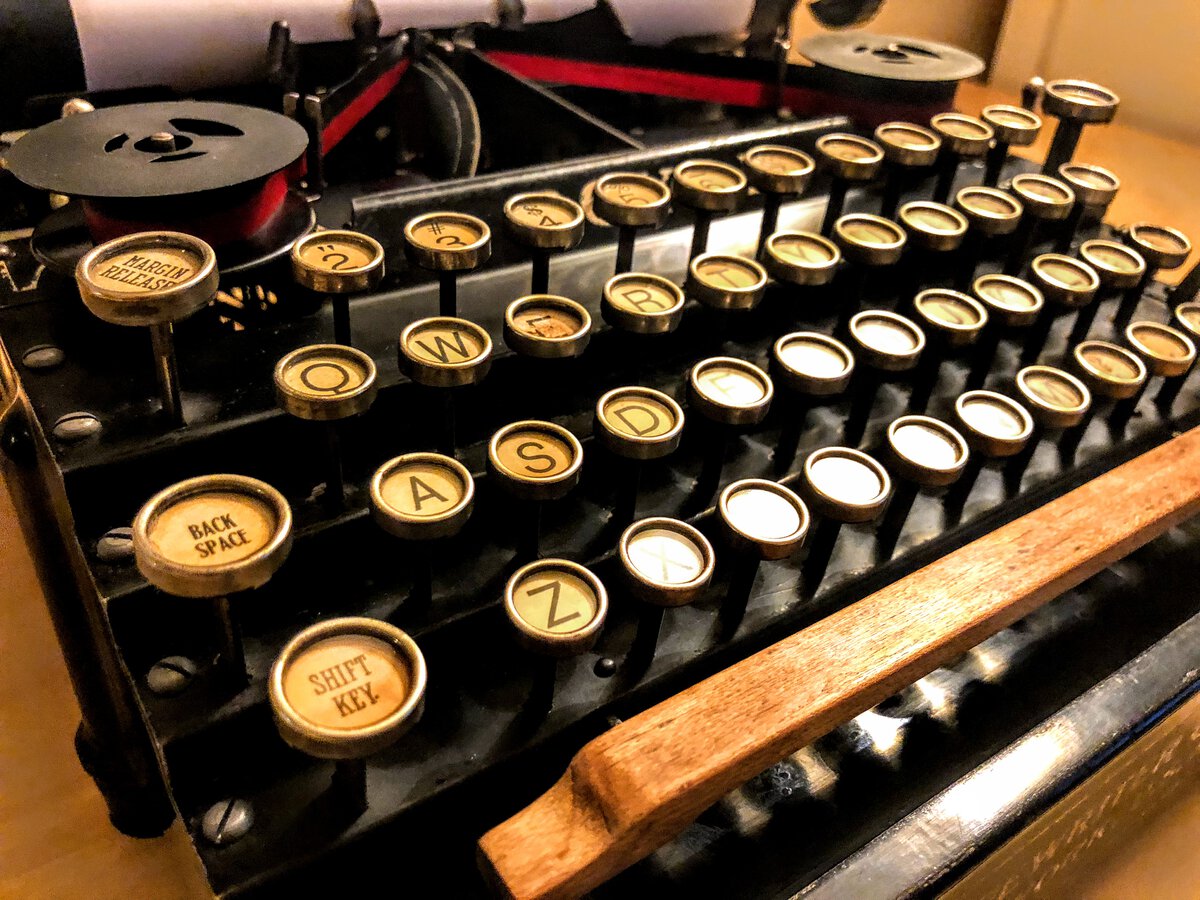
And so, on a nice day in August 2018, the machine typed again! I even installed some new rubber feet and made a new typebar rest with felt. Now, it doesn’t type perfectly yet. The carriage is a bit wobbly. With shift lock, the carriage gets stuck about halfway through the line. I am not sure if increasing the spring tension will help. But even with these issues, it is possible to type a page pretty nicely. I have already used the machine to write several daily journal entries.
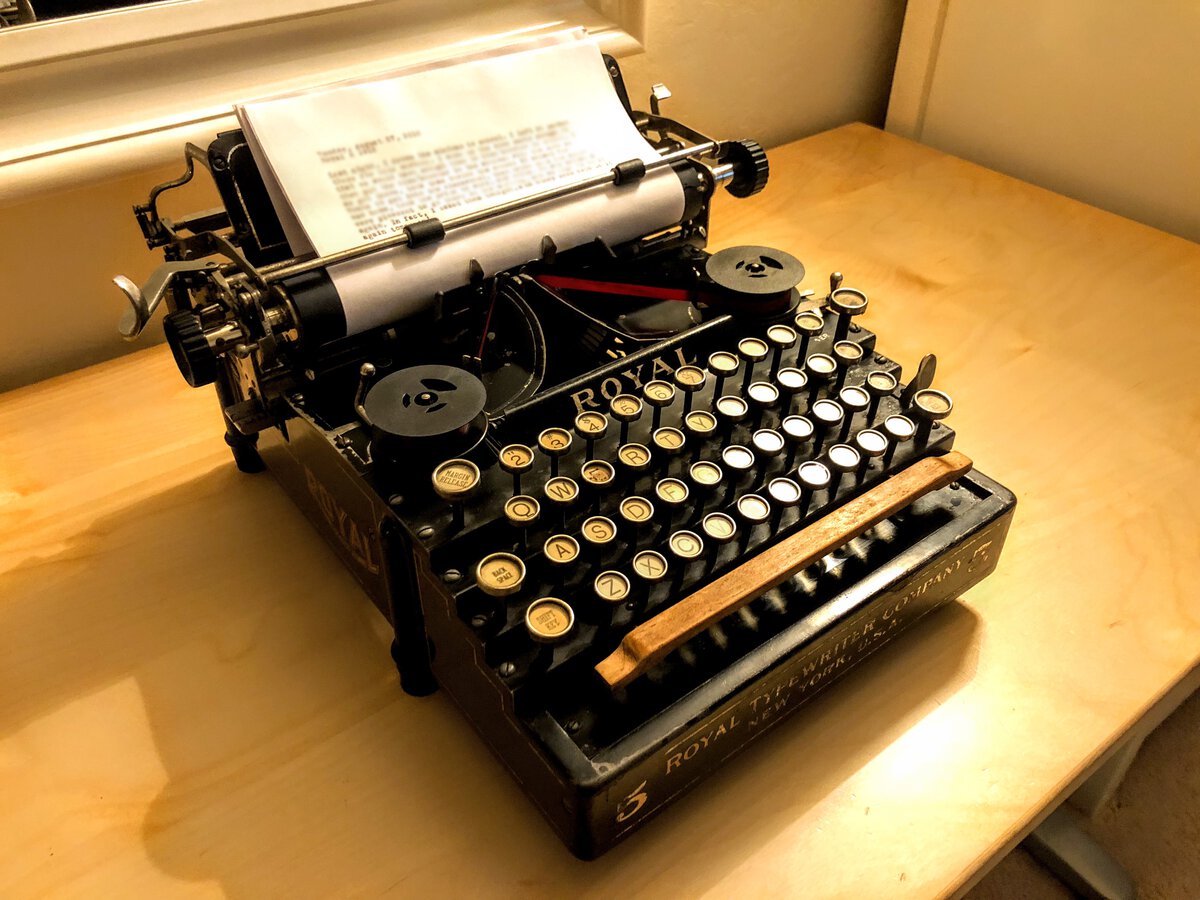
I for one find this machine quite fascinating. Its flat look is striking, of course, but the way the keys slide through the keyboard panels and pull the typebars is also unique. It is relatively simple mechanically but rock-solid: think that a cleaning and replacing a couple of broken parts was enough to make it type again - in two colors, and even with a tabulator!
This said, this Royal 5 is not what I would call “restored” yet. There are a few things I would like to do:
- Restore the “E” key. I made an acrylic replacement for the broken glass and printed a neat “E” letter, so I am almost there.
- Repaint the two panels that cover the basket. Those had some rust originally, and the paint started flaking while cleaning. I tried some replacement panels that I got with the lot of spare parts, but those don’t quite fit for some reason! It might have been possible to salvage the original ones, but I decided instead to repaint them. I have already stripped the panels of their paint (which means that they have started to rust again). After painting, ideally, I should reproduce the pinstripes.
- Clean the paper table. I only dusted it so far. I need to be careful here, as the decal is in reasonable condition.
- Replace the bail rollers. The rubber on this machine is bad in general, but these rollers are badly cracked and need replacing. Maybe I should bite the bullet and replace all the rubber.
- Repaint the panels under the keys. Here too some paint has flaked and rust is taking over. I’d like to repaint these panels, which means removing all the keys! Some people have done it, but it’s not exactly quick.
- Restore some of the decals and pinstripes. Those on the right side and front of the machine are in bad shape.
I hope to have updates on the progress of this restoration soon!
More:
Royal came up with their Royal Standard (later rebaptized No. 1) in 1906, and improved on it with the Royal 5 in 1910. These machines are sometimes called “flatbeds” because of their distinctively low profile. It appears that people (or businesses) didn’t exactly love the look and, starting with the beautiful Royal 10 in 1913, the company started making machines that looked more like other successful machines on the market like the Underwood or the Remington. ↩
Comments powered by Disqus.