
Introduction
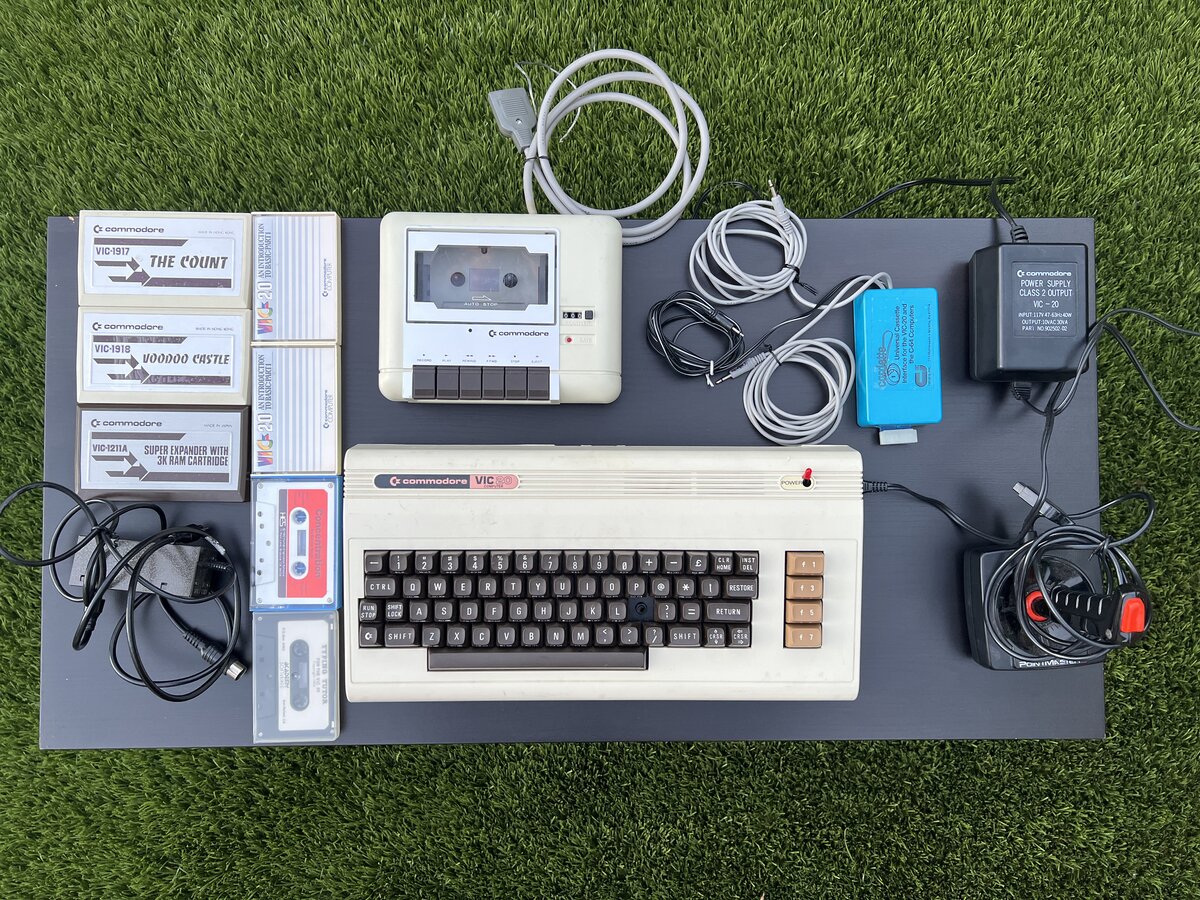
In late 2023, I acquired a Commodore VIC-20 computer. I had been thinking about getting one (or a Commodore 64) if I could get a good deal, and this was one. It came with a few cartridges, including a Super Expander memory expansion cartridge, a Datasette with a few tapes, a joystick, the TV modulator, and several books and manual!
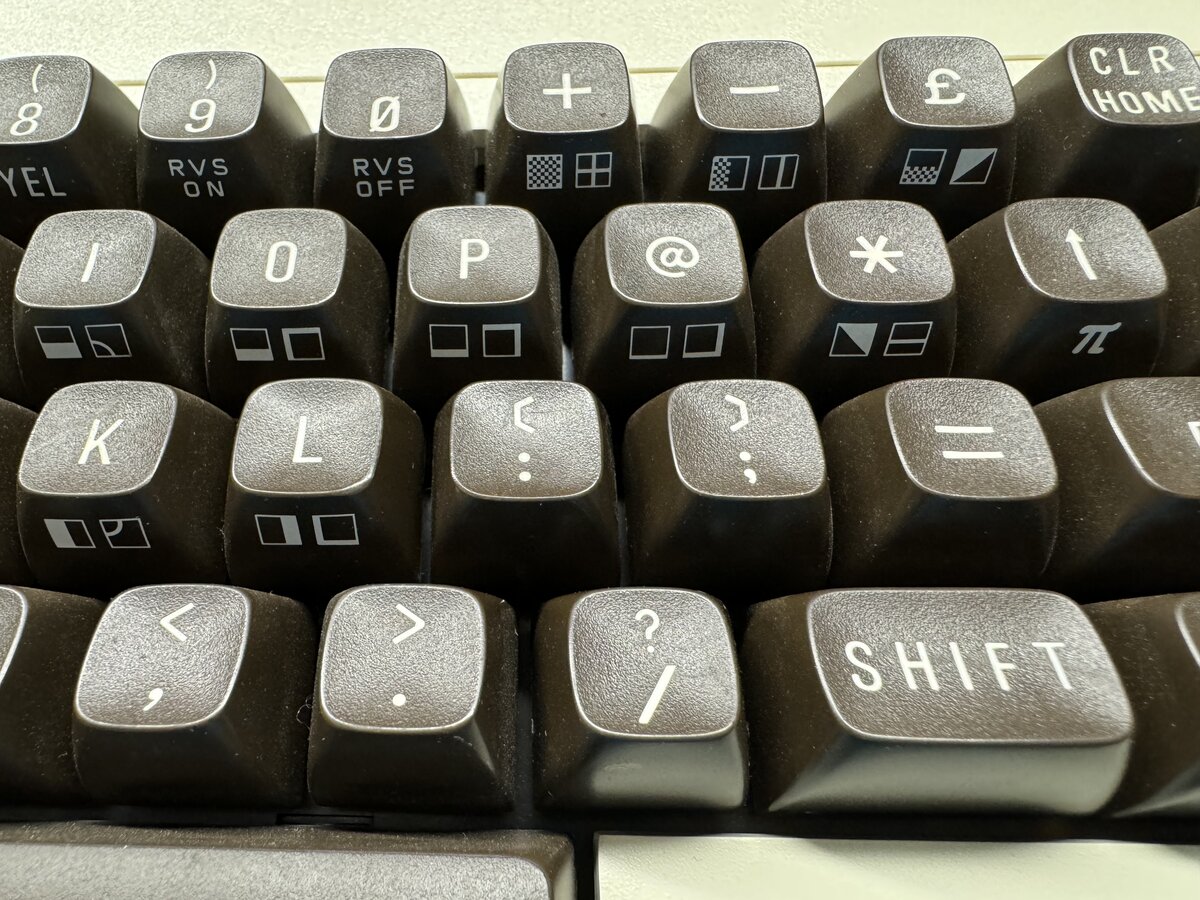
The VIC-20 had a broken (/: key. In fact, the key cap was missing and the key stem was broken. So I ordered a replacement part from retroleum.co.uk.
Removing the old key
To replace the key, you must:
- open the VIC-20
- partially disassemble the keyboard
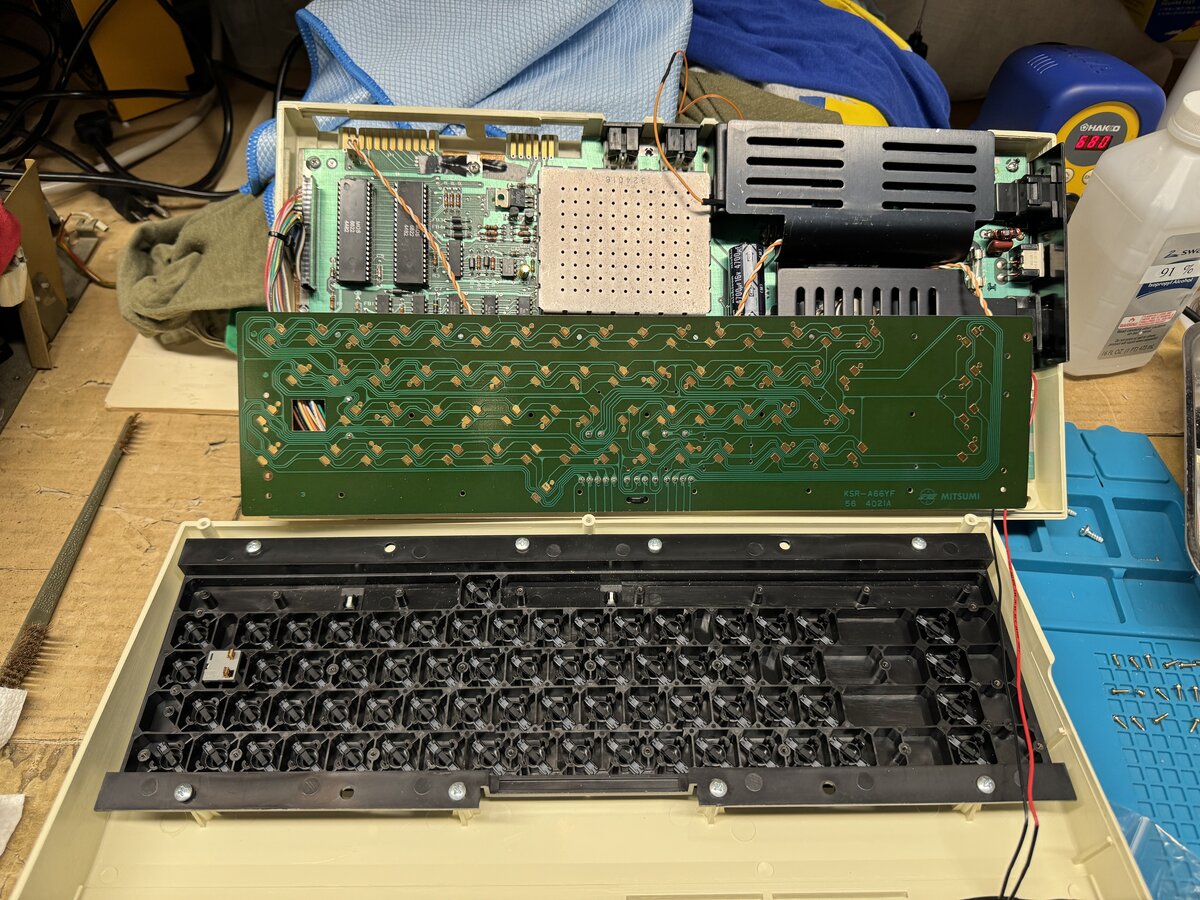
The VIC-20 is very easy to open: just remove the screws at the bottom of the case, and the two parts of the case can be separated.
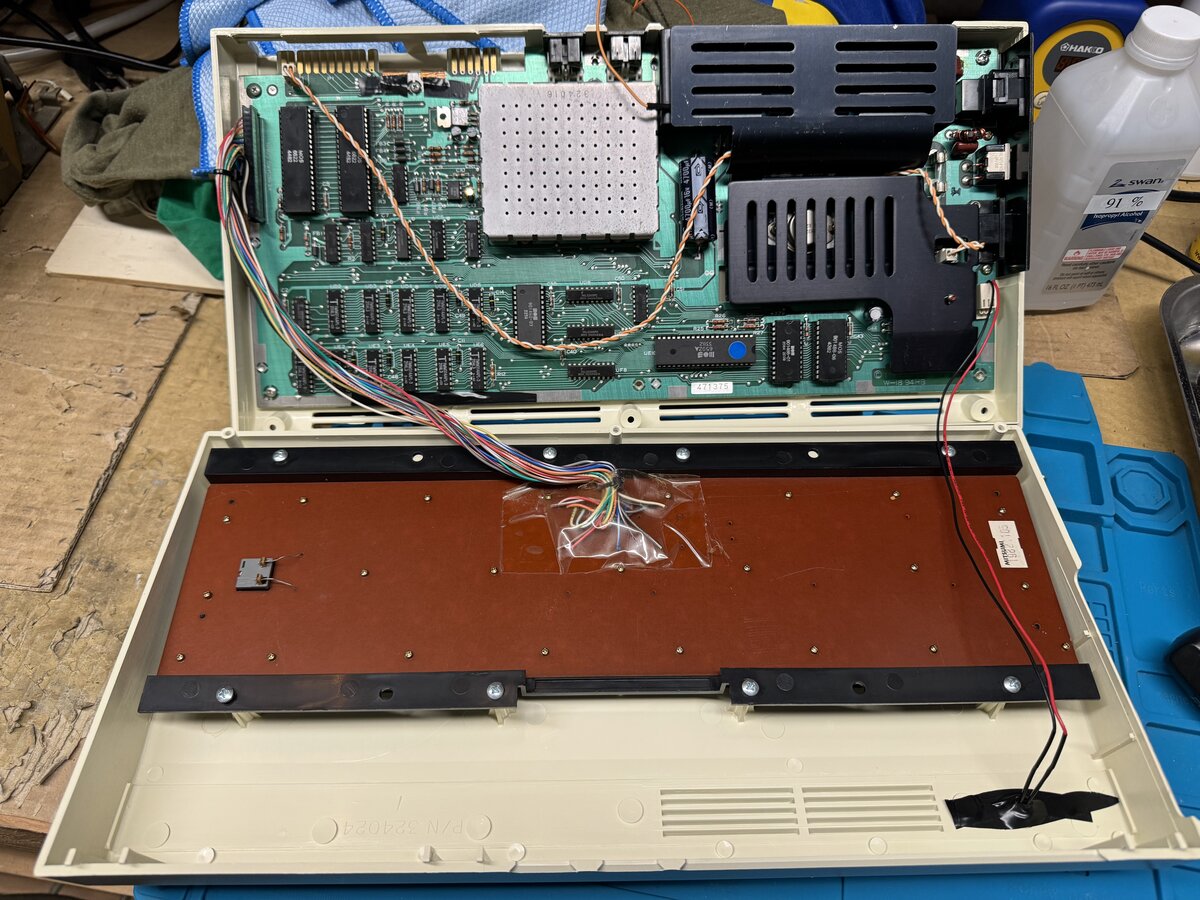
NOTE: For cleaning, and out of curiosity, I removed the entire keyboard from the case, which is why you see the keyboard try out of the computer on some pictures. But this is not strictly necessary just to replace the key.
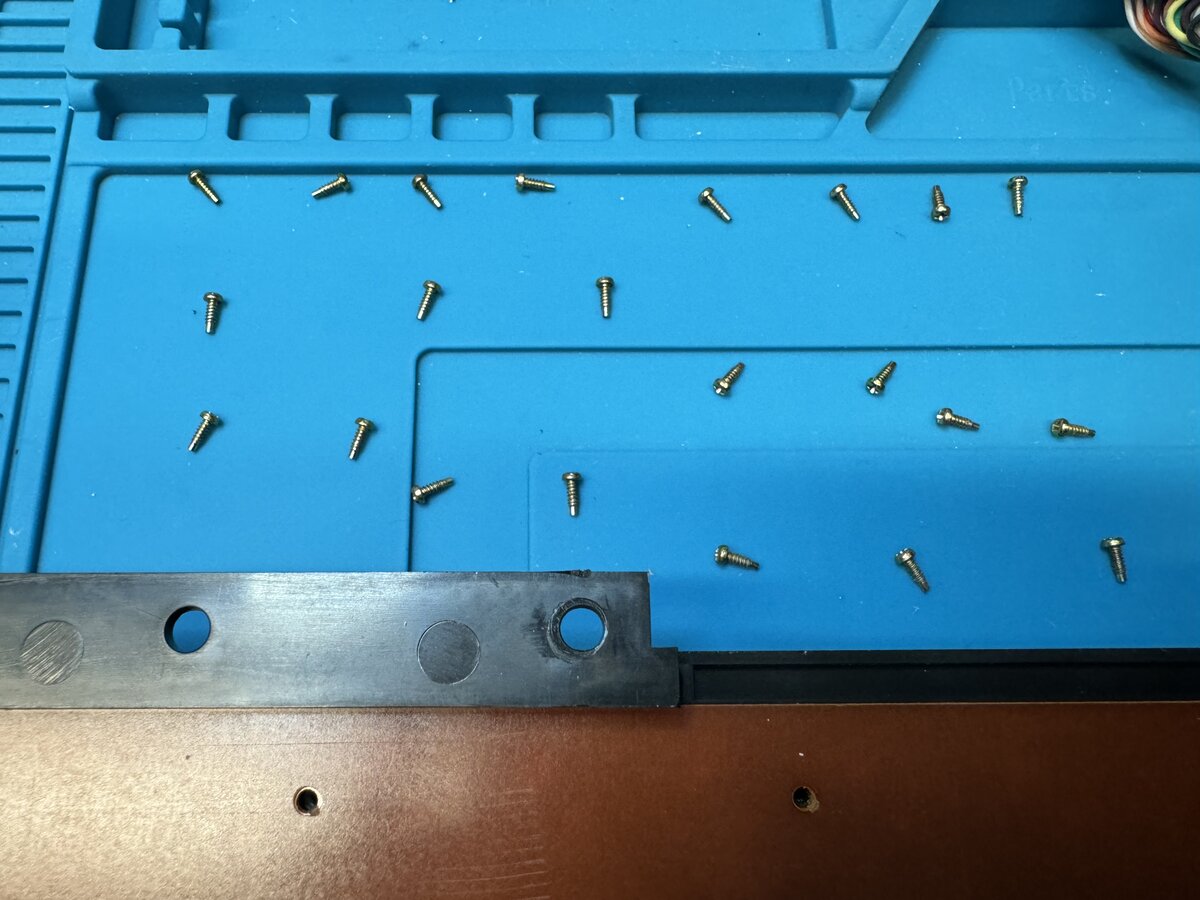
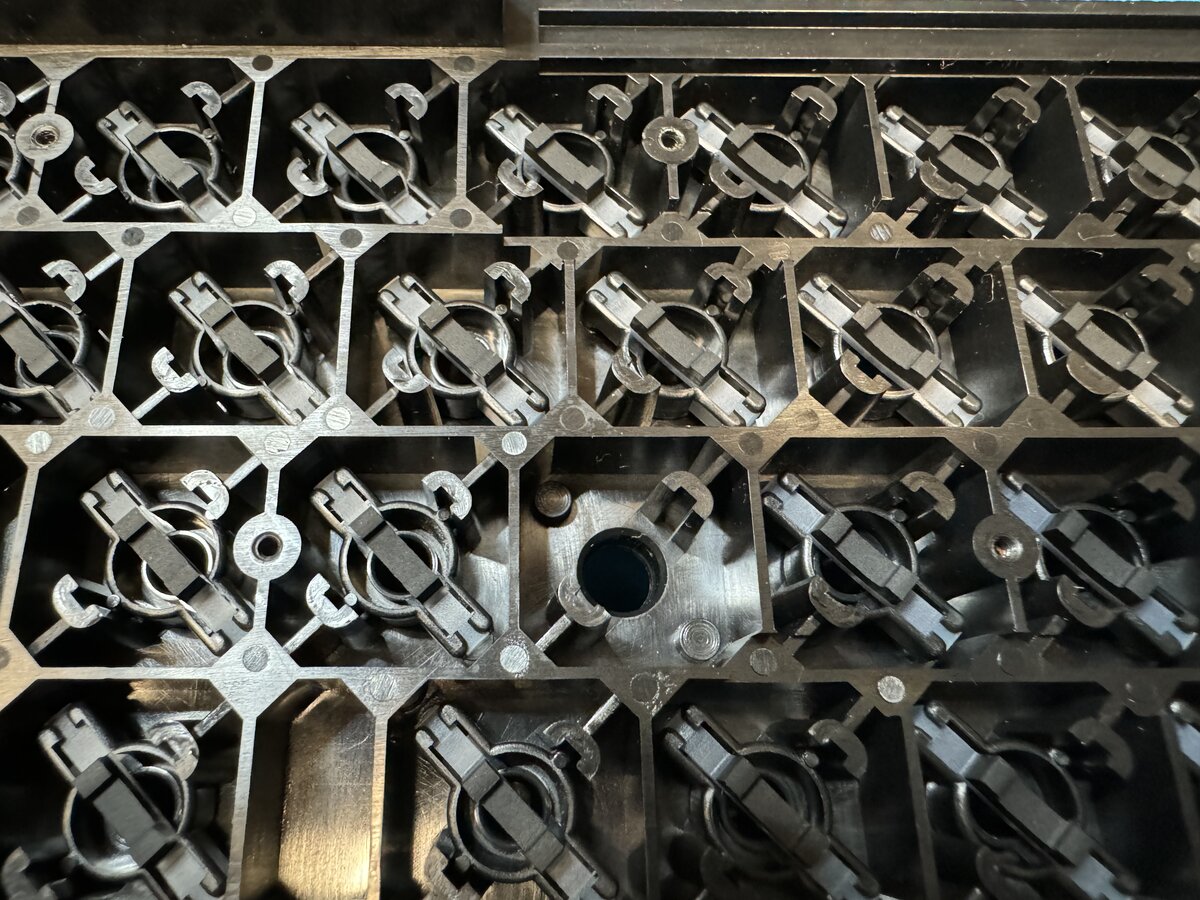
To access the inside of the keyboard, you have to remove all the screws holding the PCB in place. You might have to partially lift the transparent sticky tape that secures the keyboard wires in place to access some of the screws. There is no need to completely remove that tape.
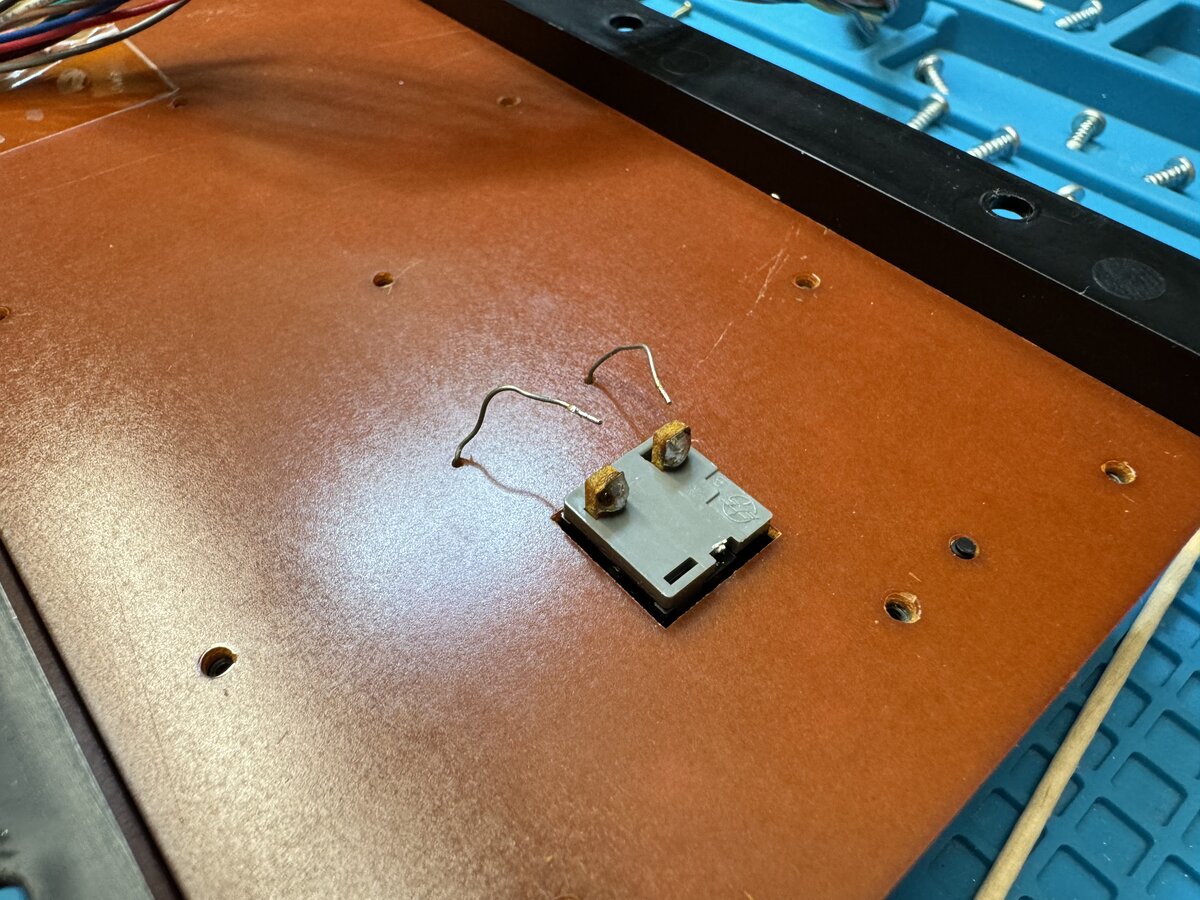
You also have to desolder the two wires for the RUN/STOP key, which is handled specially.
You can then lift the PCB.
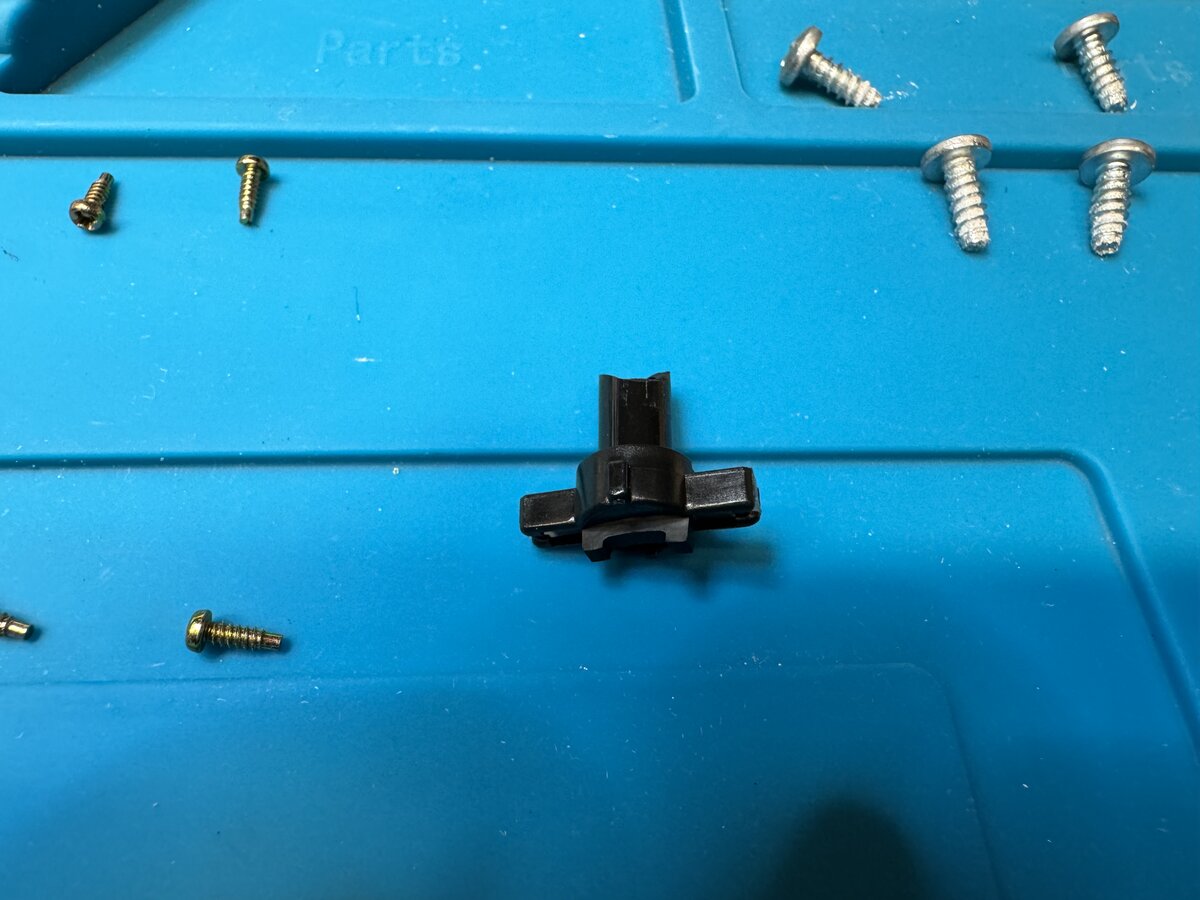
I just took the broken plunger out.
Installing the new key
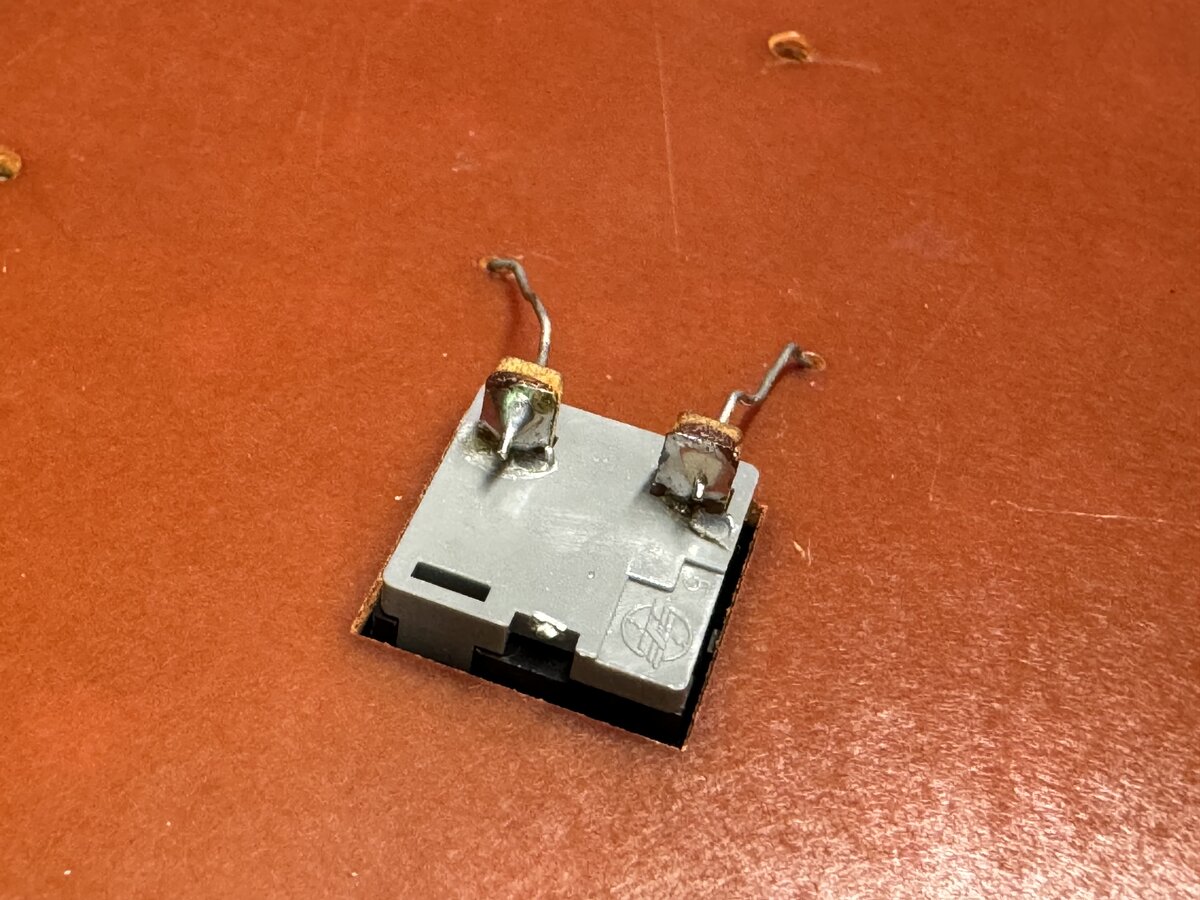
The replacement key came with key cap, plunger and spring.
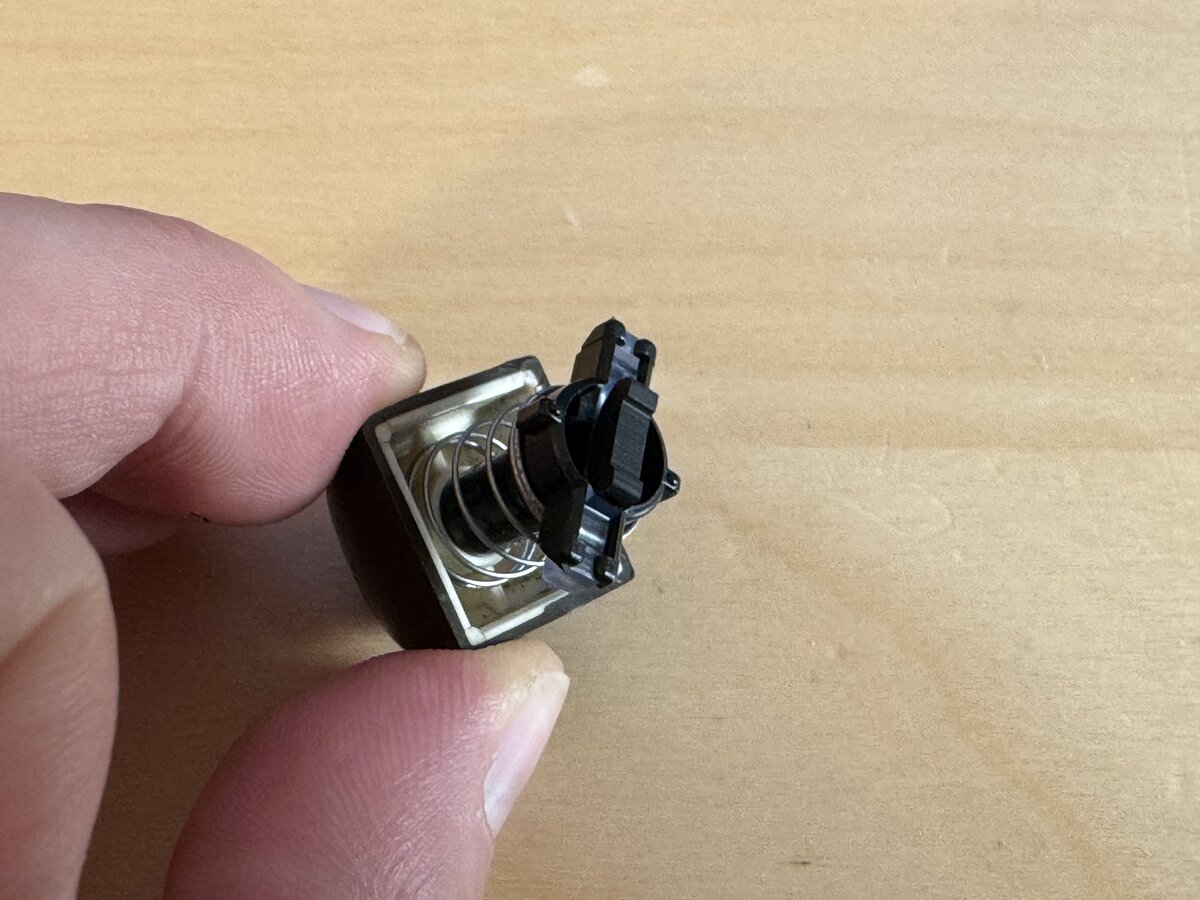
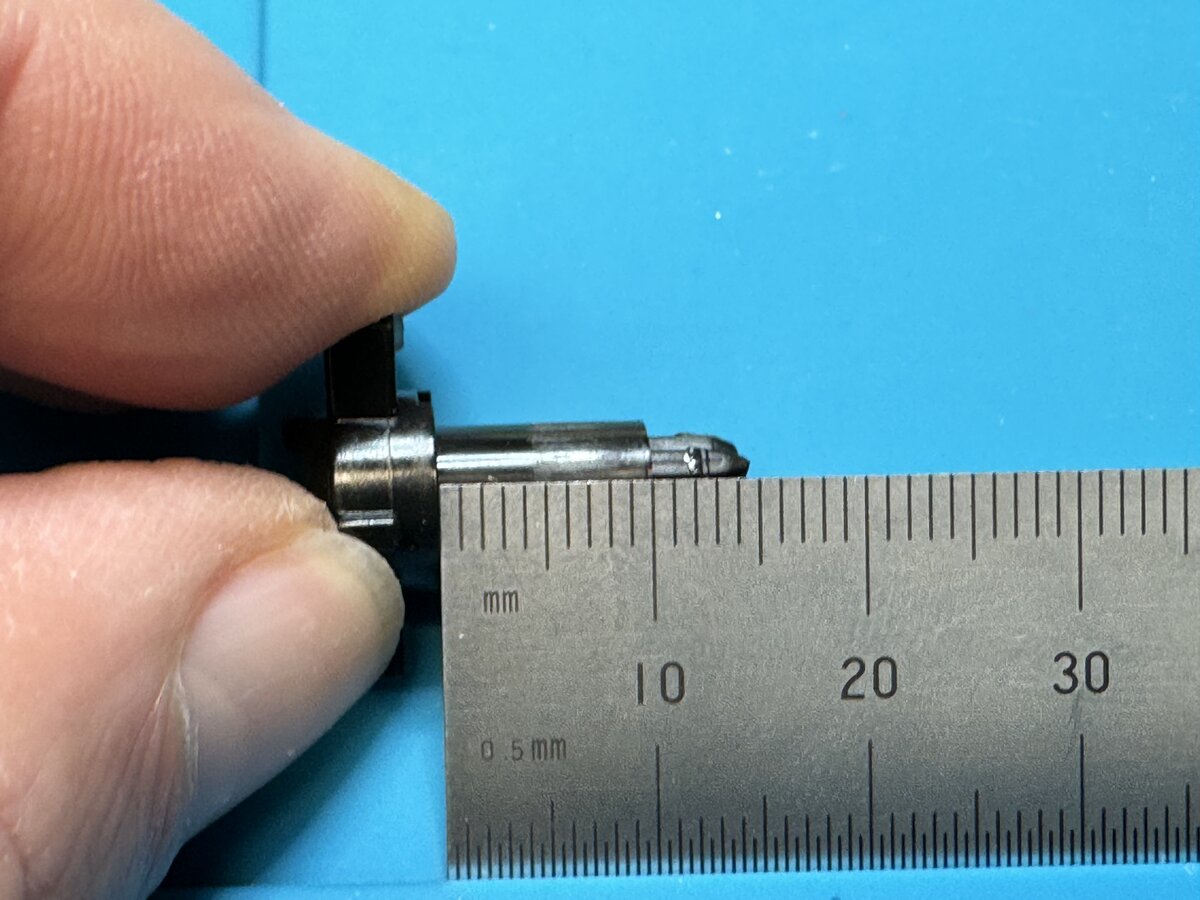
There are different plunger sizes, so you need to make sure your replacement has the right size. I had determined, when ordering from Retroleum, that I probably had a Type 1 key, and luckily that was correct. Here is the size that fits my VIC-20.
Each key plunger fits into its own little compartment.
After installing the new key, you have to put back the PCB, screw back all the screws, and resolder the two wires for the RUN/STOP key.
You can then close the VIC-20. I had ordered a “Grade 1.5 - Minimal Yellowing” key from Retroleum, and that turned out to be a perfect match.
Conclusion
This was an easy fix, and the VIC-20 looks great after this replacement and an overall cleaning.

Comments powered by Disqus.