
Introduction
Concurrently with my work on the 1979 TeleVideo TVI-912, I acquired a TeleVideo TS-800A.
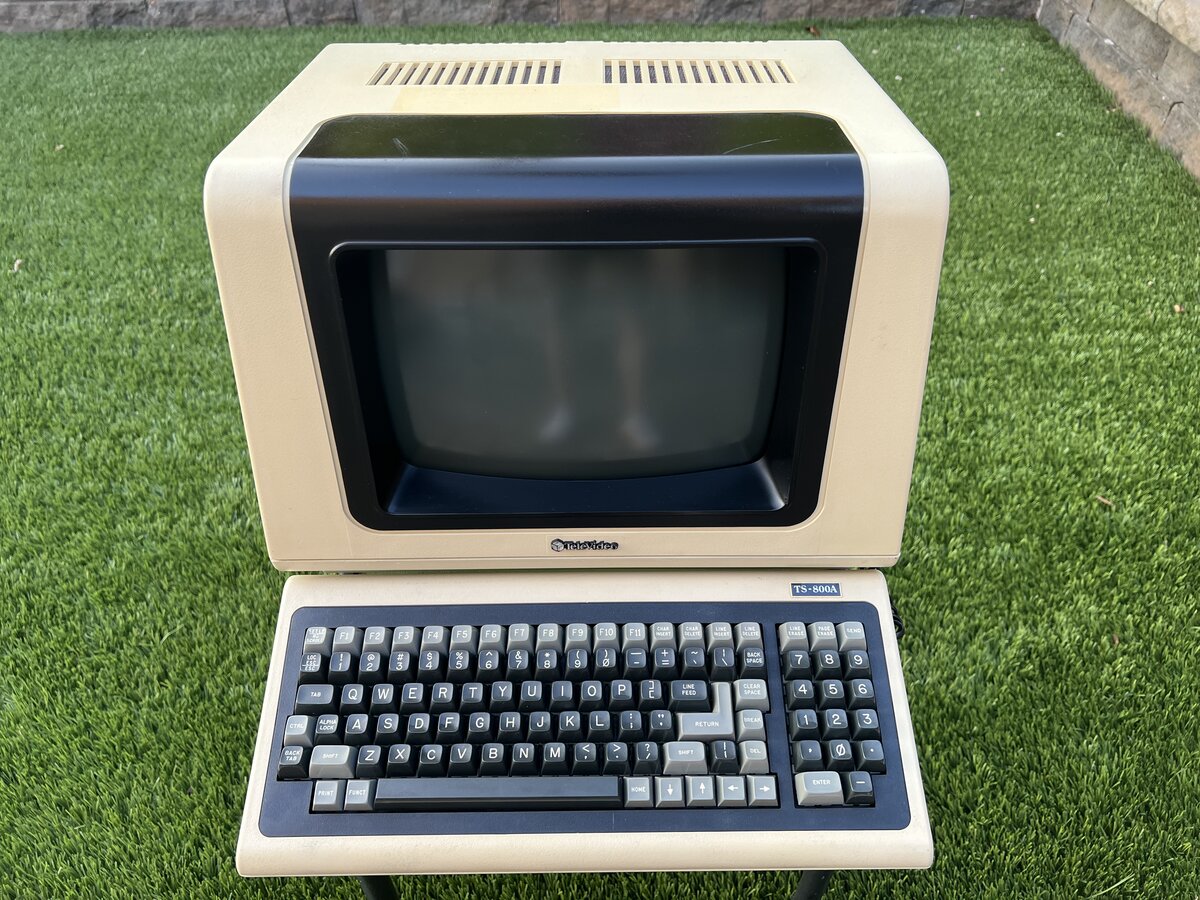
The full name of the device is “TeleVideo TS 800A Satellite User Station”. In the early 1980s, TeleVideo started building CP/M computers. Some were standalone, but the 800A has the particularity of having no local drives: neither hard drives, nor floppy drives. Instead, the 800A downloads its OS over an RS-422 port, which can go up to 10 MBit/s (although I don’t know how fast the 800A actually supports 1). This, therefore, requires a central TeleVideo system to download the OS as well as access remote drives and printers. Other models did come with floppy and other local drives.
From the manual:
The TS 800A is a tabletop computer that contains:
- A Z80A microprocessor
- 64K of RAM memory
- A 4K EPROM for diagnostics
- An integral terminal with the capabilities of a Model 950
The microprocessor within the TS 800A will be referred to as the internal processor. All I/O ports operate through this internal processor, enabling you to use all standard CP/M function commands.
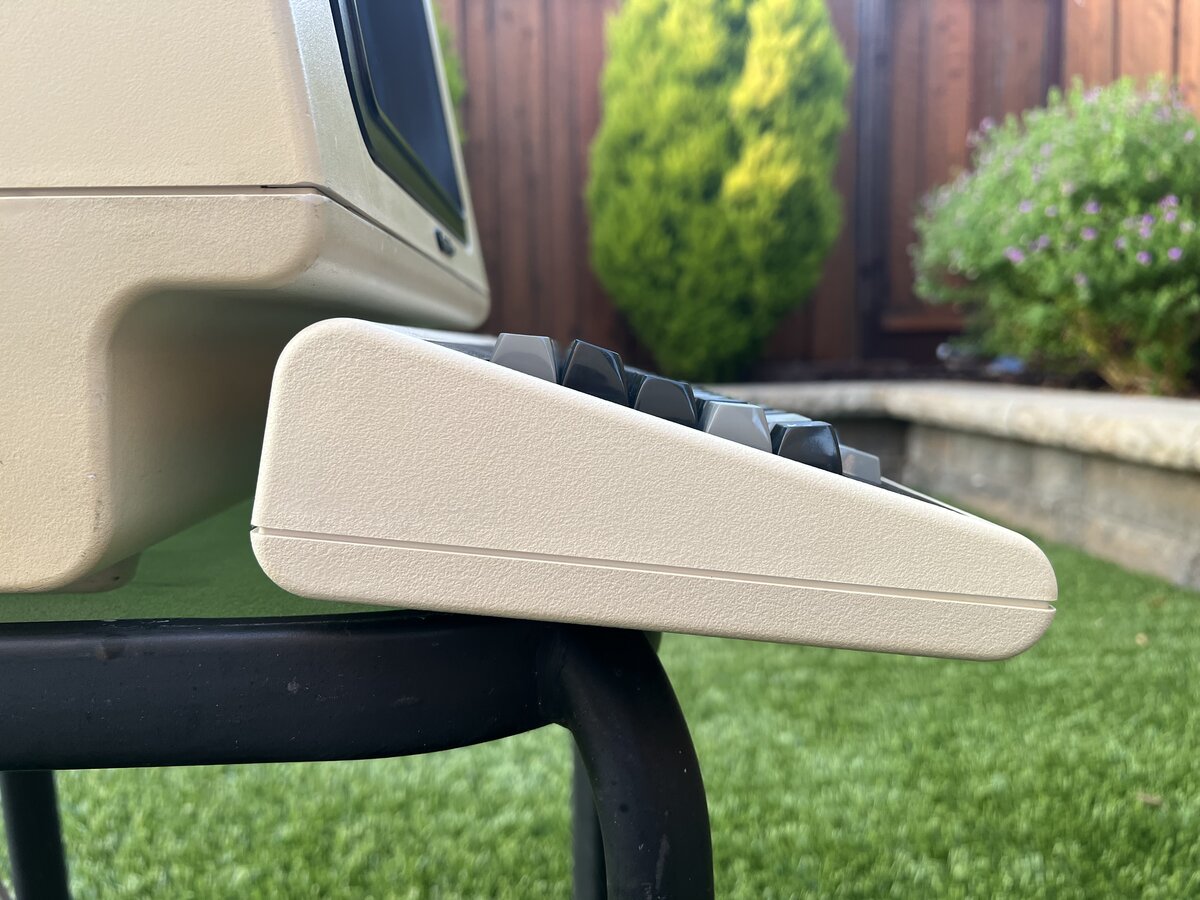
The integral terminal has a nonglare, tiltable screen and detached Selectric-style keyboard for optimum user comfort. Deluxe terminal features such as special graphics, protected fields, visual attributes, and programmable function keys provide additional flexibility.
Unsurprisingly, the terminal itself is more sophisticated than the TVI-912 (which was TeleVideo’s first model). For example, it has a status bar at the bottom, and allows switching from green on black to black on green. The above describes it as compatible with the TeleVideo 950.
Since using the machine as a computer requires figuring out an undocumented protocol,2 in the short term I will only care about using it as a terminal, even though getting the CP/M part to work would be really cool!
Initial condition
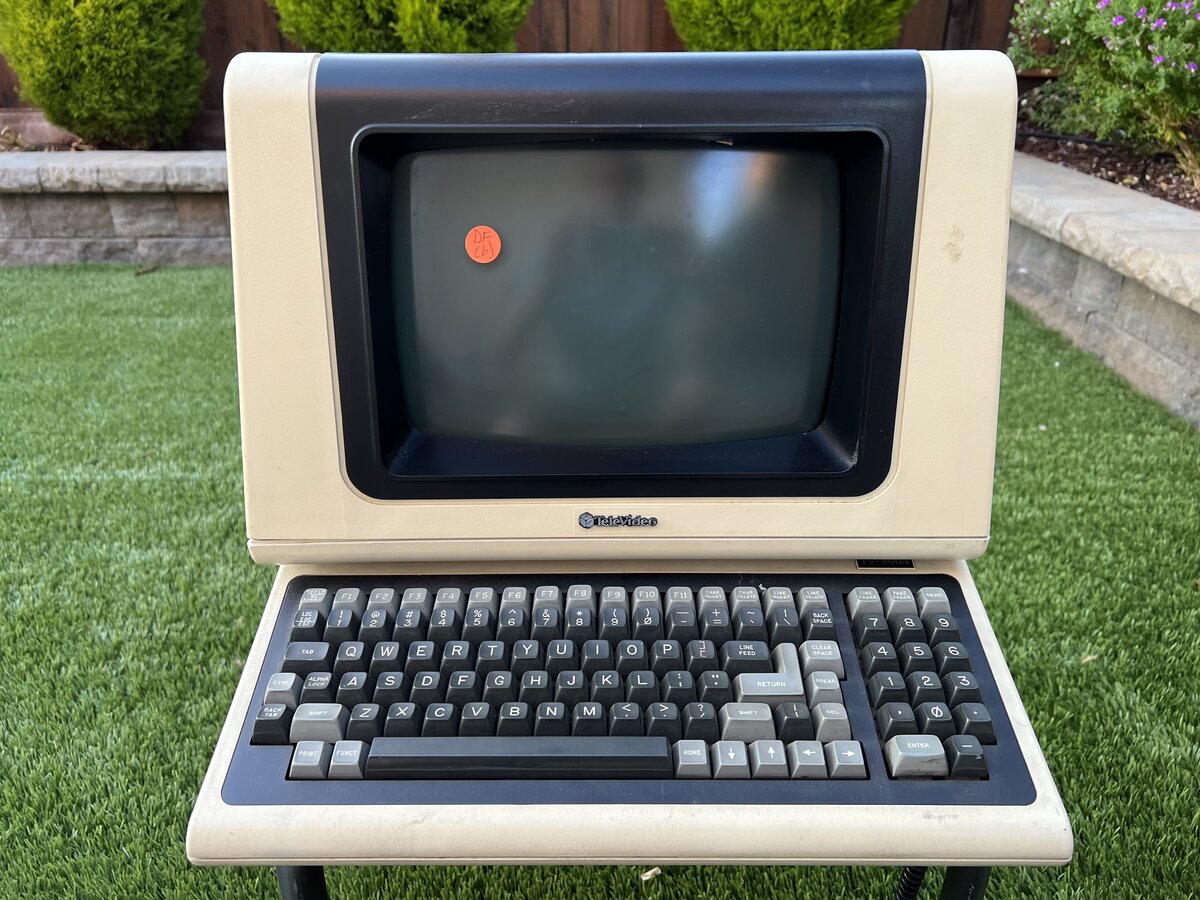
I bought the terminal online, which was a gamble, but it arrived mostly cosmetically intact. The seller said that the terminal should turn on and show something on screen, but when I tried doing so, nothing happened on screen. The terminal did emit a satisfactory beep, indicative of a good main board, however. My first worry was that something dramatic might have happened to the CRT during shipping, but the tube filament was lighting up. There was also a worrying rattling noise inside when moving the machine around!
I started by taking “before” pictures.
There was a sticker on top:
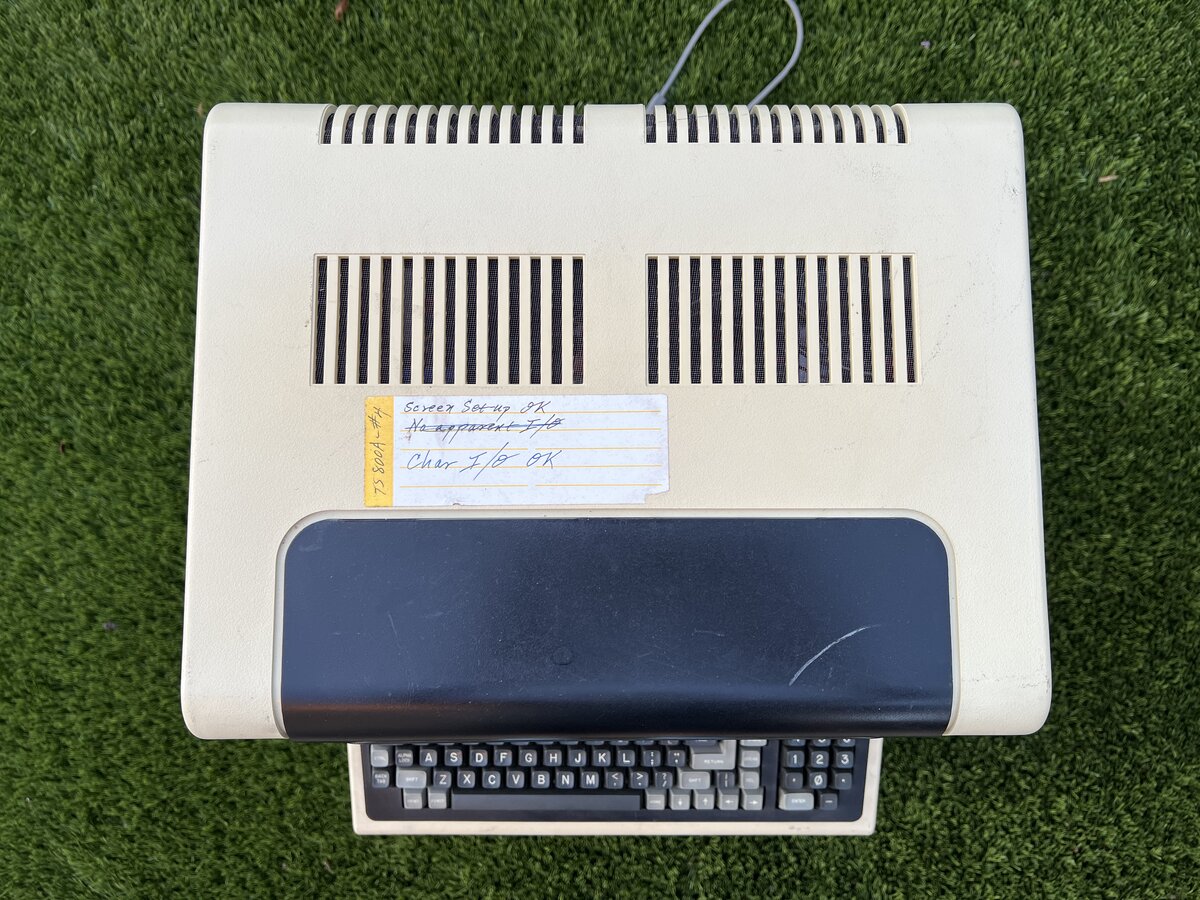
The top case was not properly set (or got dislodged during shipping):
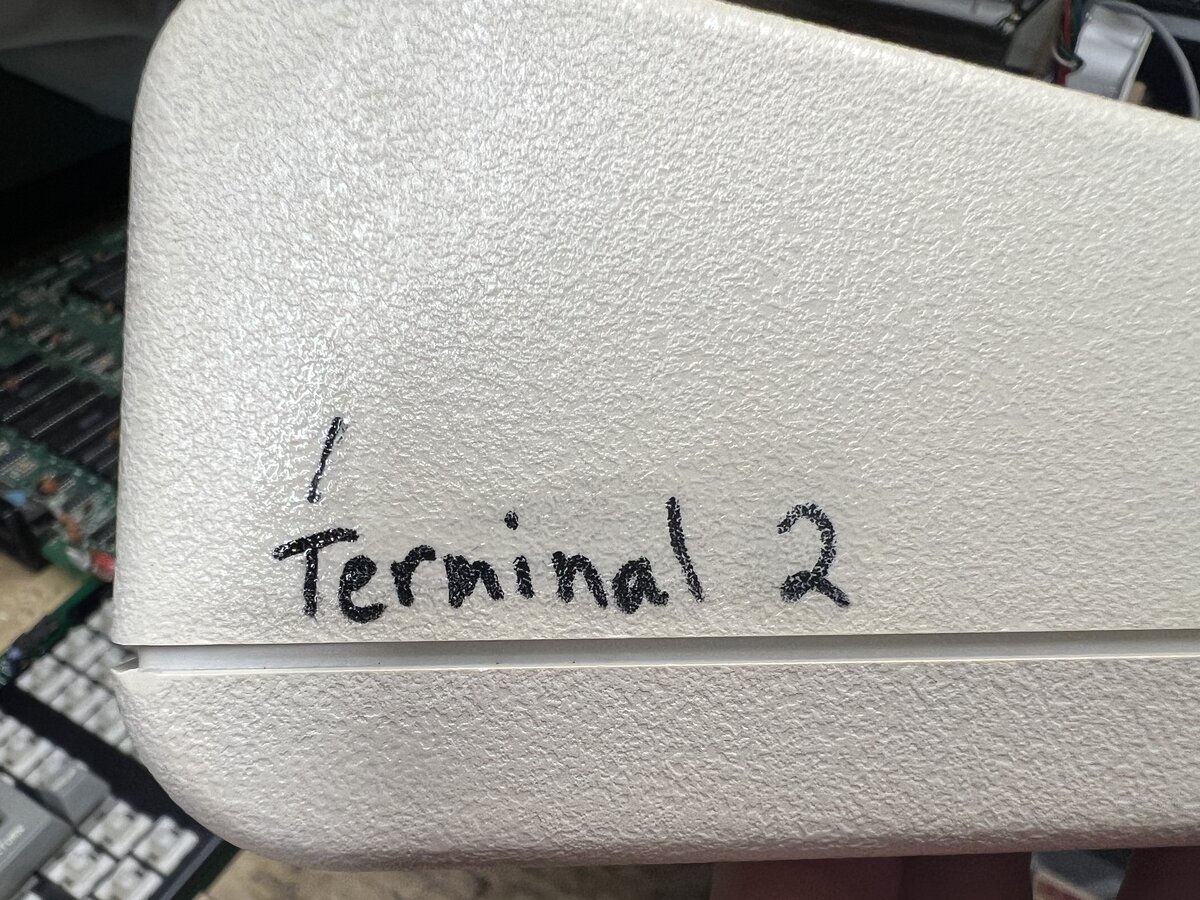
There was a historical, but ugly, marking on the side of the keyboard:
Dating
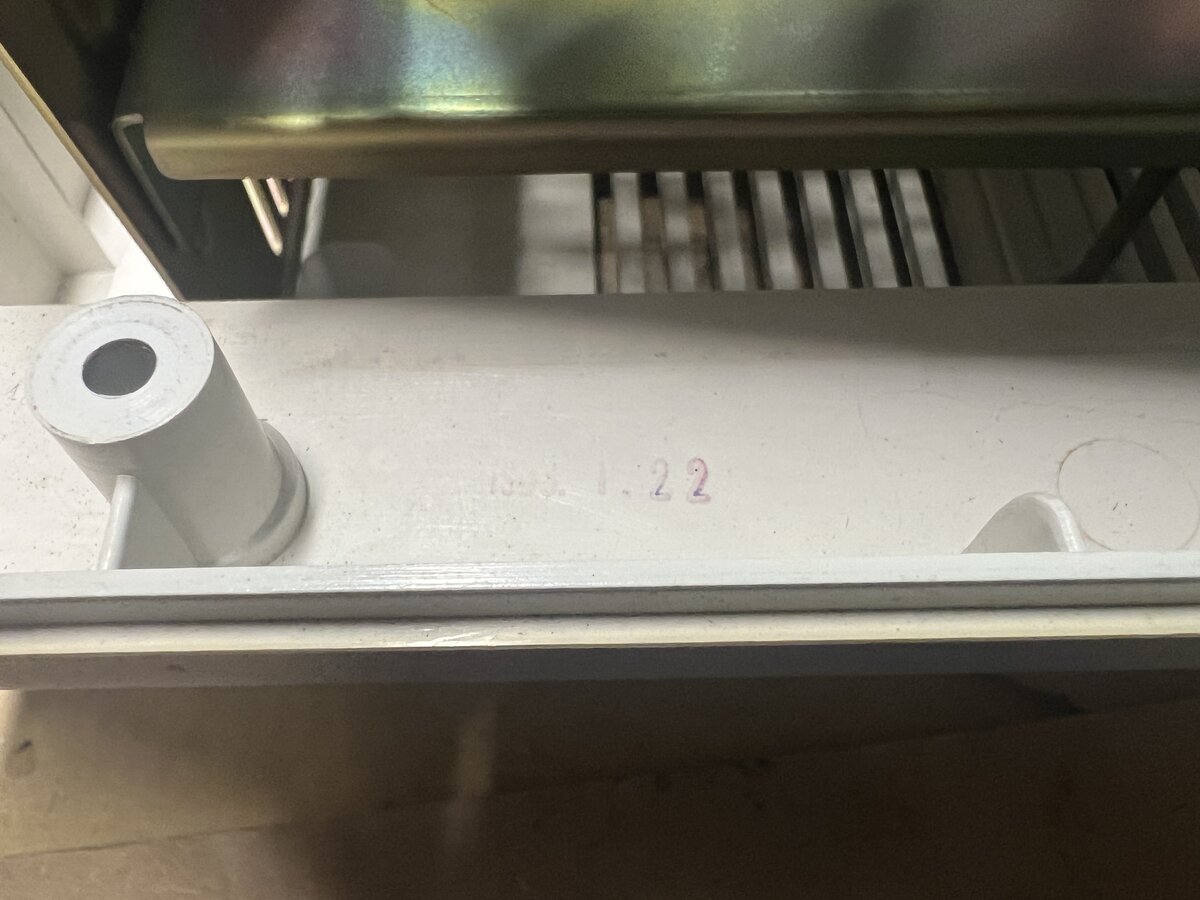
The terminal was probably manufactured in 1983, as the inside of the case is stamped 1983.1.22 (or 1983.11.22?):
The manual I found online is dated 1982.
Getting started
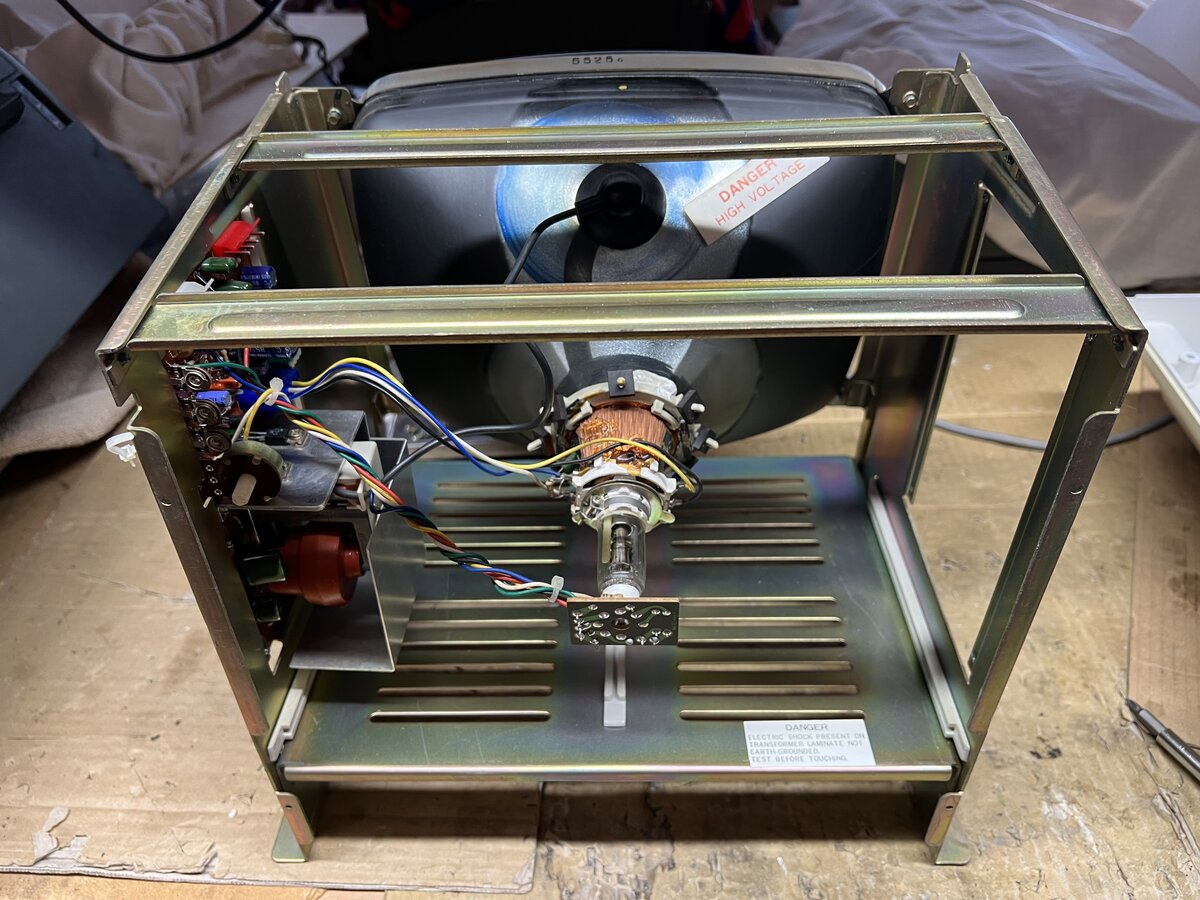
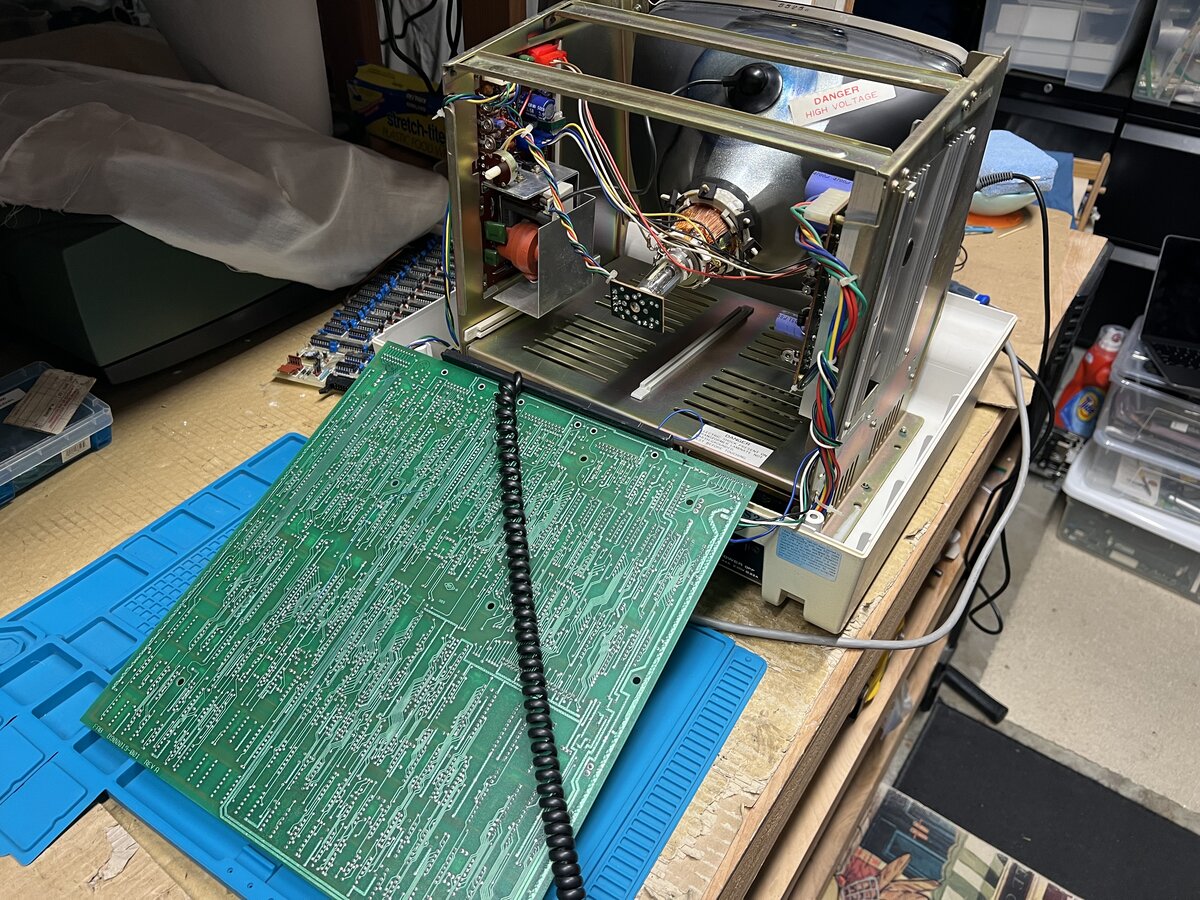
Opening the terminal is easy, with 4 large screws under the machine. The power supply board and the video control board look almost identical to the TVI-912’s. But here the CRT and the boards are attached to a pretty nice and sturdy metal frame inside the machine. It’s really pretty cool looking! Here is a picture I took later in the process, after removing the main board:
I quickly found that the rattling noise was caused by 2 loose screws inside the case. I don’t know where those should go, if anywhere, but I was relieved to see that the sound was not caused by something more serious.
You can slide out the main board only after removing the screws that hold the frame to the bottom of the case, and lifting the frame a little. You’d think that this wouldn’t be necessary, but I couldn’t see any other way to slide the board out.
I took some detailed pictures of the main board (and realized after looking at them that I should have done some more cleaning of the board and chips before). You can see all of them here, but here are some highlights.

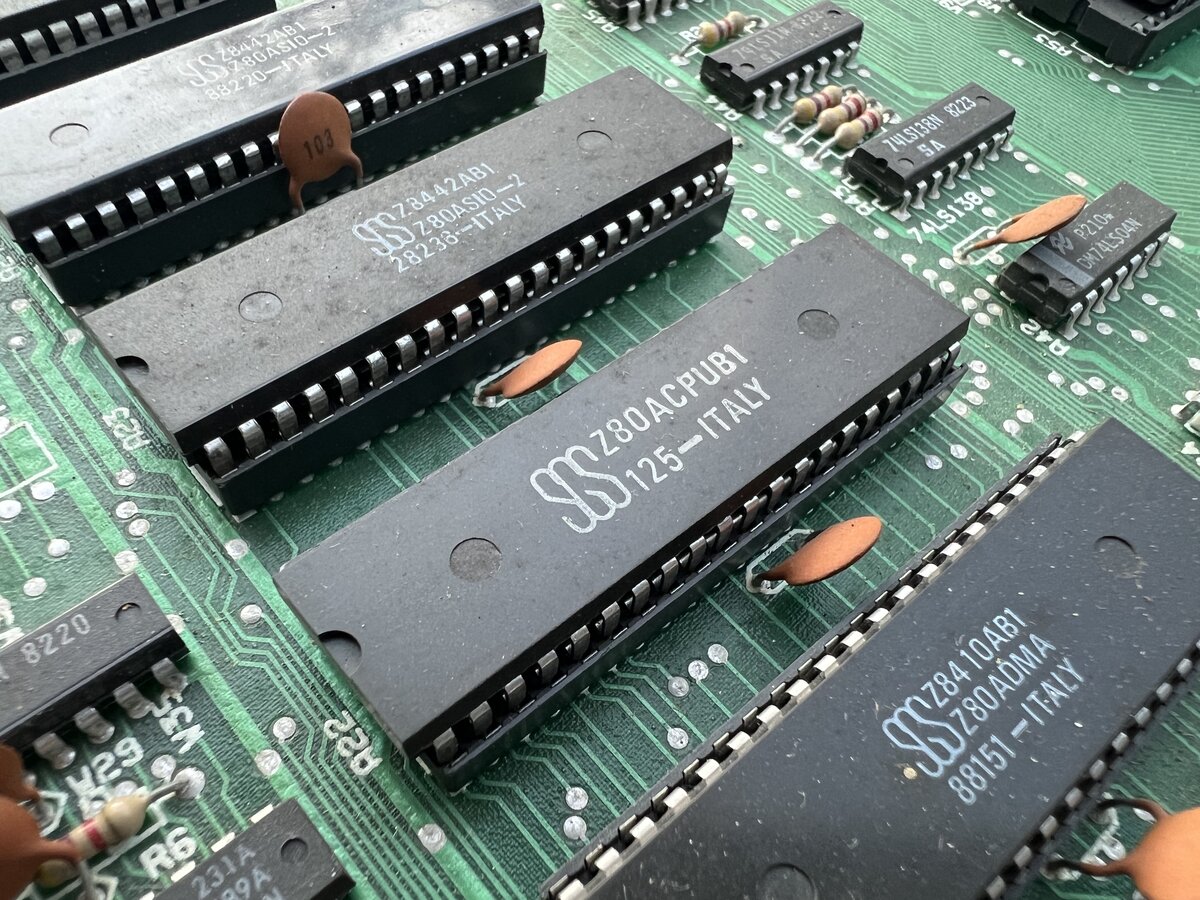
One interesting part is that you can see a Z80A CPU (made in Italy):
As well as the MOS 6502:
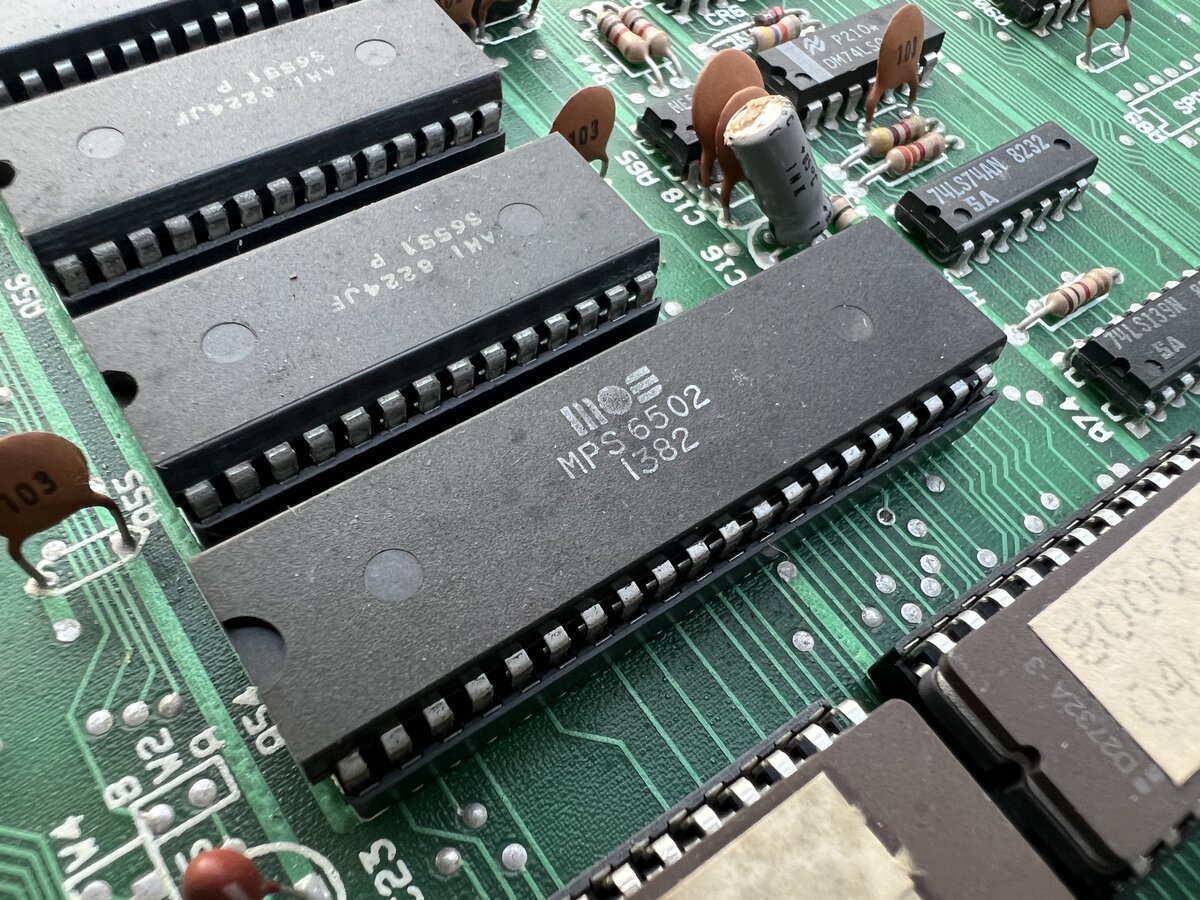
The Z80 is clearly for the CP/M computer, while the 6502 is handling the terminal. In the TVI-912, there was an Intel microcontroller instead of a full-fledged CPU: specifically, a 8035, which is an 8048-family MCU that doesn’t have on-chip ROM/EPROM, but uses external ROM/EPROM instead.
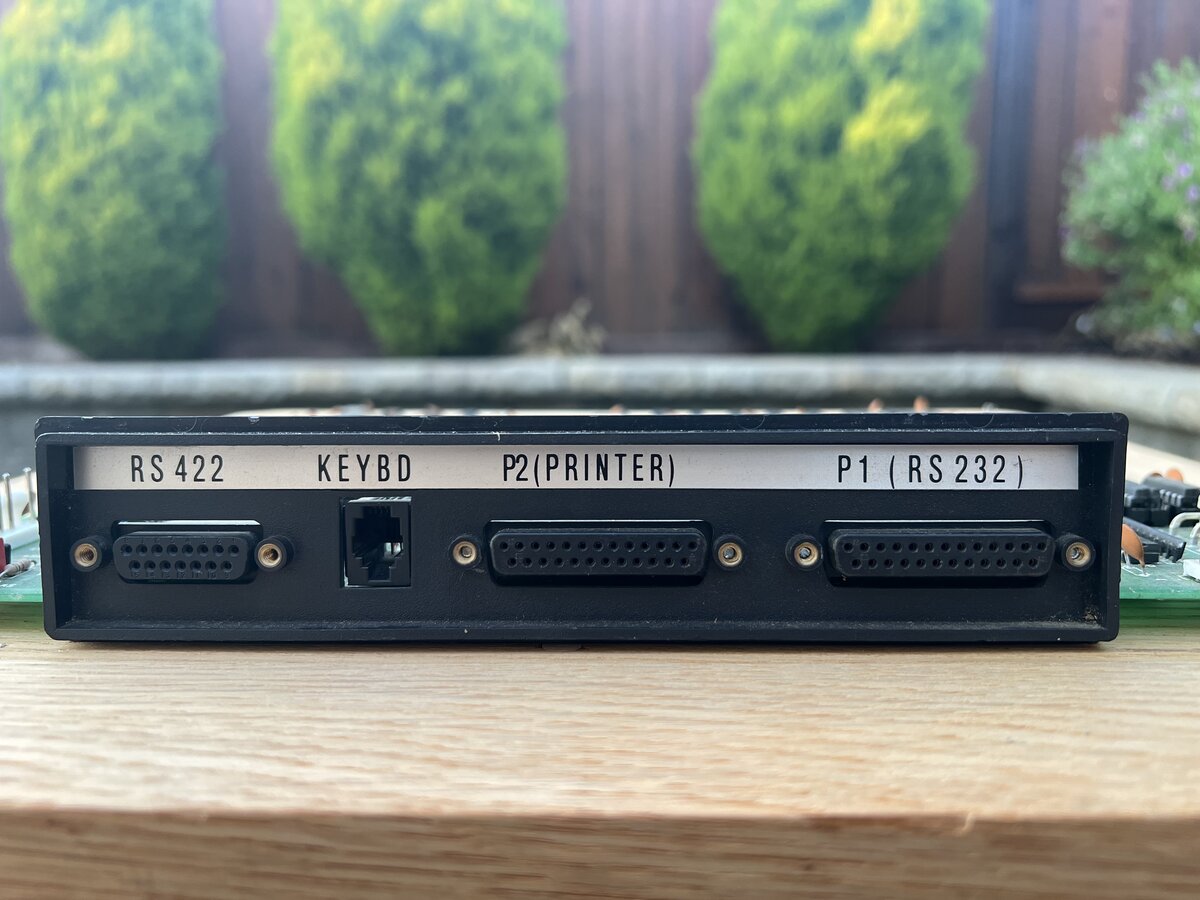
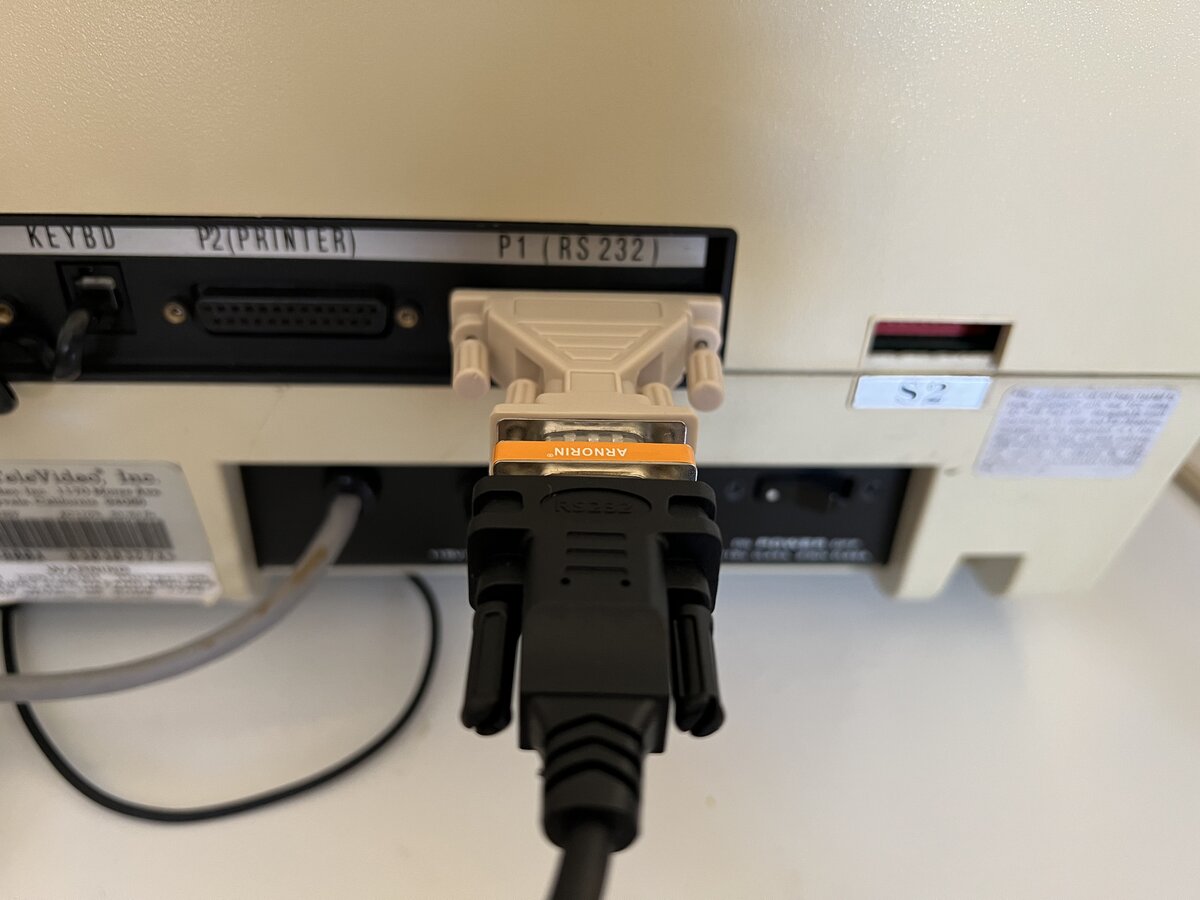
The back of the board has connectors for RS-422, the keyboard, a printer, and RS-232.
Cleaning and initial testing
I did some basic cleaning, and then connected the main board again.
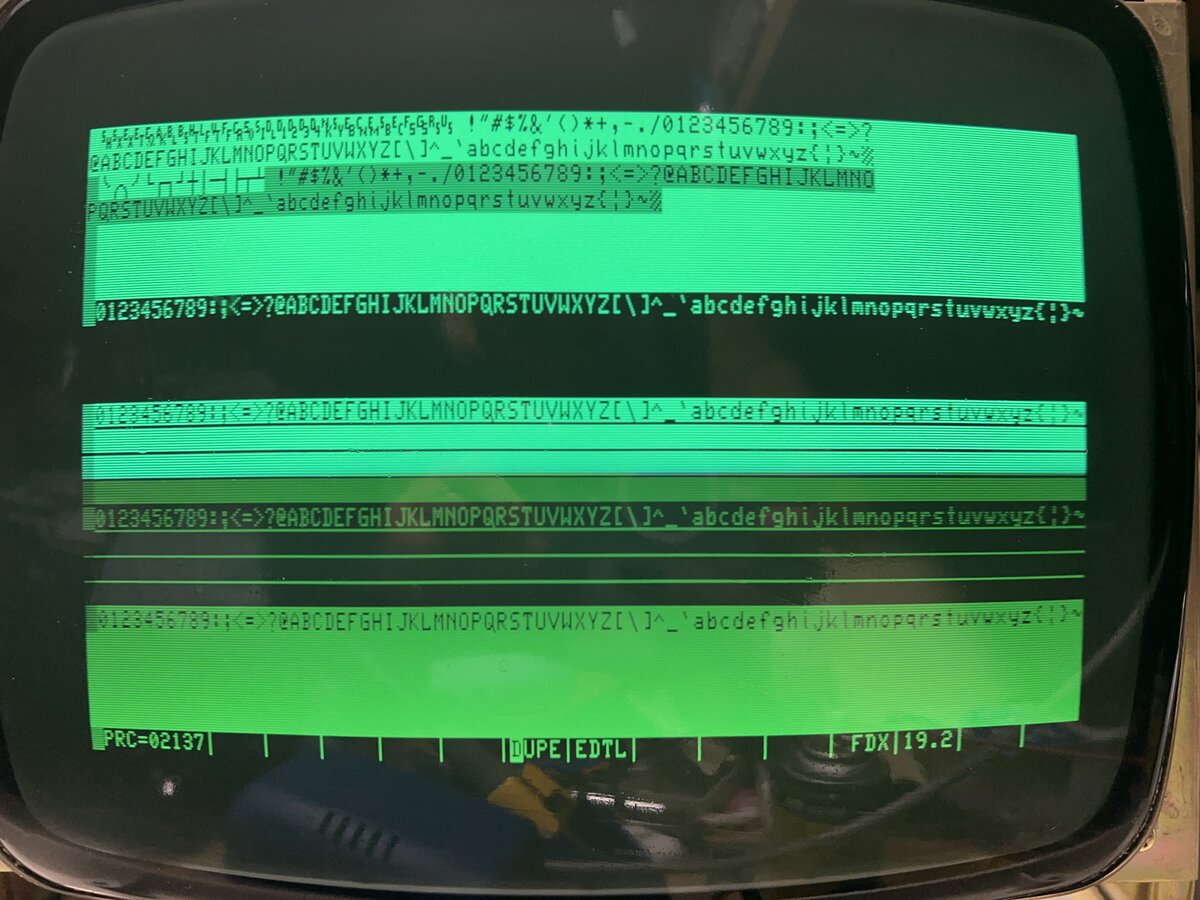
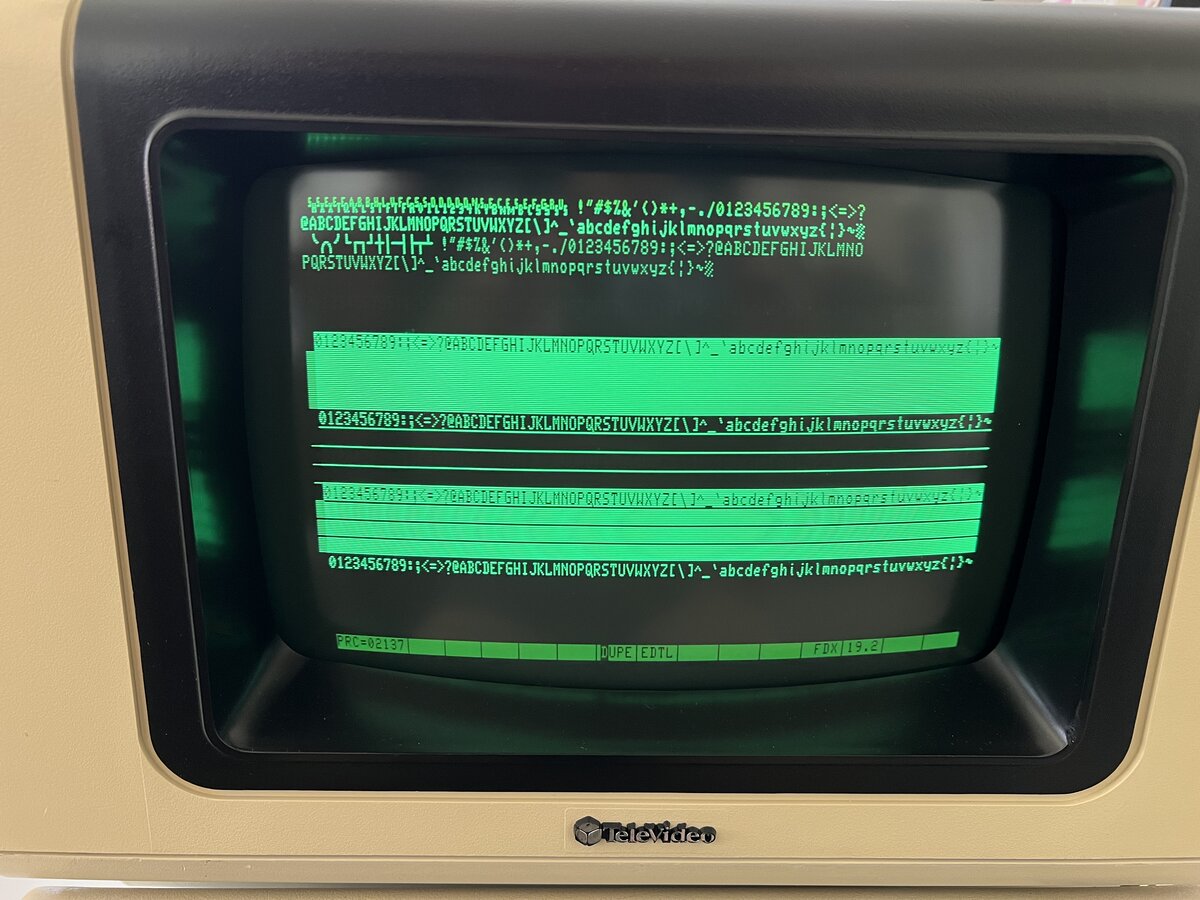
To my surprise and happiness, when I turned on the machine, the screen turned on! The cause of the initial malfunction might have been a loose connector inside, who knows. I performed the keyboard combination to start the self test, and it passed, showing the characters with all the modes! Unlike with the TVI-912, where you need to short two pins on the keyboard side to start the test, here you activate it with the keyboard: SHIFT-SET-UP followed by 1.
For the sake of it, I desoldered and tested the non-polarized capacitor of the video board, as that capacitor was dead in my TVI-912. However, it measured fine here so I just put it back.
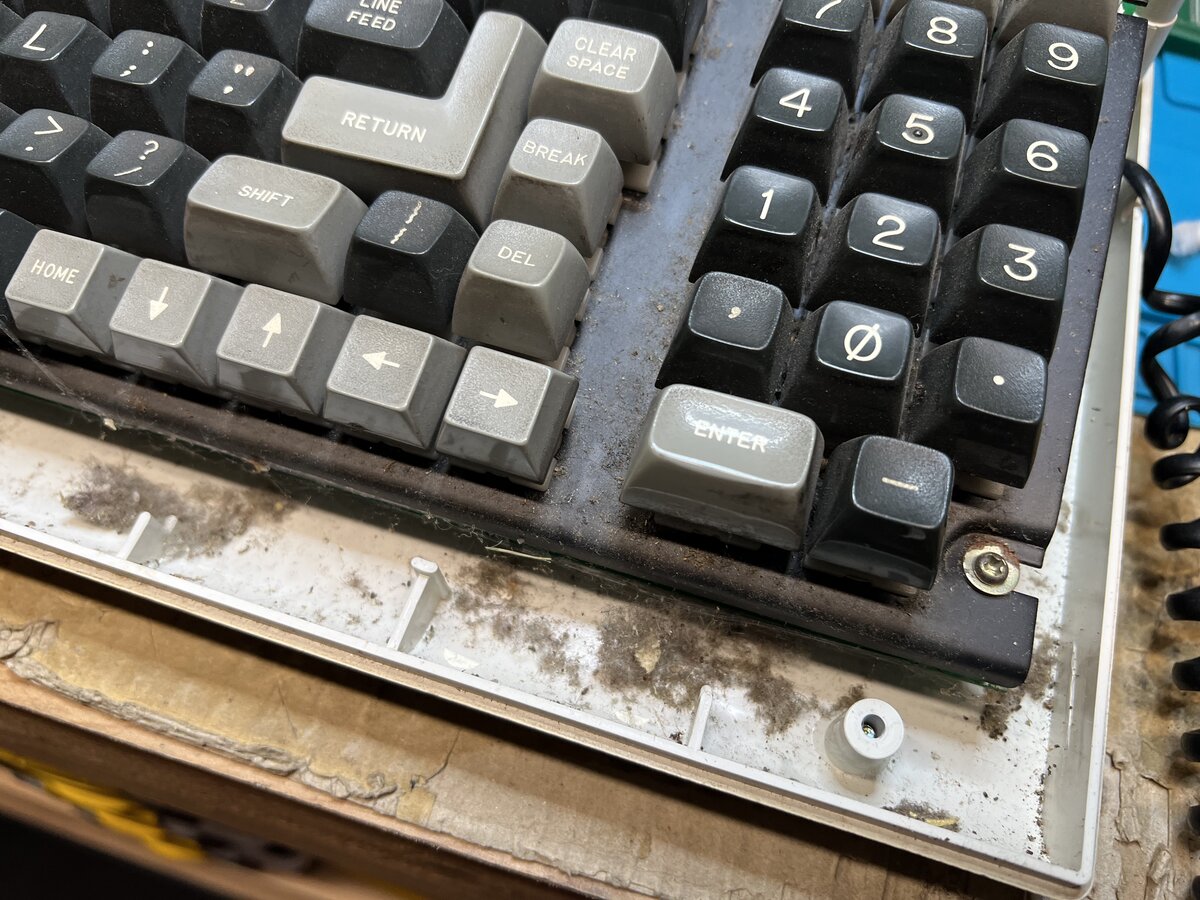
Keyboard and case
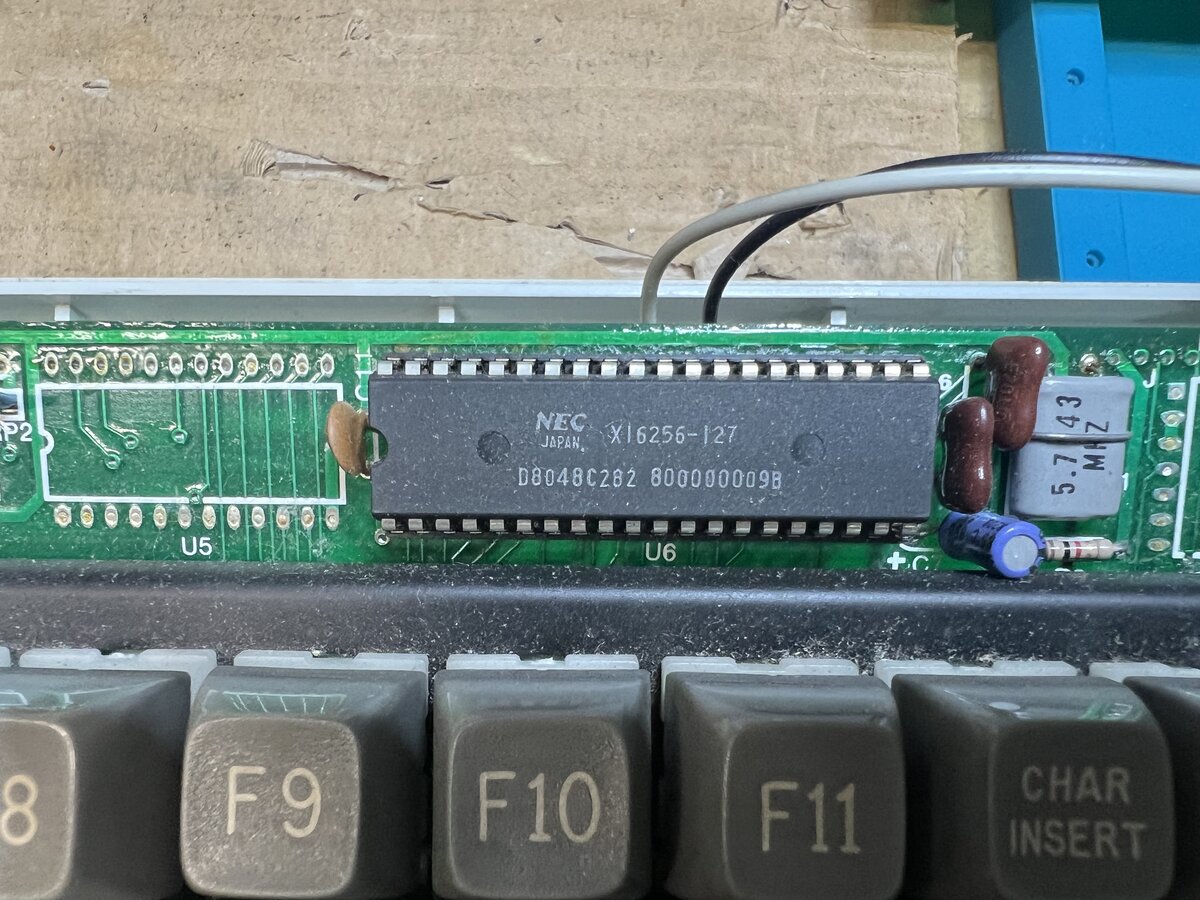
Unlike the TVI-912, where the keyboard is integrated in the terminal (following the example of the older ADM terminals in particular), here it is separate from the main body of the machine (following the VT-100, in particular, which this terminal resembles a lot). The keyboard contains an 8048 microcontroller, here branded NEC JAPAN, not Intel.
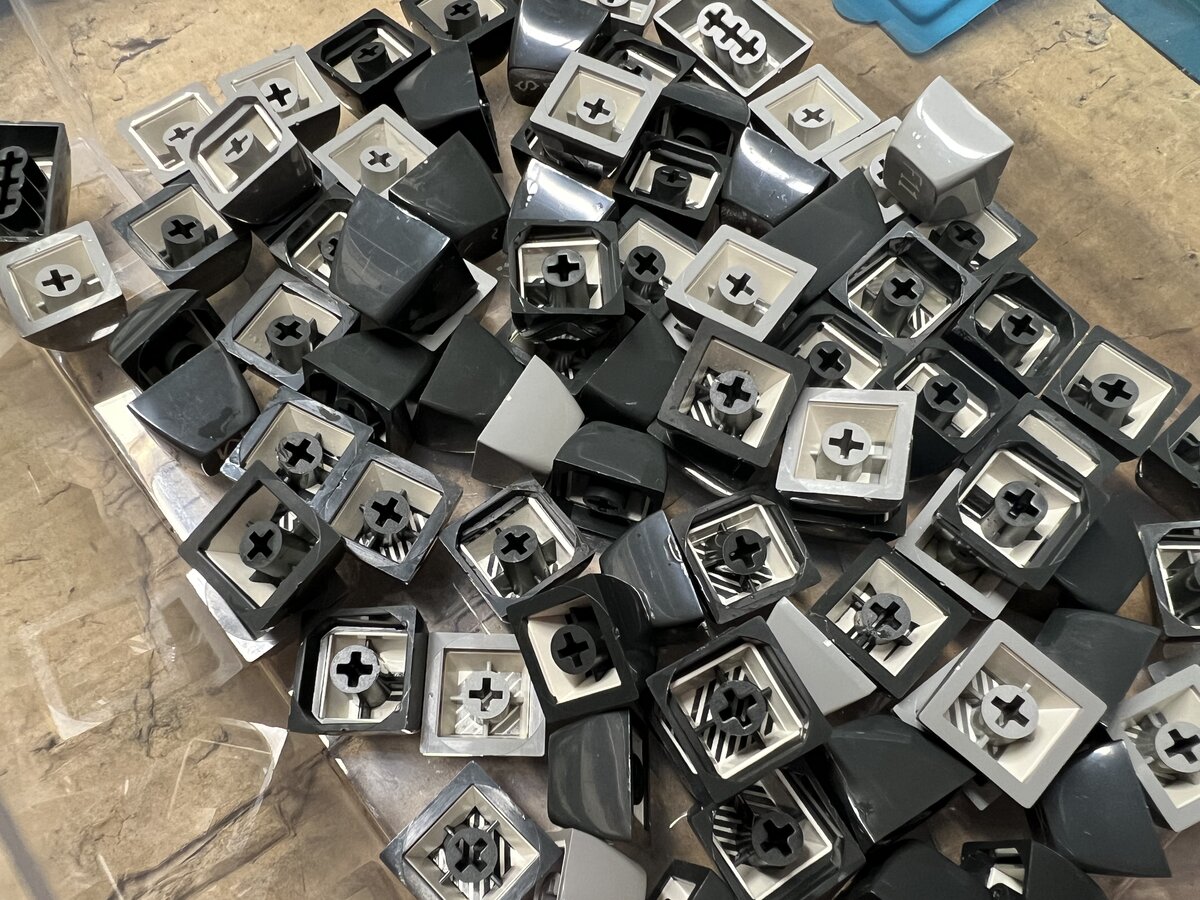
As expected, the keyboard was filthy inside.
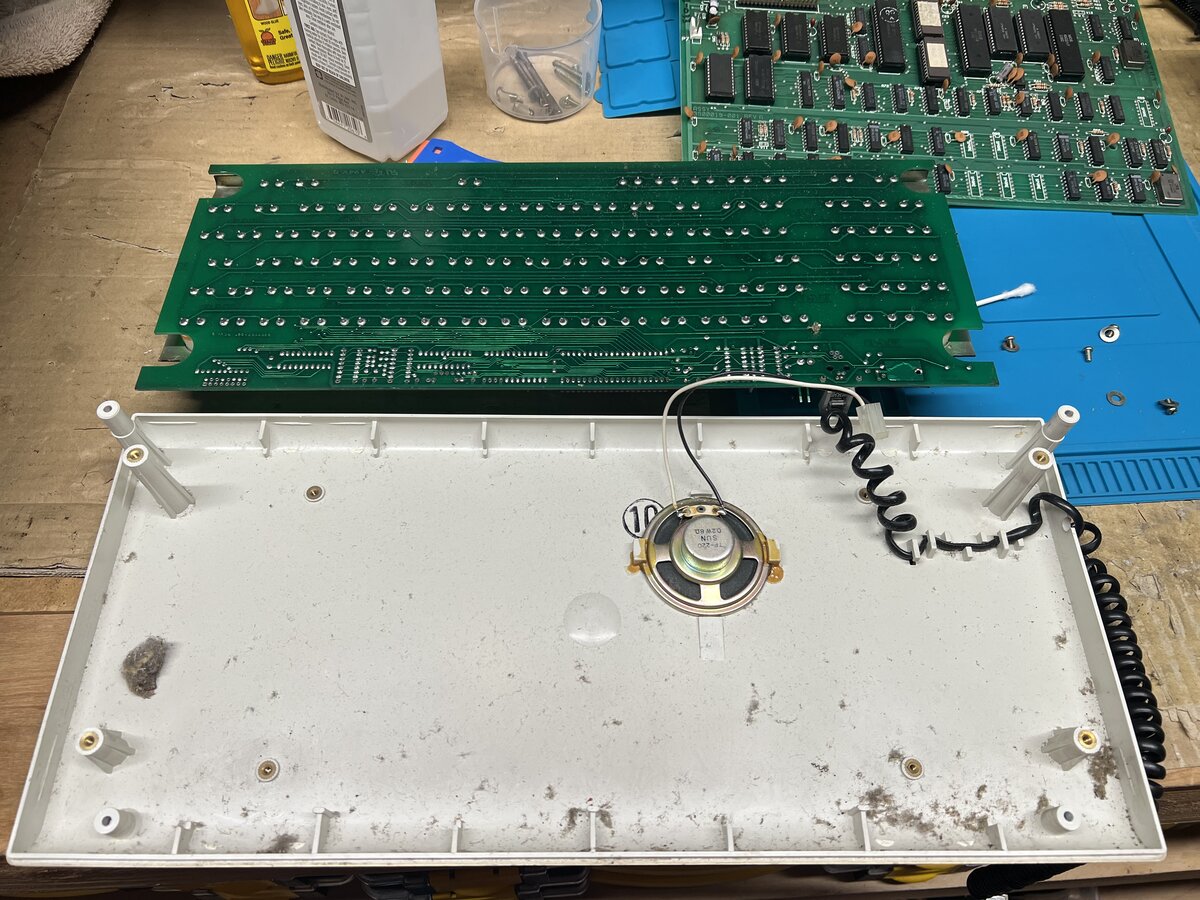
I removed the top and bottom case of the keyboard to clean the parts properly. This entailed also removing the speaker and cable.

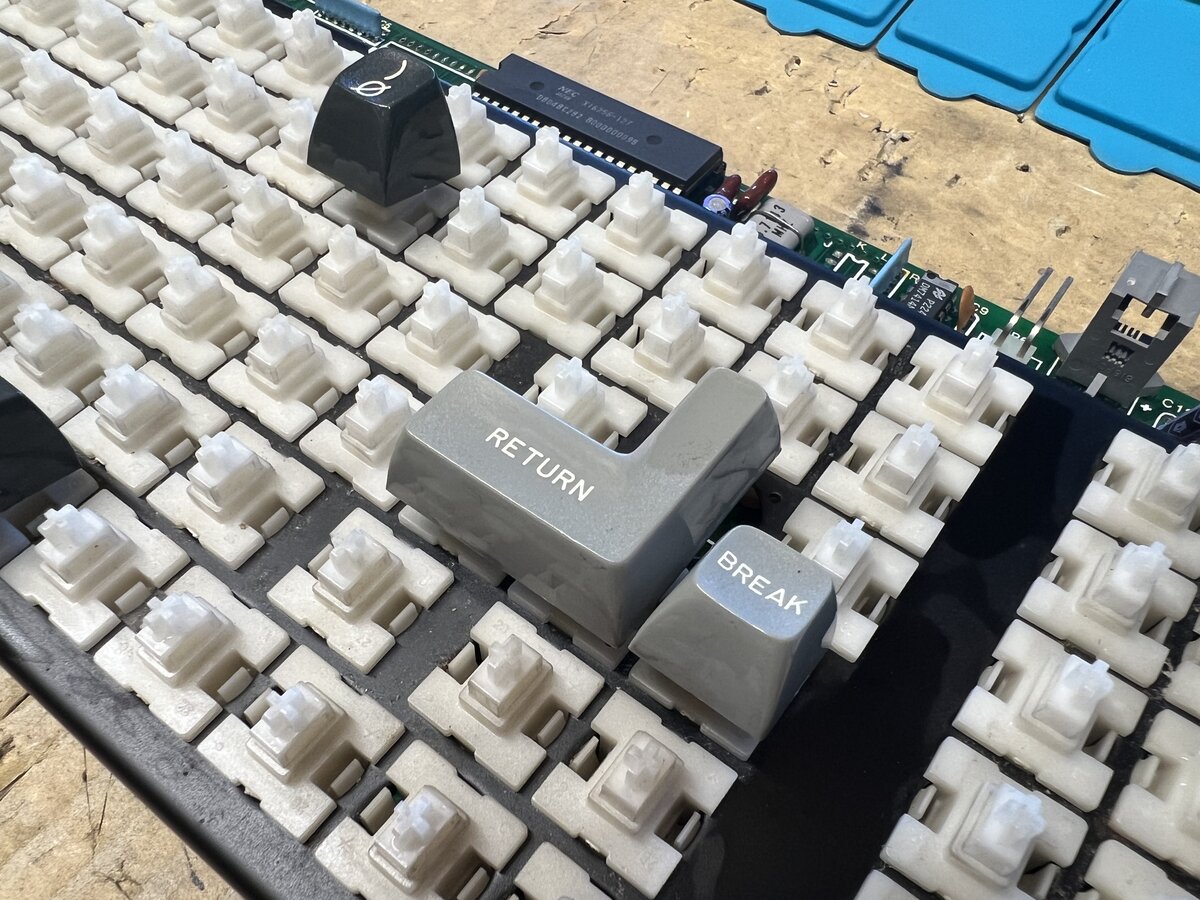
The switches look identical to the TVI-912’s. Unlike with the TVI-912, I didn’t desolder the keyboard switches. I did remove most of the keytops, however, although a few were stuck and, since I didn’t want to break them, I left them in place and cleaned them in place.
But I cleaned most of the keytops with Simple Green and water.
I put back the keytops.
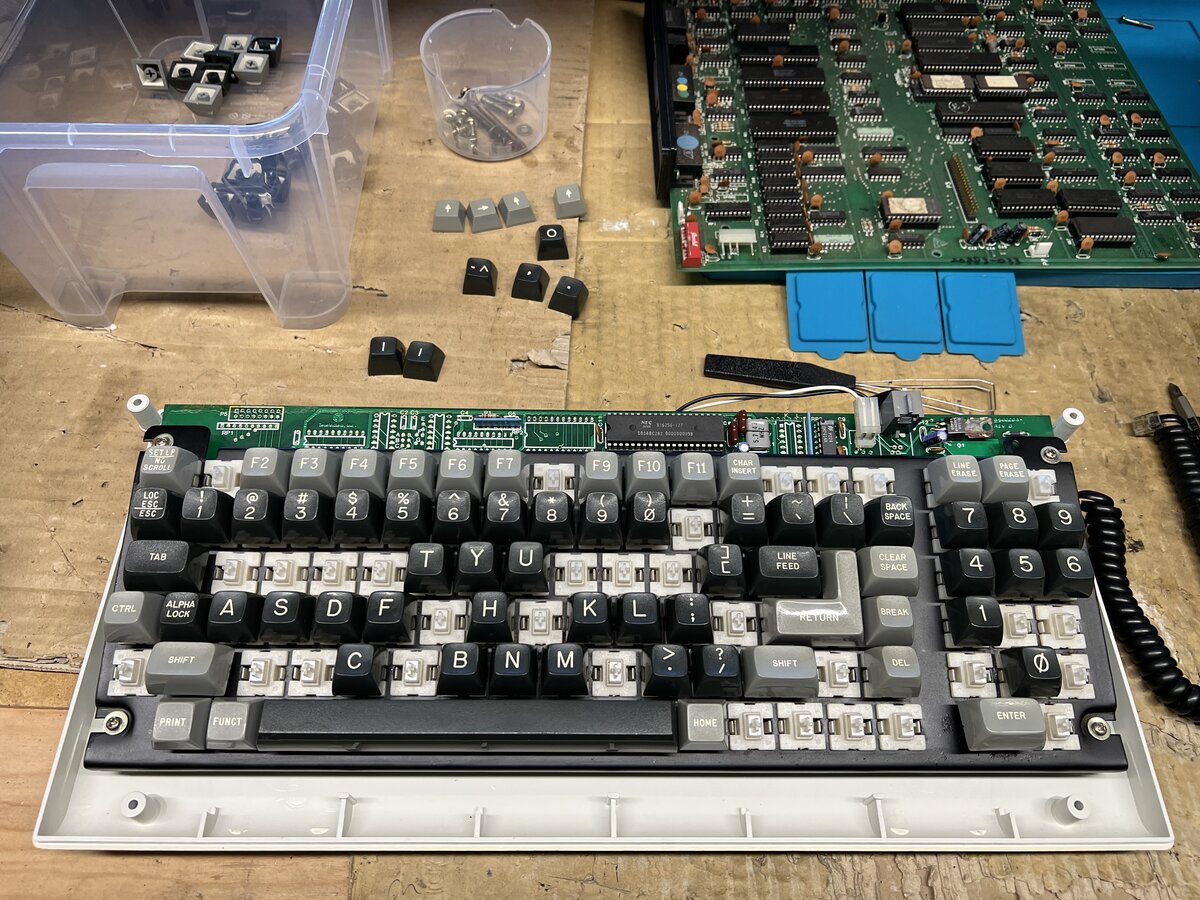
The keyboard looked much better after that process.
The keyboard completely cleaned:

The keyboard and the top case have signs of yellowing. I am not sure if retrobriting would work, but to be fair, it’s pretty good as it is.
I also used Hoppe’s #9 to remove the marking on the side of the keyboard. It worked really well!
I cleaned the case using detergent and water. I removed the sticker using Goo Gone and a plastic scraper, and used Hoppe’s #9 to remove a few marks.
I completely removed the metal frame so I could clean the bottom of the case.
I also cleaned the power supply board a litle, as well as the main board.
Connecting
I checked the DIP switches settings by comparing them to the description in the manual. I also configured the display to be green on black instead of black on green as it was initially (either on purpose or by mistake). I then performed the self test again.
I also connected the terminal to my computer with the same adapter that I had used for my TVI-912.
Result
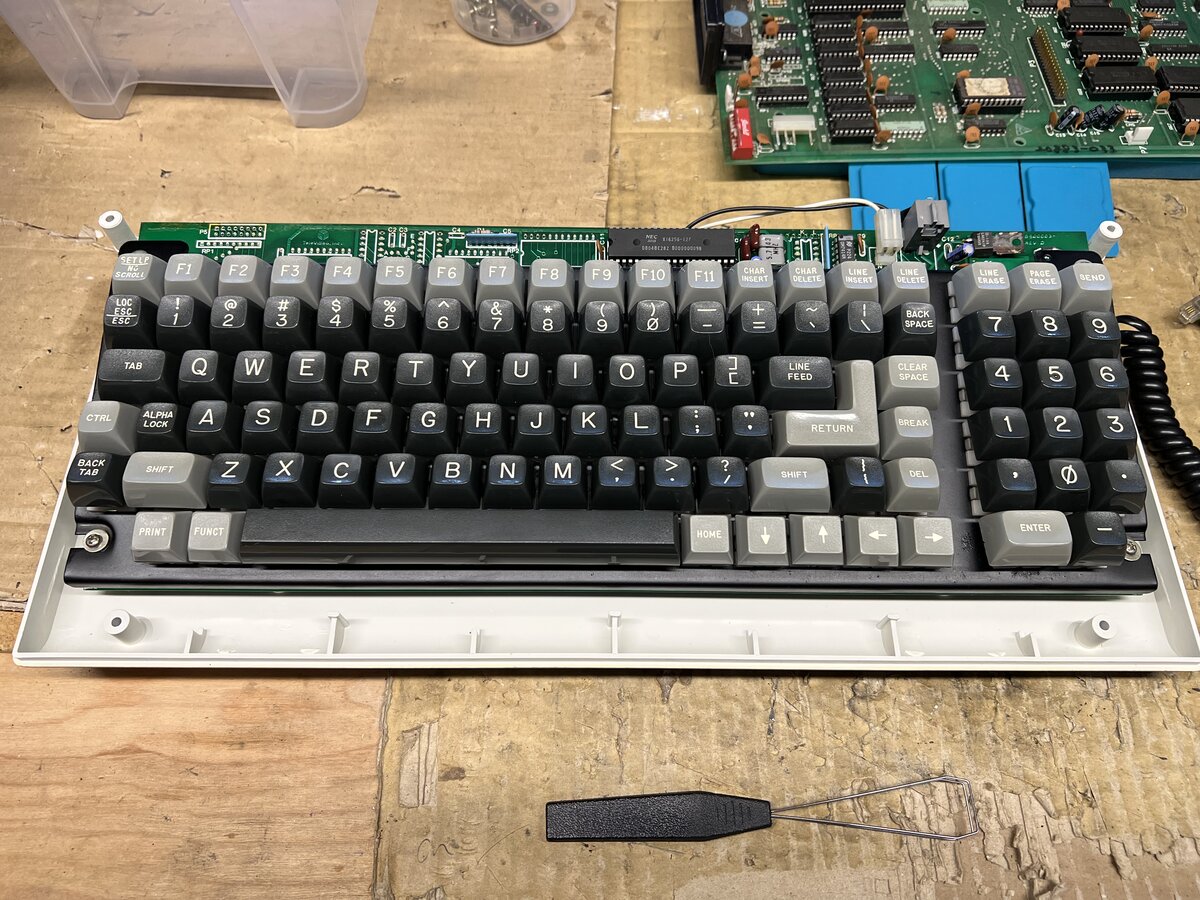
You can check the entire photo album, but here are a few pictures of the cleaned terminal. Here is the side of the keyboard where the marking was:
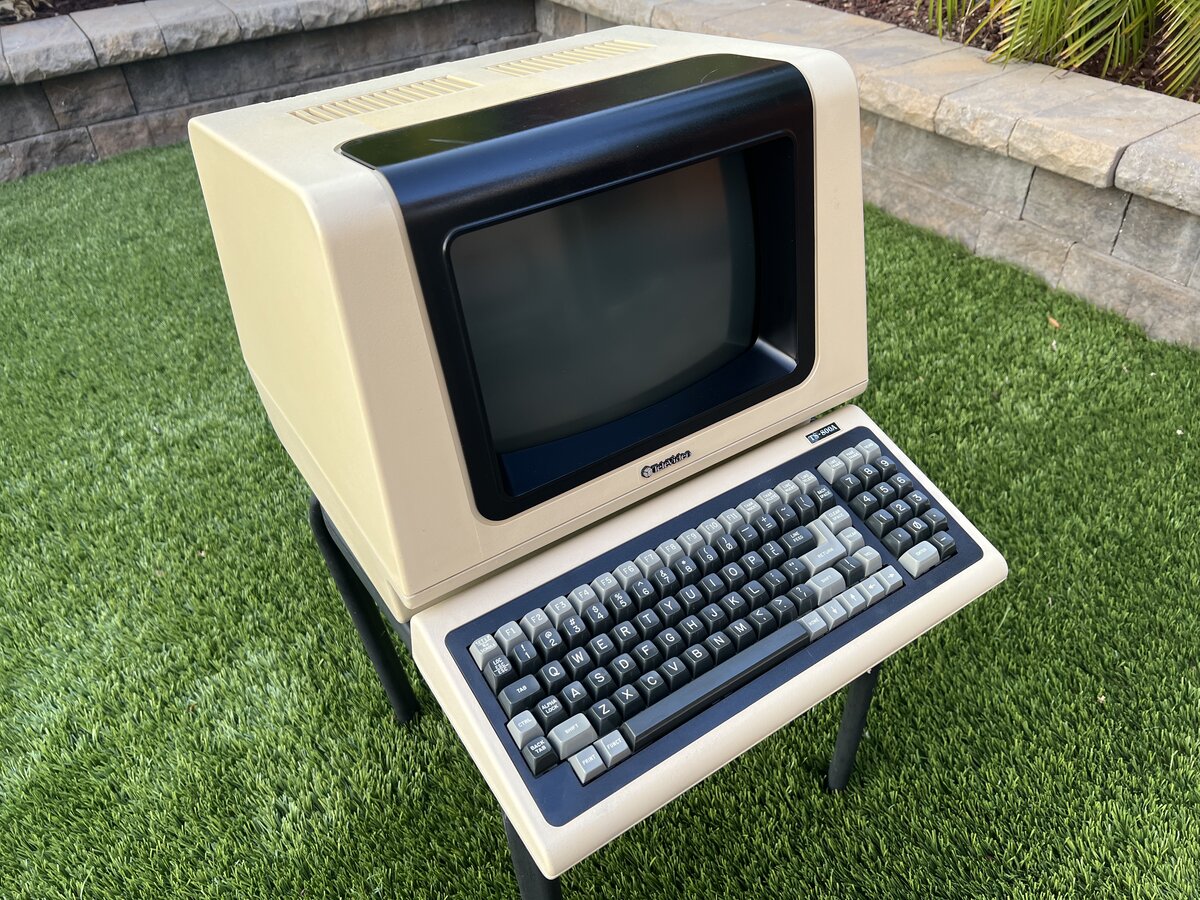
This is a really good-looking terminal if you ask me:
And here from another angle:
Further work
The terminal appears to work really well, but as always, there are possible next steps.
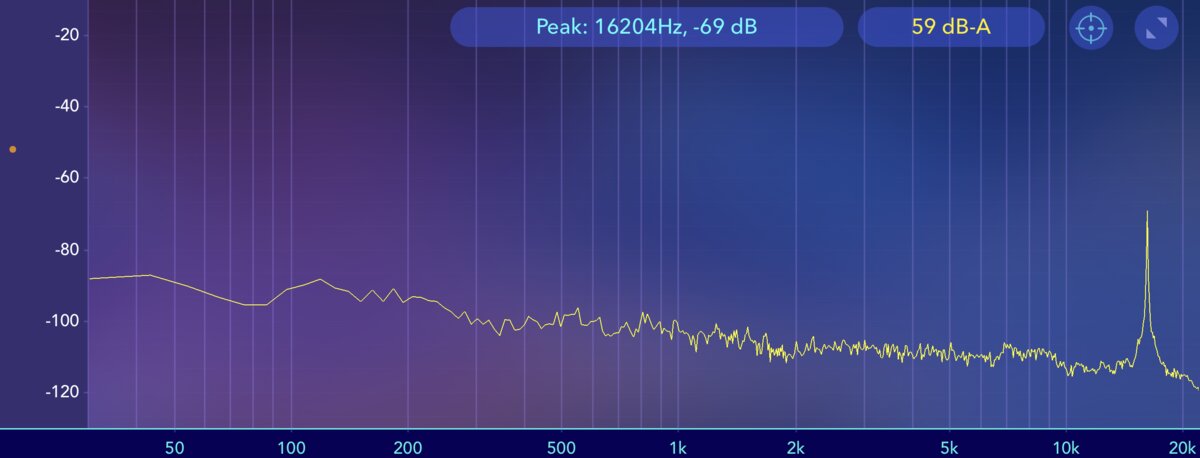
My kids say that the monitor makes a high-pitch noise, which I can’t hear! Old ears… I should try to record the sound and check its frequency. What could it be, however? An old capacitor?
UPDATE 2023-10-07: I did a measurement of the ambient noise, and there is indeed a very clear peak (inaudible for me!) at around 16.2 kHz when the terminal is turned on. I used my Blue Yeti connected to my iPhone (as I couldn’t see that peak using the internal iPhone microphone) and an app called Spectrum.
In addition, the screen takes a while to stabilize.
Like for the TVI-912, I’d like to play a little more with the terminal, like using it with BASIC or WordStar on the Altair-Duino.
It would of course be interesting to dig into the computer function, with all the work that this entails. Pat Finnegan has done a lot of work on this, and there is even source code on GitHub.
See also
- TS-800A pictures
- TVI-912 posts
This article seems to indicate that the transmit clock is 800 KHz. ↩
It appears that Pat Finnegan managed to reverse-engineer the protocol and load an OS on similar TeleVideo machines. See this videos TeleVideo: Systems No One Cares About, Brought Into the 21st Century | Vcfmw 2019 and TeleVideo Rises Again: Recreating a Lost Machine | Vcfmw 16 (2021), as well as the following blow posts: TeleVideo Systems Part V - MmmOST Introduction, TeleVideo Systems Part VI - MmmOST Protocols, and TeleVideo Systems Part VII - Almmmost replacement for MmmOST. ↩
Comments powered by Disqus.