
The symptoms
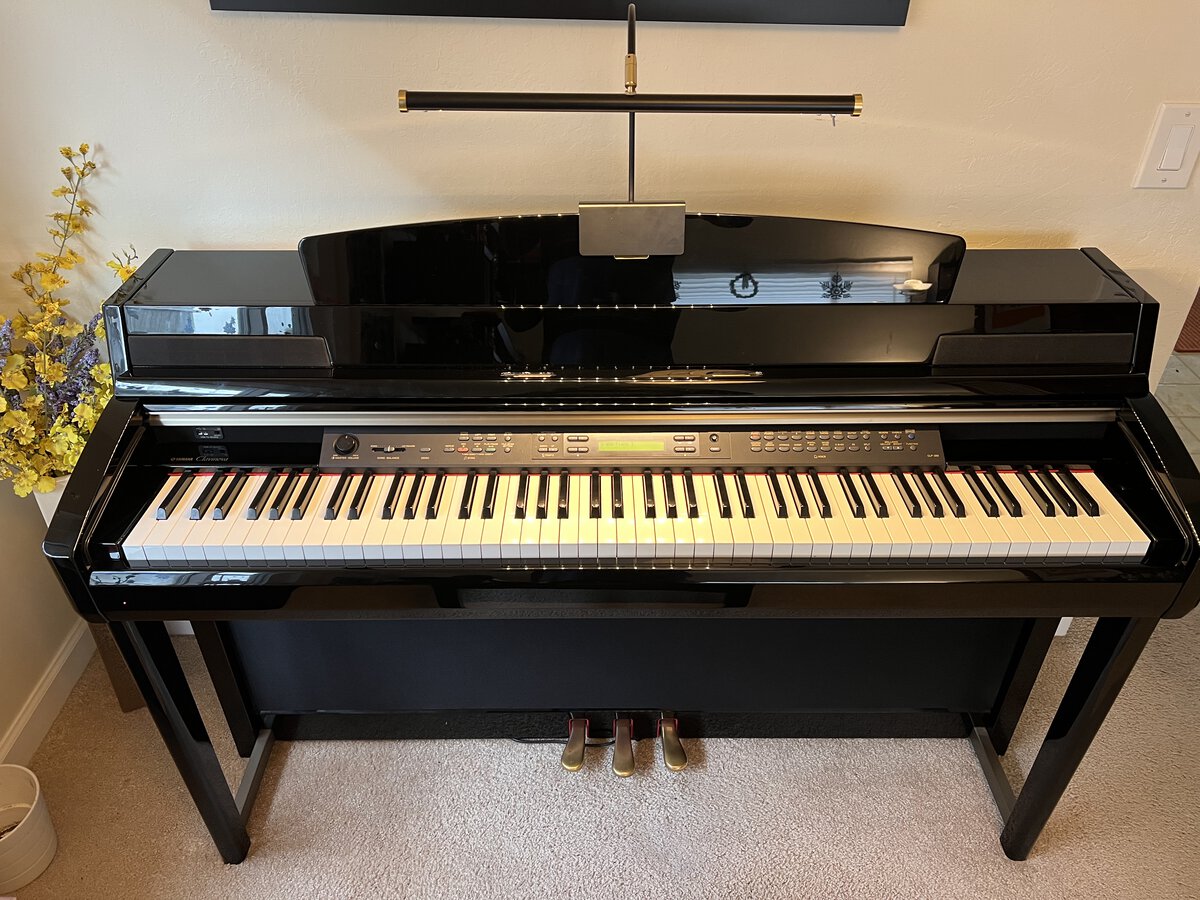
Recently, I started feeling that the touch of our 15-year-old Yamaha Clavinova CLP-280 in the mid-range was different: the responsiveness of the keys was not good anymore, and different from the lower and higher ranges. In addition, a couple of keys occasionally made a clacking sound.
Given what I know about the CLP-280, I figured that there might be two different things at play:
- The rubber membranes (“rubber contacts”) that I had observed in my first repair might have some wear.
- The felt that dampens the keys might have lost shape as well, explaining the clacking sound.
The parts
I was eager enough to try to fix the problem that I ordered a set of replacement membranes and replacement felt. I found the replacement parts on eBay as those are no longer sold by Yamaha. However, those are OEM parts. These parts appear to be generally for the GH3 (“Grade Hammer 3”) Yamaha keyboards, and are not specific to the CLP-280.
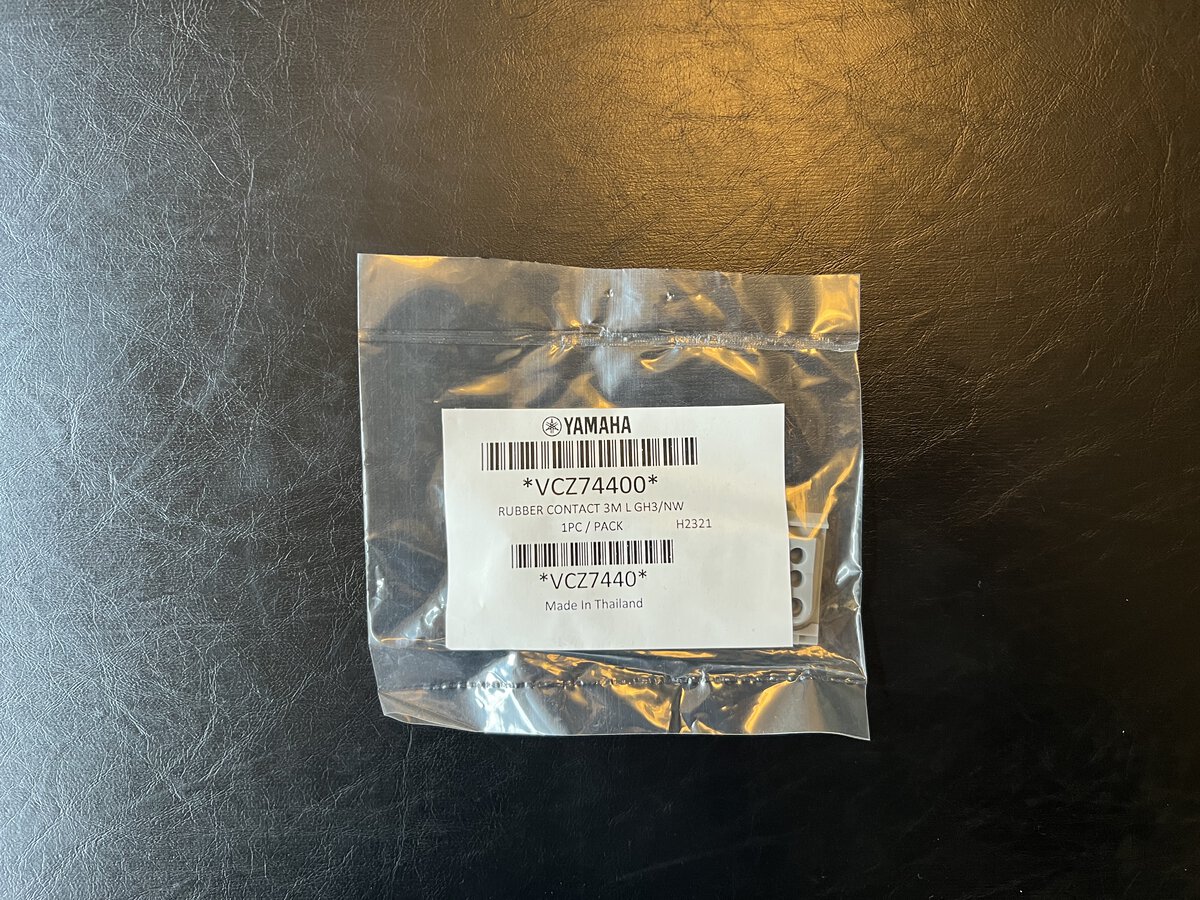
I got a full set of membranes, as there are three different lengths:
- 1 × 5-key membrane to the left side of the keyboard (VCZ74400/VCZ7440)
- 6 × 12-key membranes in the middle (VCZ74300/VCZ7430)
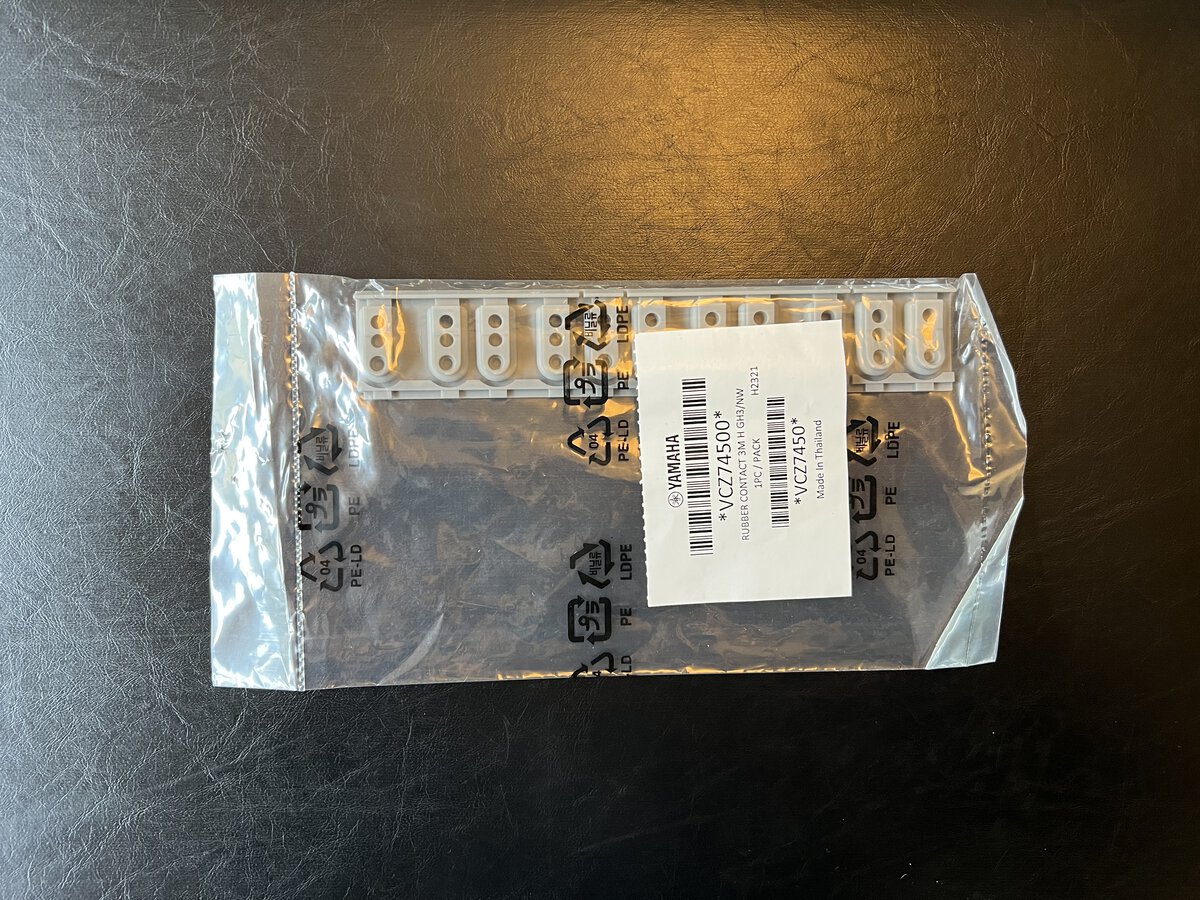
- 1 × 11-key membrane to the right side of the keyboard (VCZ74500/VCZ7450)

The felt is called “stopper” or “upstop felt” (V8468201).

The repair
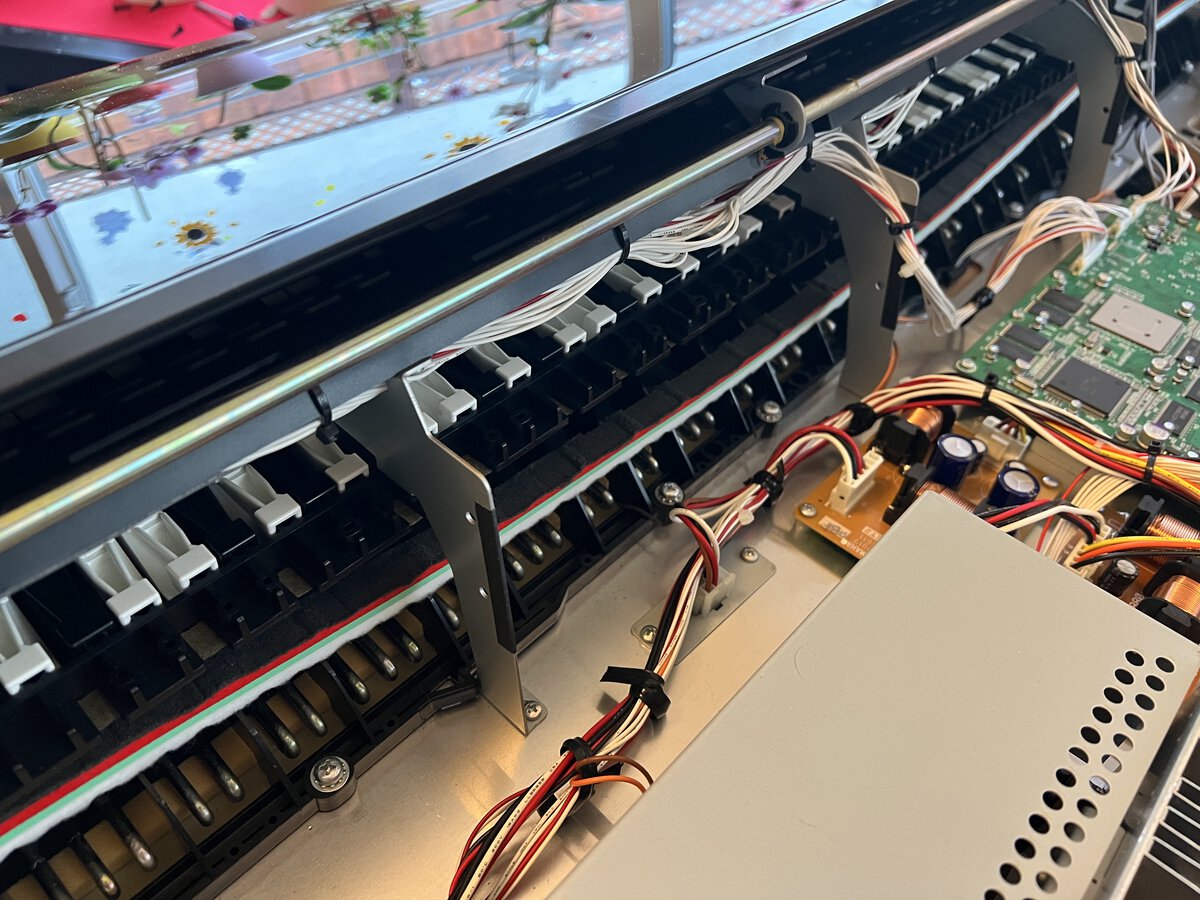
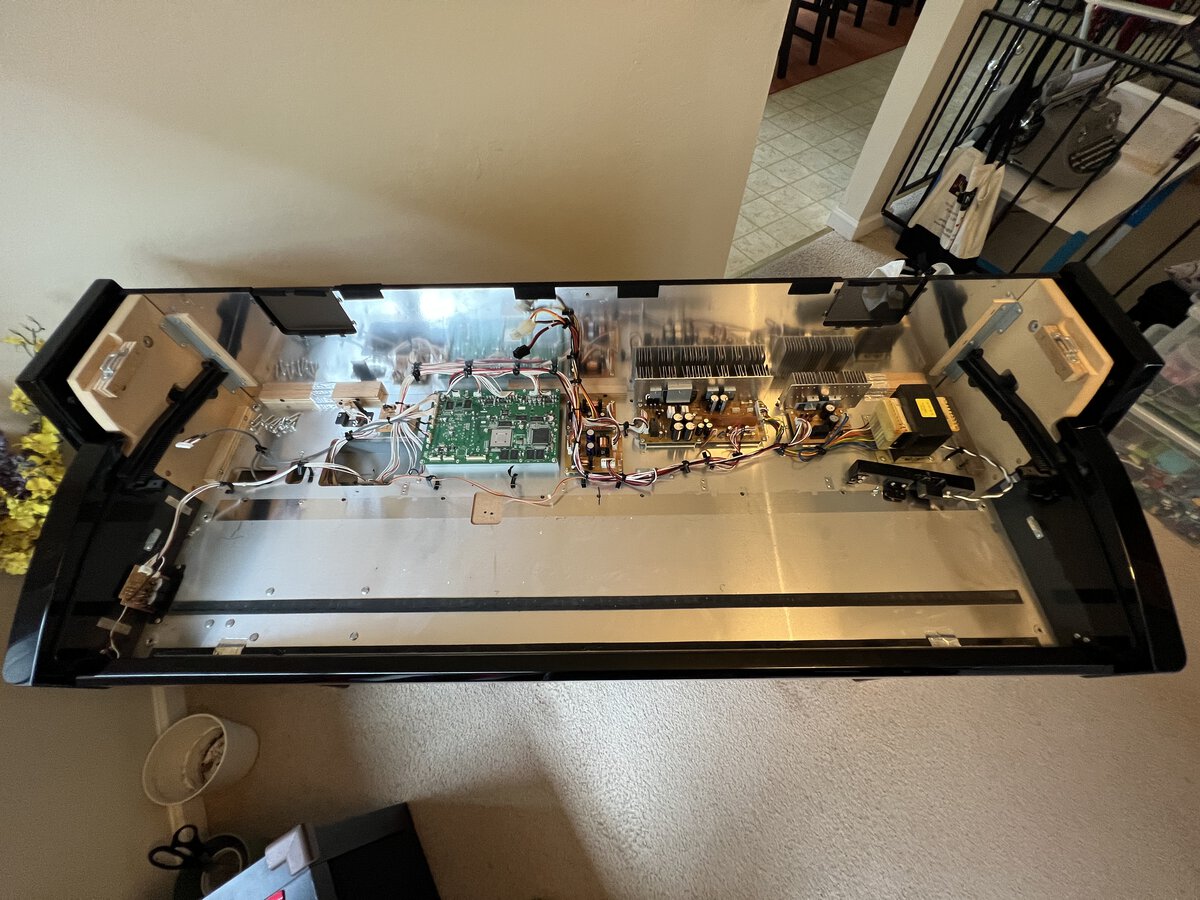
Like last time, I started by opening the top of the piano by removing the 3 screws in the back and removing the top cover. I could see the problem immediately: the felt had detached in the middle portion of the keyboard! Well, in retrospect, I should have done that step first!
The next step was to remove the keyboard from the piano, as I did last year. This is neither hard nor risky, although it is a little time-consuming.
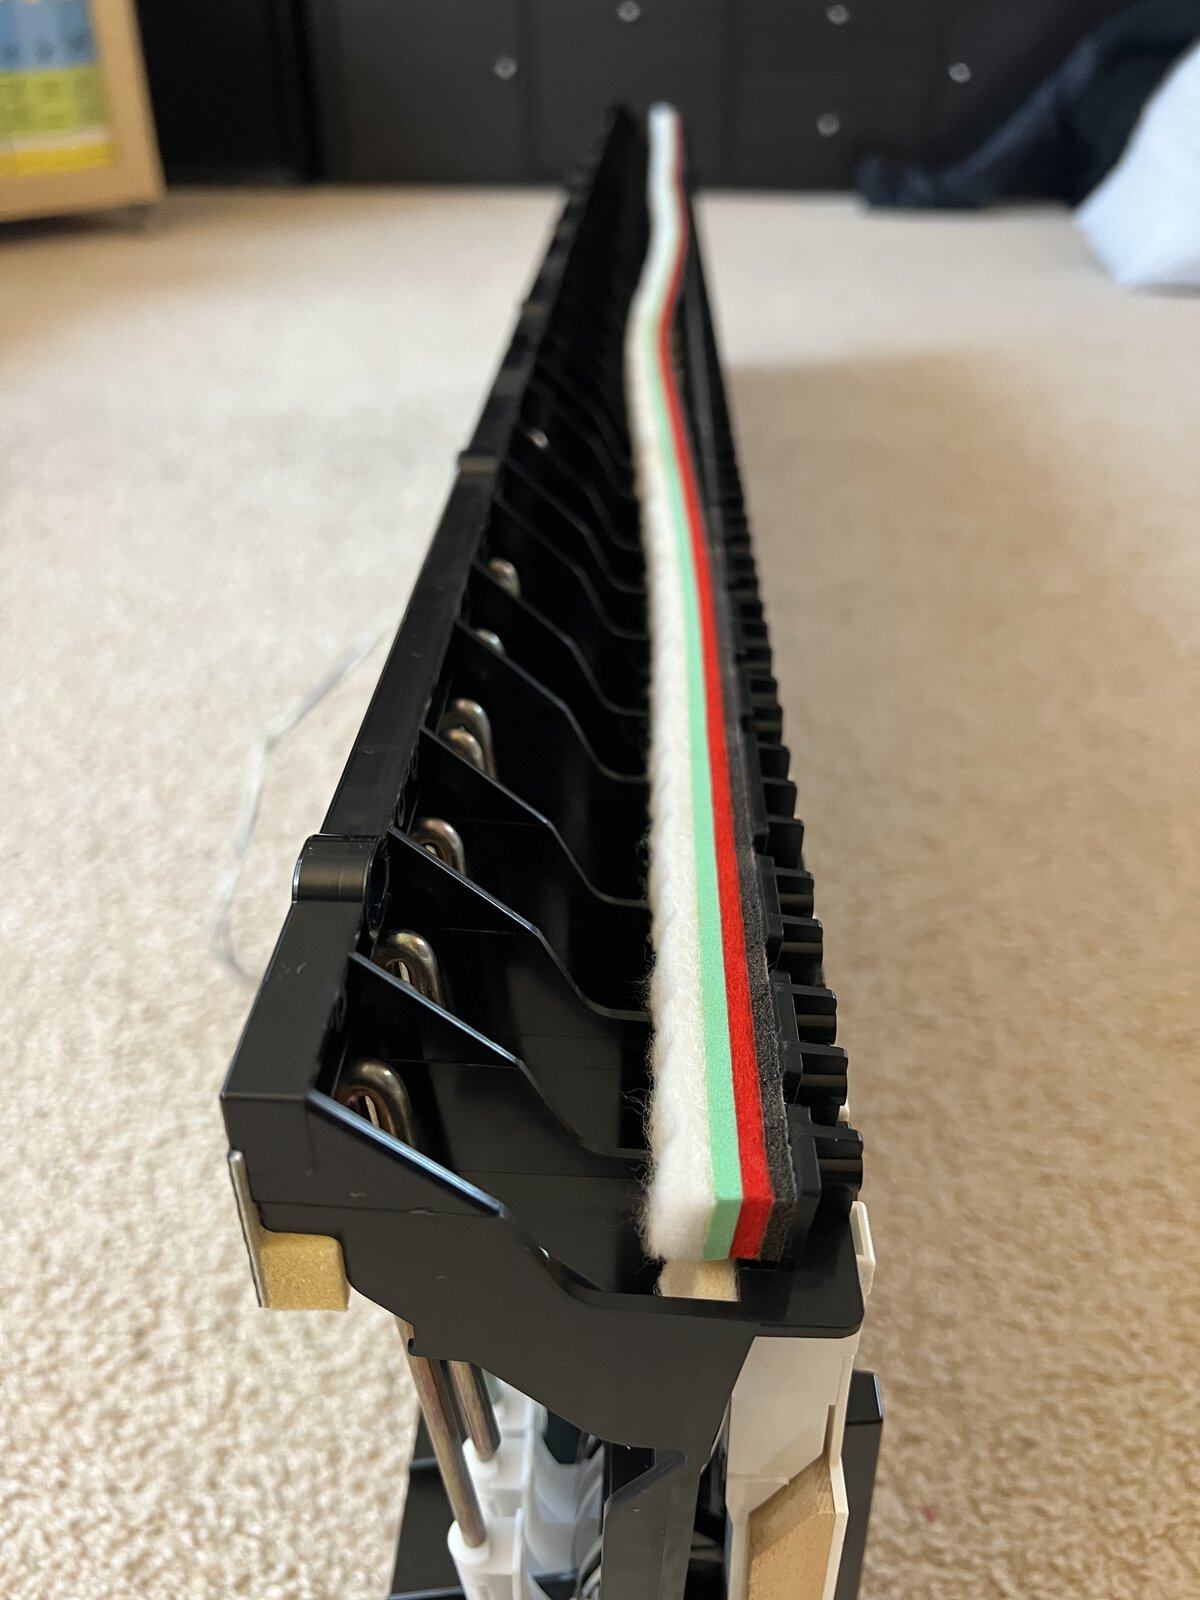
In this picture you can see where the felt detached from the rest of the keyboard.
The first task was to remove the old felt entirely. I didn’t think it was reasonable to try to glue it back, as one layer clearly had outlasted its life. The film with the glue was a little hard to remove from the plastic of the keyboard in places, but I used:
- a plastic razor blade scraper to remove the parts that stuck
- a hair dryer to soften the glue in the rest of the felt
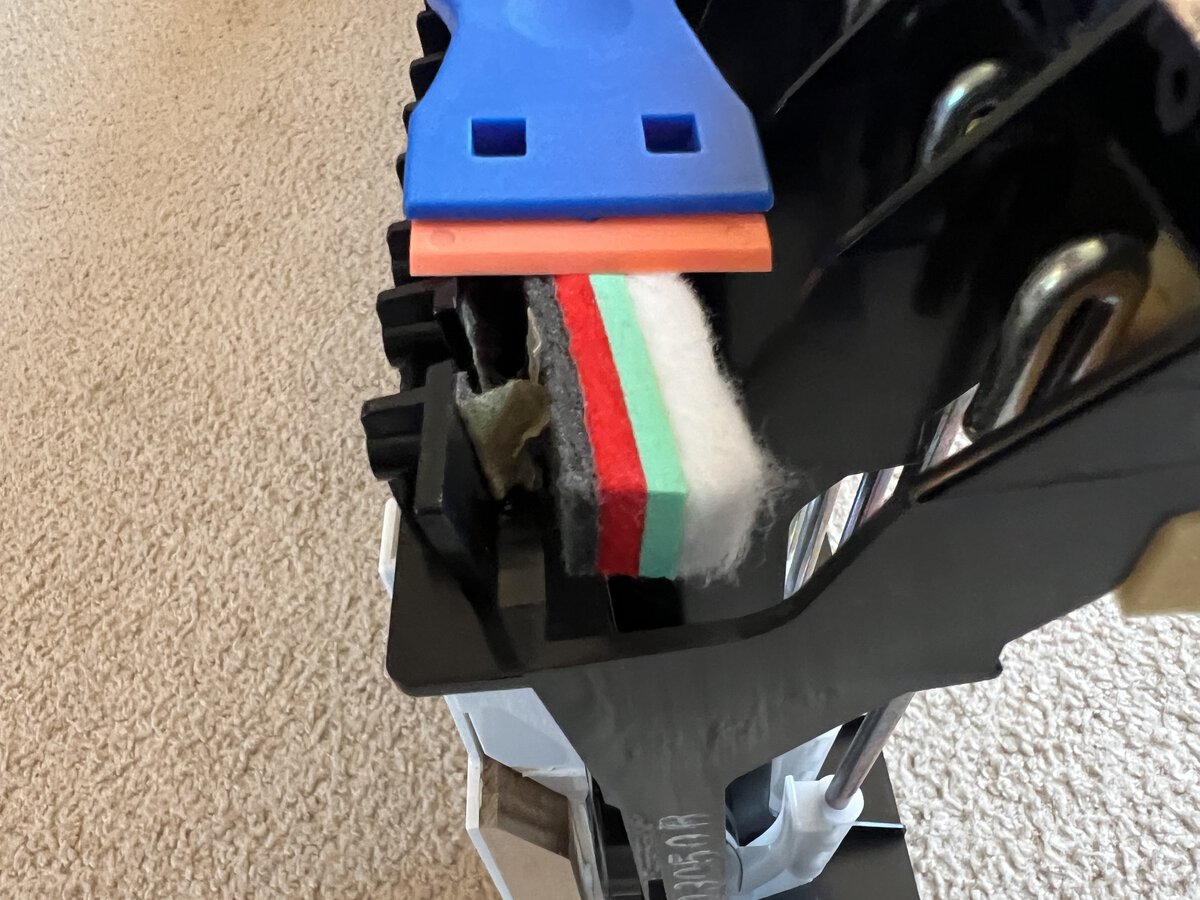
This went very smoothly.
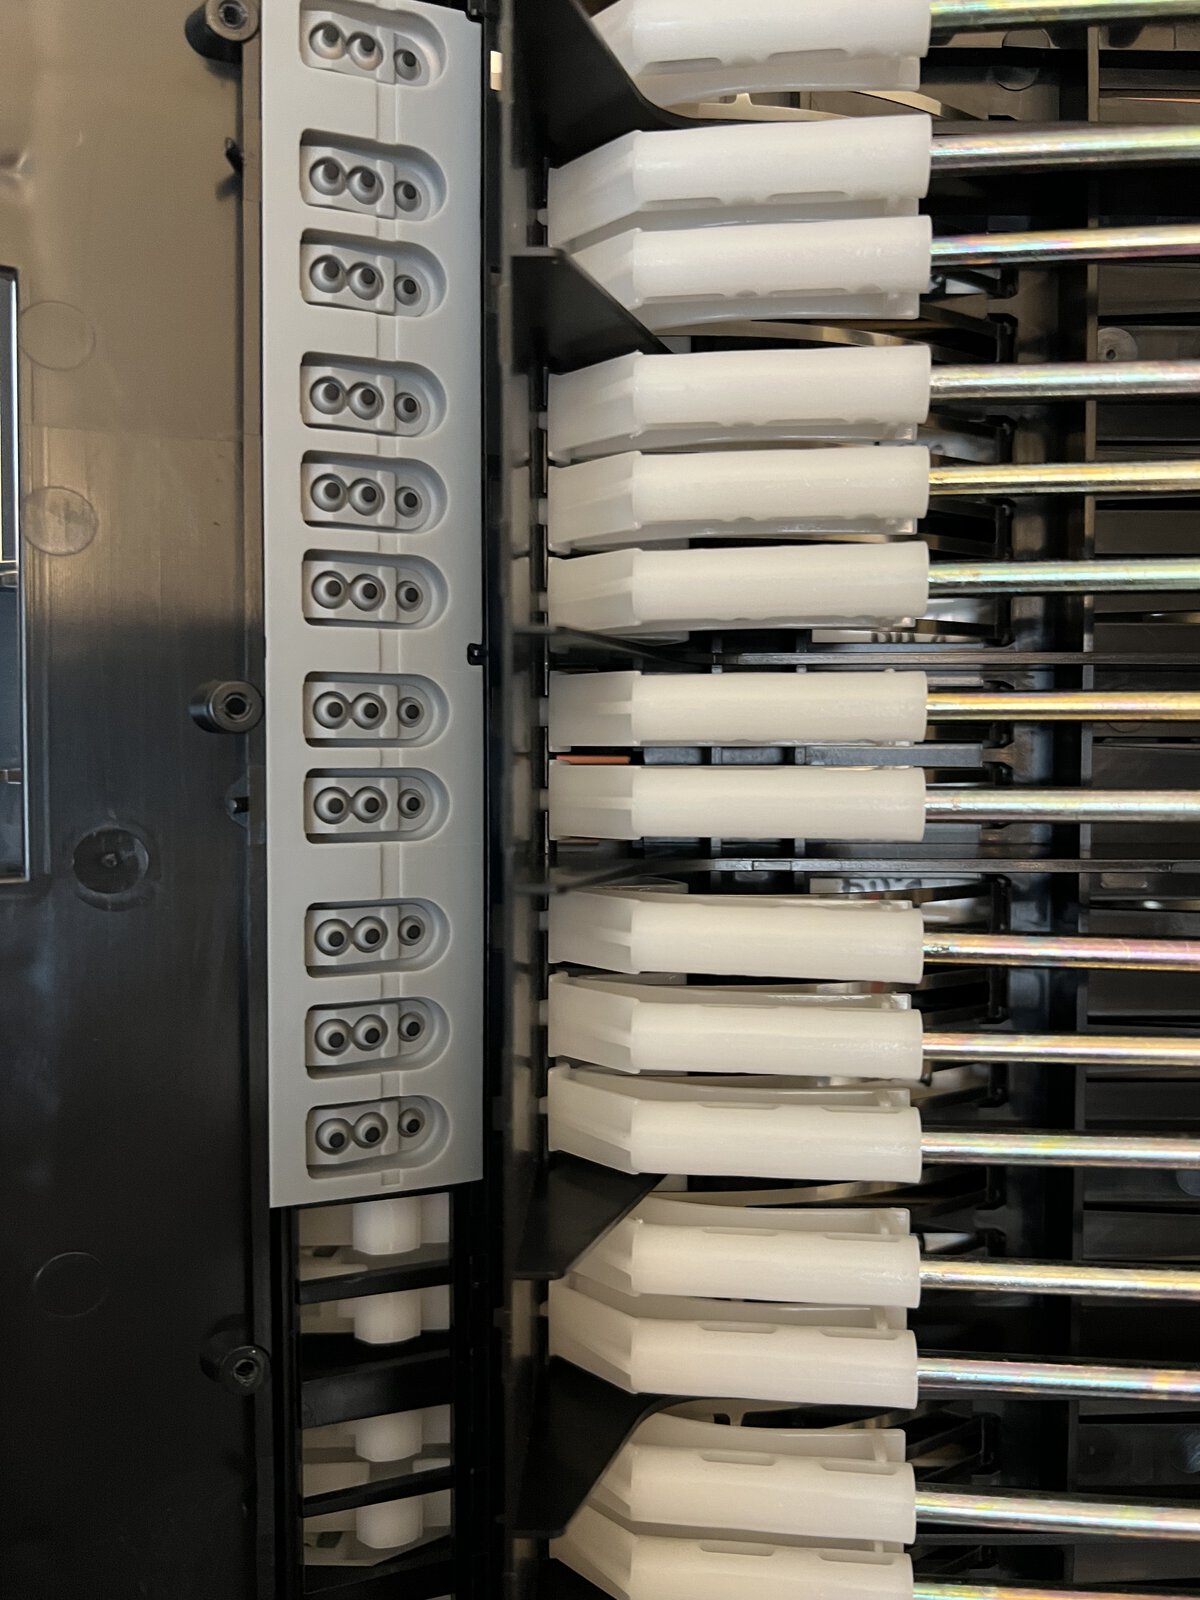
I then proceeded to remove the 3 PCBs (printed circuit boards) that are attached to the keyboard. I had to remove the screws that hold each PCB in place. The PCBs then easily come off the keyboard, and the rubber membranes will either stay stuck to them, or stay on the rest of the keyboard. I carefully took them out, blew compressed air on them to clean them, and numbered them before storing them away in the original plastic bag containing the replacement membranes, as I thought that the old ones might actually be quite ok, especially the ones that had less use (not in the middle of the keyboard).
Putting them back is a little tricky, as you want them to fit perfectly in the slots in the keyboard before placing the PCBs on top of them and screwing them back, perfectly aligned. For this, I used the same method I did last time: I put the keyboard quasi vertically on its side, which let me position the membranes in place so they don’t fall, and then putting the PCBs back.
I installed the felt without any problem. The glue was quite strong, to the point that if touches the plastic it might be almost impossible to get it out without damage. So proceed carefully!
This done, I put the keyboard back in the piano, and then tested the keyboard. To my relief, the responsiveness of the keys was back to normal, and the clacking sound was gone (as I expected). I only had to put back the top of the piano.
The result
The keyboard now sounds like new. I am very happy with the result, and even though I might not actually have had to replace the membranes, doing so should extend the life of the keyboard, so it’s all good. You can hear the result here.
More
Read about my two previous repairs:
Comments powered by Disqus.