
The problem
Last year, I fixed my Yamaha Clavinova CLP-280. But recently, I encountered a new problem: the damper pedal started working erratically. At first, I wasn’t sure it was a problem with the piano: could it be that I was not pressing the pedal all the way? But after a while I became sure that it was actually an issue with the pedal. So of course, I decided to investigate.
Diagnostic
The first thing to do was to look at the pedal mechanism. I laid the piano on its back (it’s heavy!).
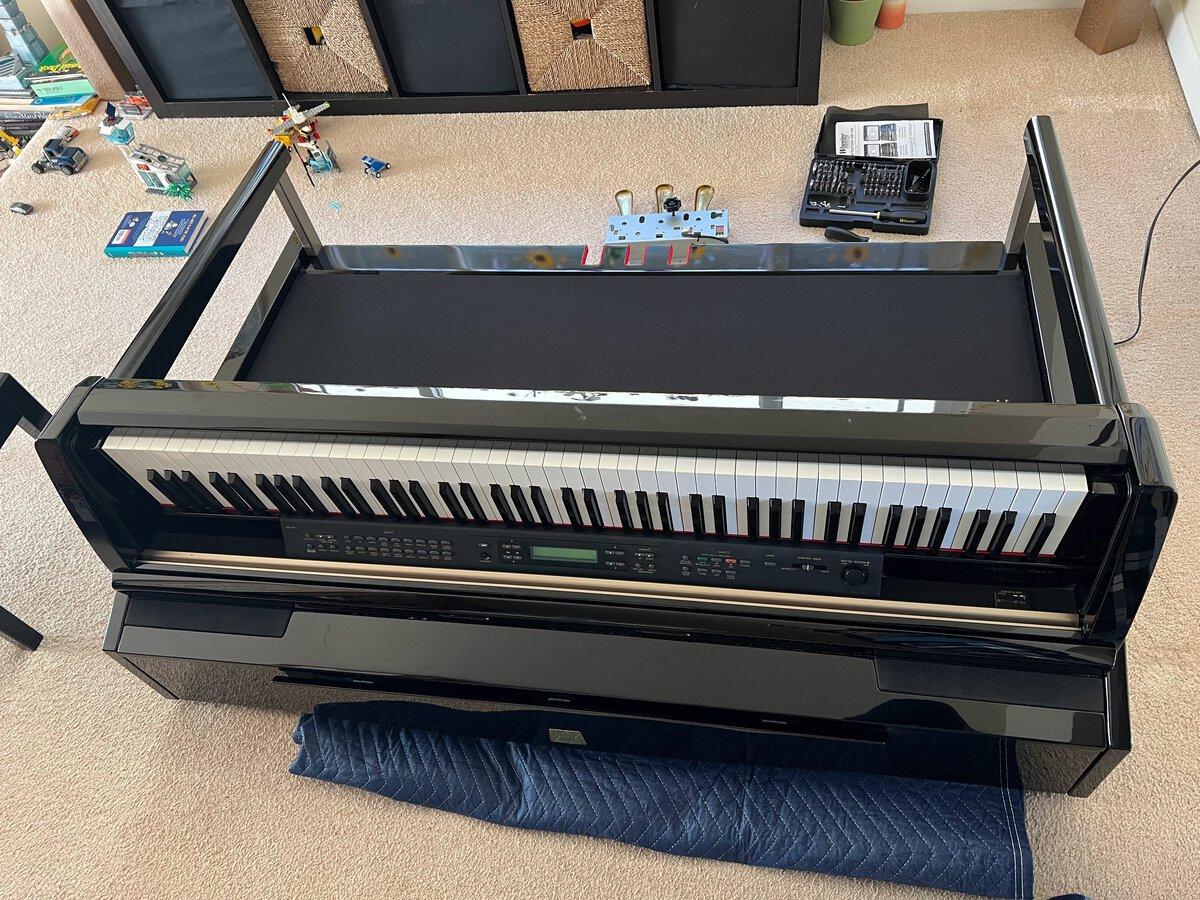
This allowed me to remove the 8 screws that hold the pedal assembly.
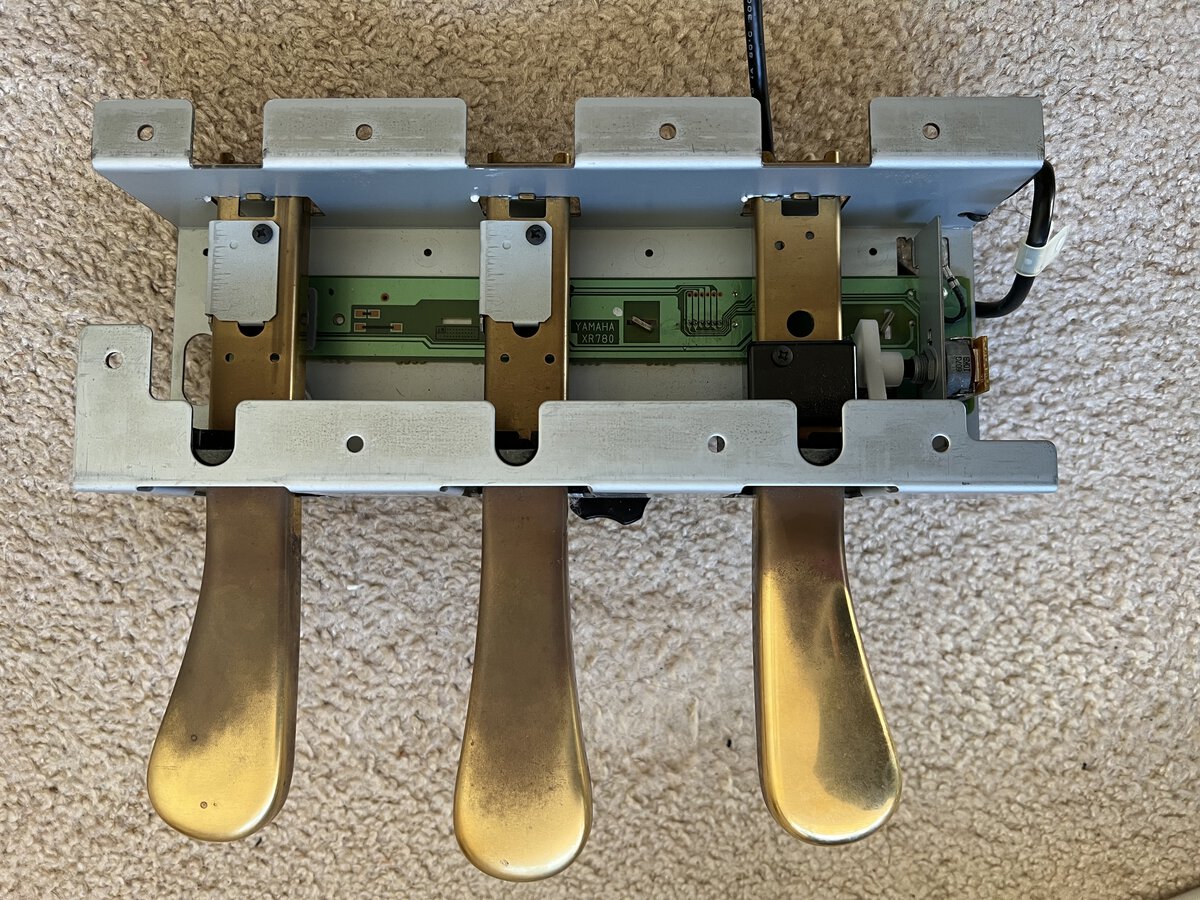

It is connected to the electronics with a cable attached with a connector.

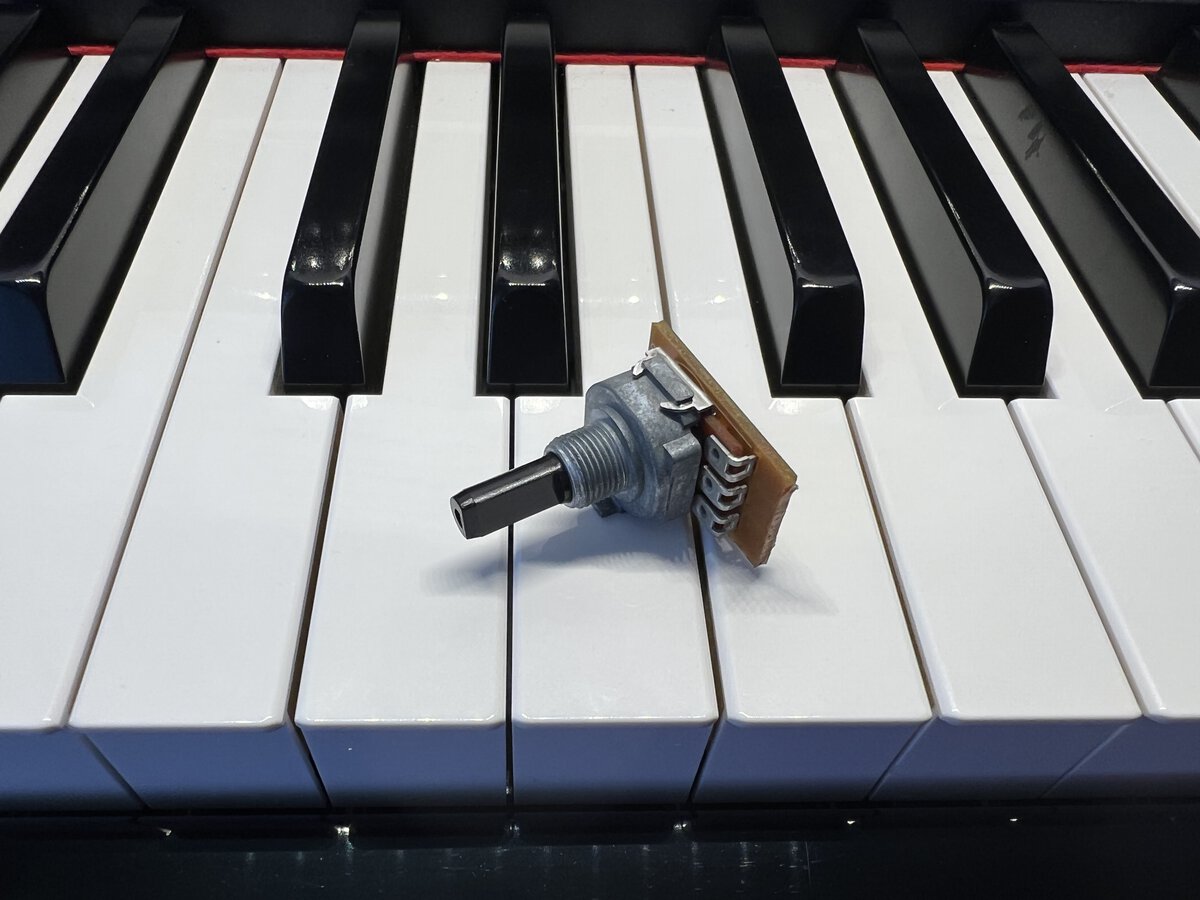
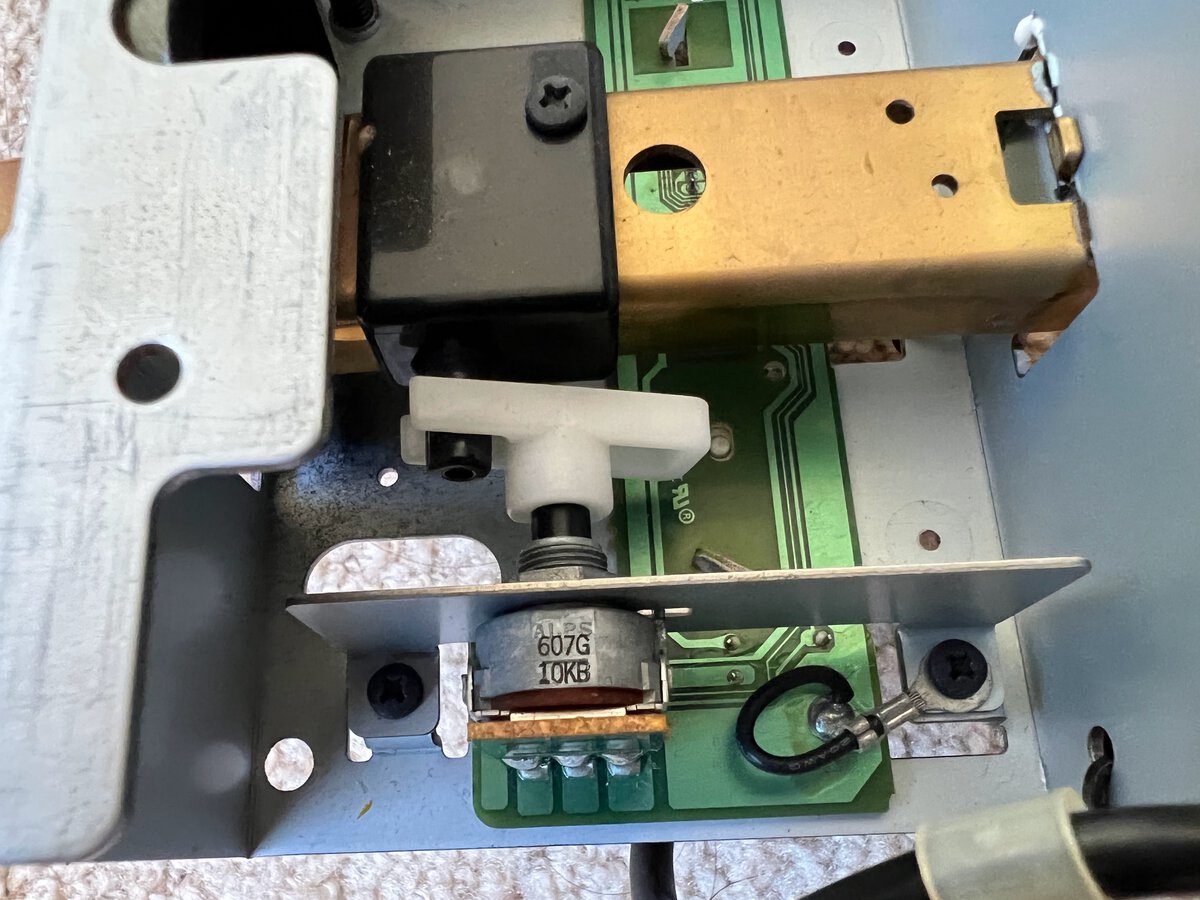
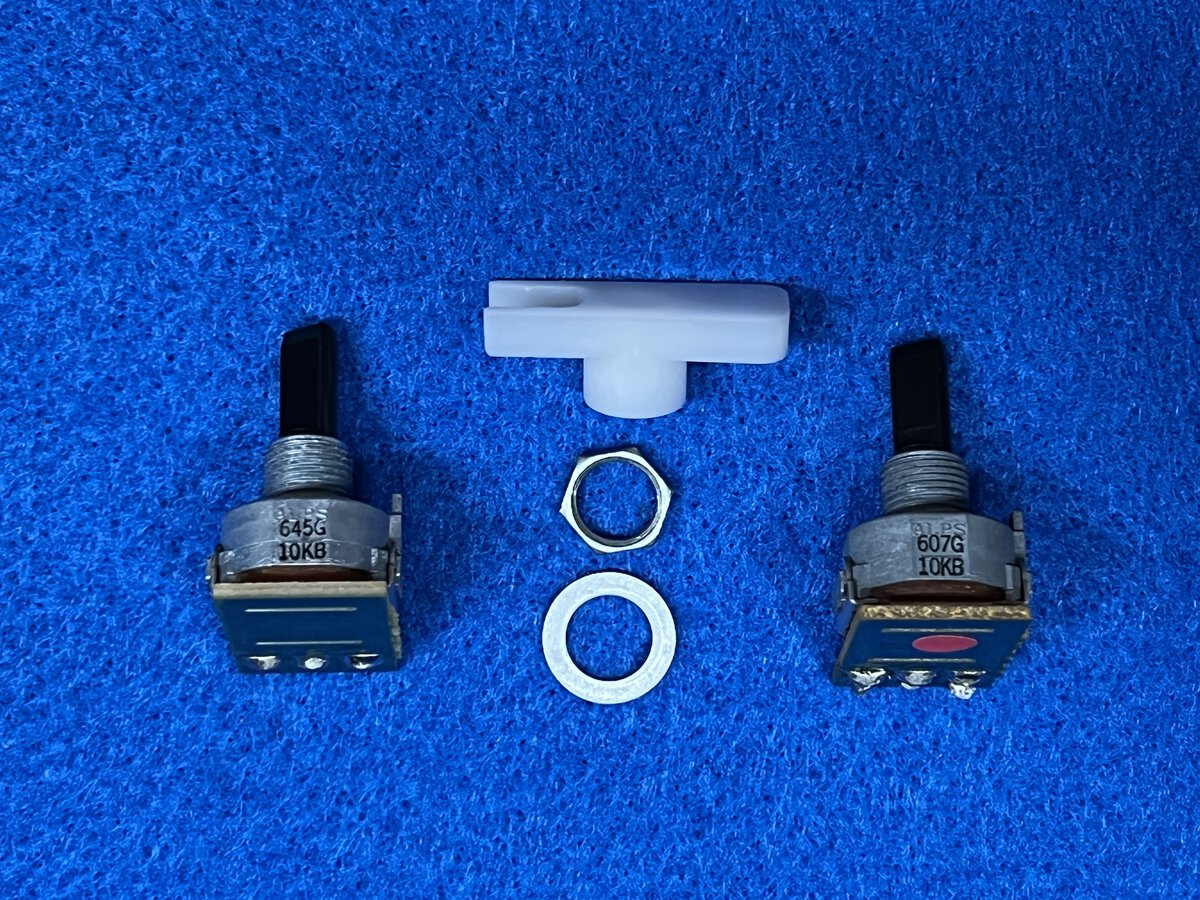
To my surprise, the damper pedal, unlike the other two pedals, is connected to a 10 kΩ potentiometer. The use of a potentiometer is so that the piano can simulate half pedaling. I hadn’t paid attention to that feature of the piano until now!
Given the absence of any other obvious damage, I immediately suspected that the potentiometer must have gotten worn or dirty due to use.
I checked the availability of the part online: either just the potentiometer, or the potentiometer with its small PCB assembly. The good news is that similar parts are available on eBay. The bad news is that they are fairly expensive: with shipping, I ended up paying about $30. But I figured that it was worth trying, and I ordered the part.
Replacing the part
I disconnected the connector and removed the cable ties so I could handle the pedal assembly on my workbench.
The new part appears to be an original Yamaha part. Both the new and old parts are 10 kΩ potentiometers of the ALPS brand, soldered to a small PCB. The old part indicates “607G”, while the new part indicates “645G”. I don’t know what those values mean.
I loosened the nut holding the original potentiometer to its bracket, and also loosened the two screws holding the bracket in place. I then desoldered the small PCB from the larger PCB, and was able to take out the presumably failing part.
I then soldered the new part in place, which went smoothly, taking care of securing the parts properly.
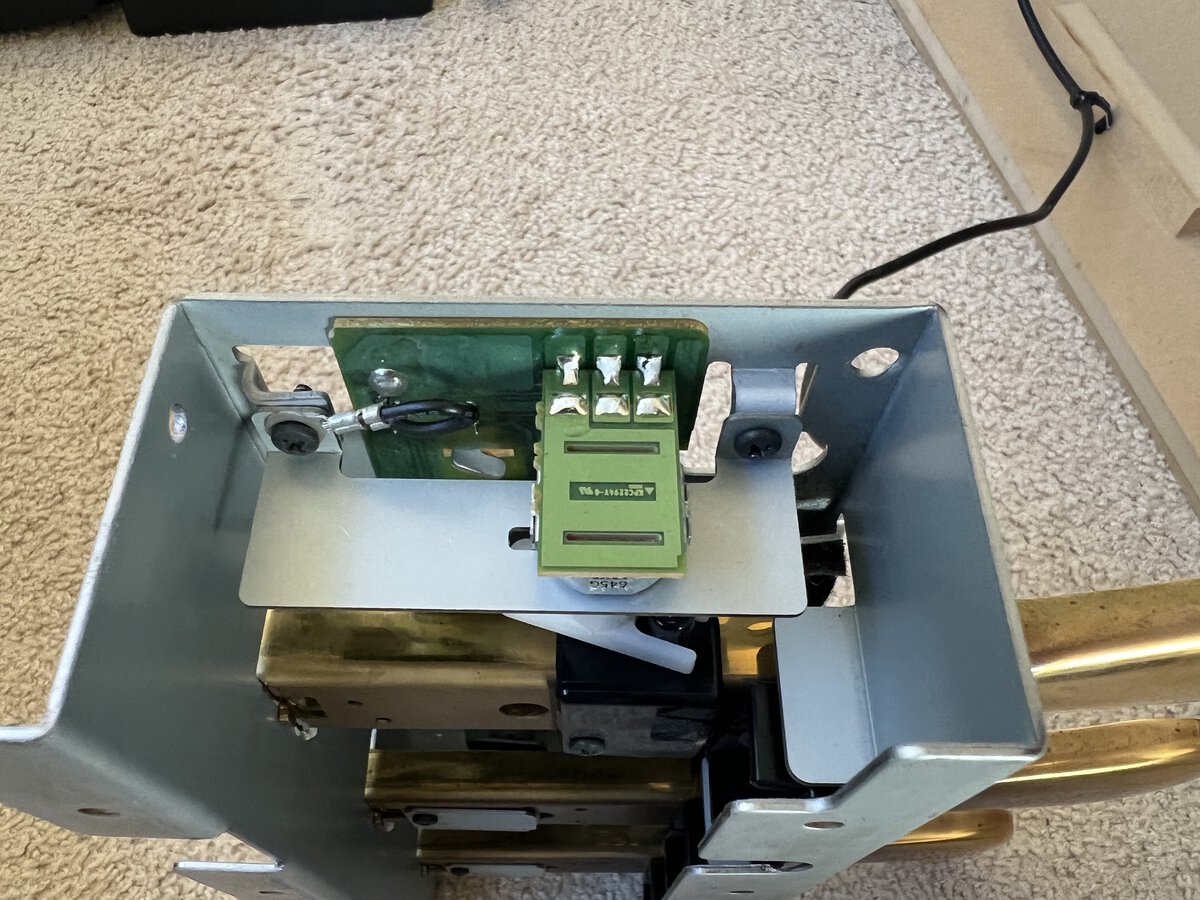
I plugged back the connector and after a quick test that things were working, I installed new cable ties, screwed back the pedal assembly and put the piano back to its vertical position.
Conclusion
Luckily, my original guess appears to have been correct, and the pedal now works well again! Had that not been the case, I might have tried ordering an entire pedal assembly, one of which was for sale for about $150. But I am glad I didn’t have to do that.
So this is another happy repair story, and my CLP is still going strong!
See also
Read about my other CLP-280 repairs:
Comments powered by Disqus.