
The problem
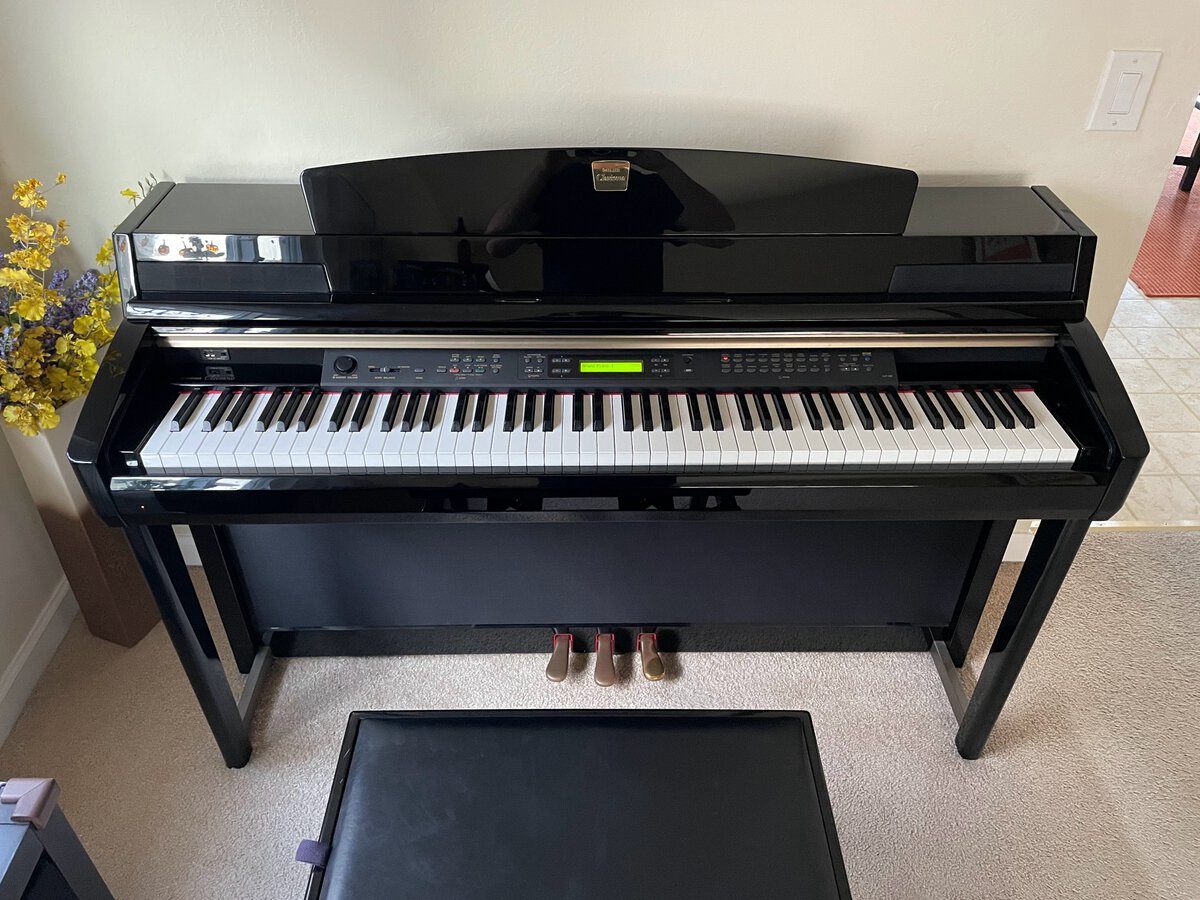
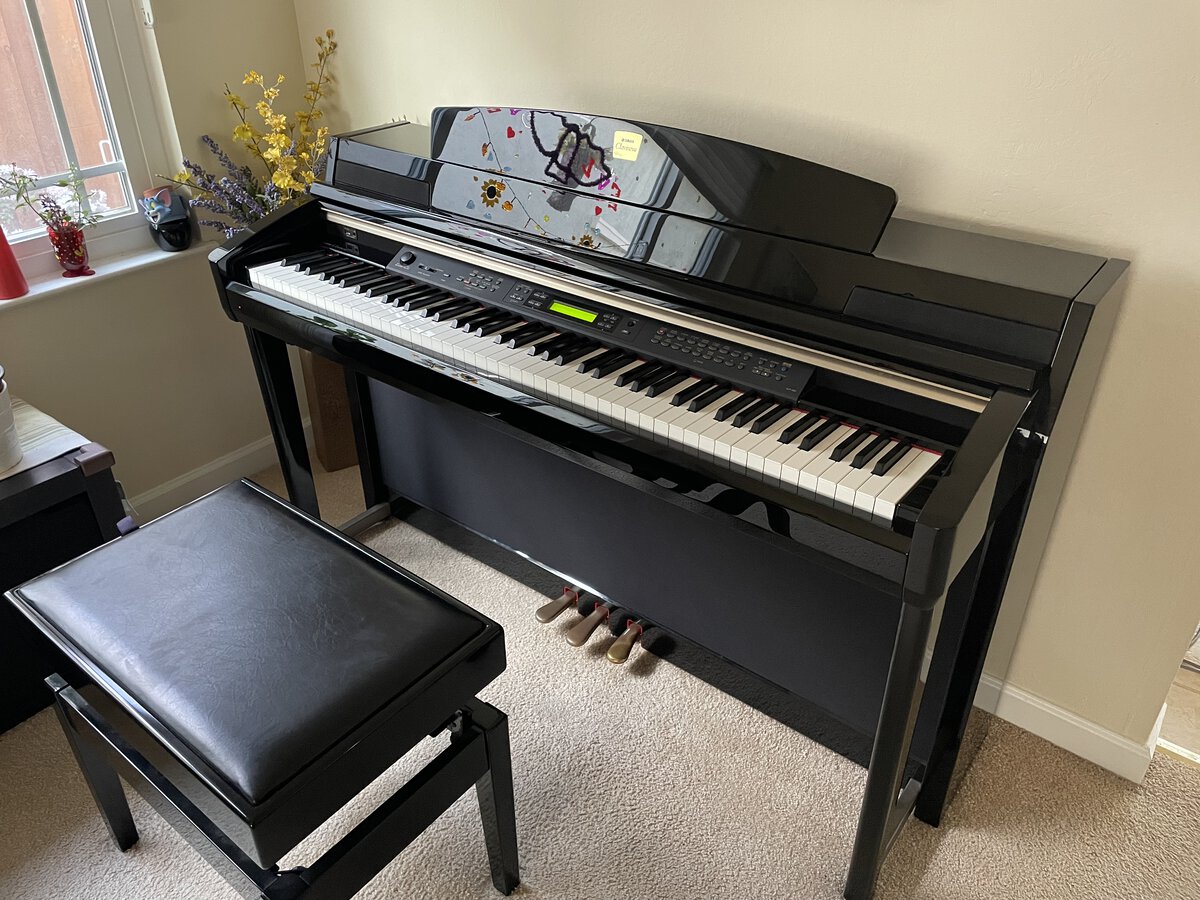
Over the last few months our Yamaha Clavinova CLP-280, which we bought around 2007, had developed issues: some keys, starting with A3, but then also G3, and then a couple of other keys, would sound at the maximum volume even when just pressed softly. Initially the issue would mostly go away after the first few minutes of the instrument being turned on. But more recently it started persisting, being more random, and essentially made the instrument unplayable.
Disclaimer
It’s common sense but probably has to be said:
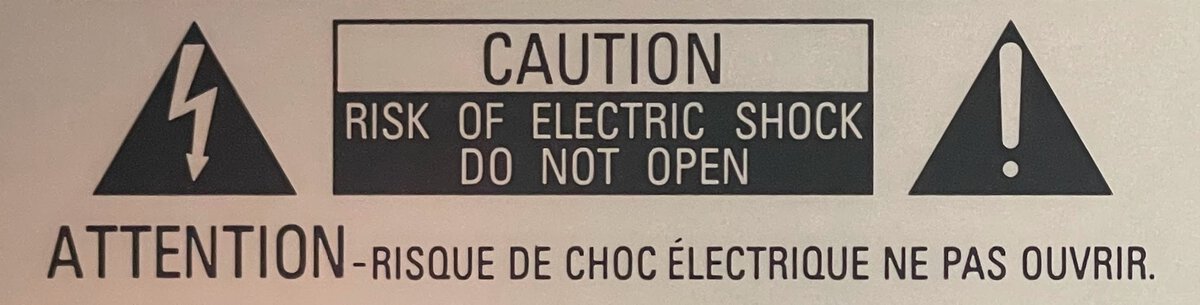
The Yamaha Clavinova is an electric device. Some parts inside are live with 110V. So make sure you disconnect the power cord before doing any work, and if you have to plug the piano while open don’t put your fingers in the wrong spots! It’s probably better to do this only if you have some experience with electric and electronic devices already. Also, if you put things back together incorrectly don’t blame me!
Trying things
I had already used compressed air between the keys, thinking it might dislodge dust or other debris that might cause the problem. But that didn’t seem to achieve any results.
So I decided to have a look inside. I remembered that when I moved the piano once 11 years ago I had separated the top from the bottom, and I thought that might be a necessary prerequisite as I couldn’t see a way to open the top otherwise.
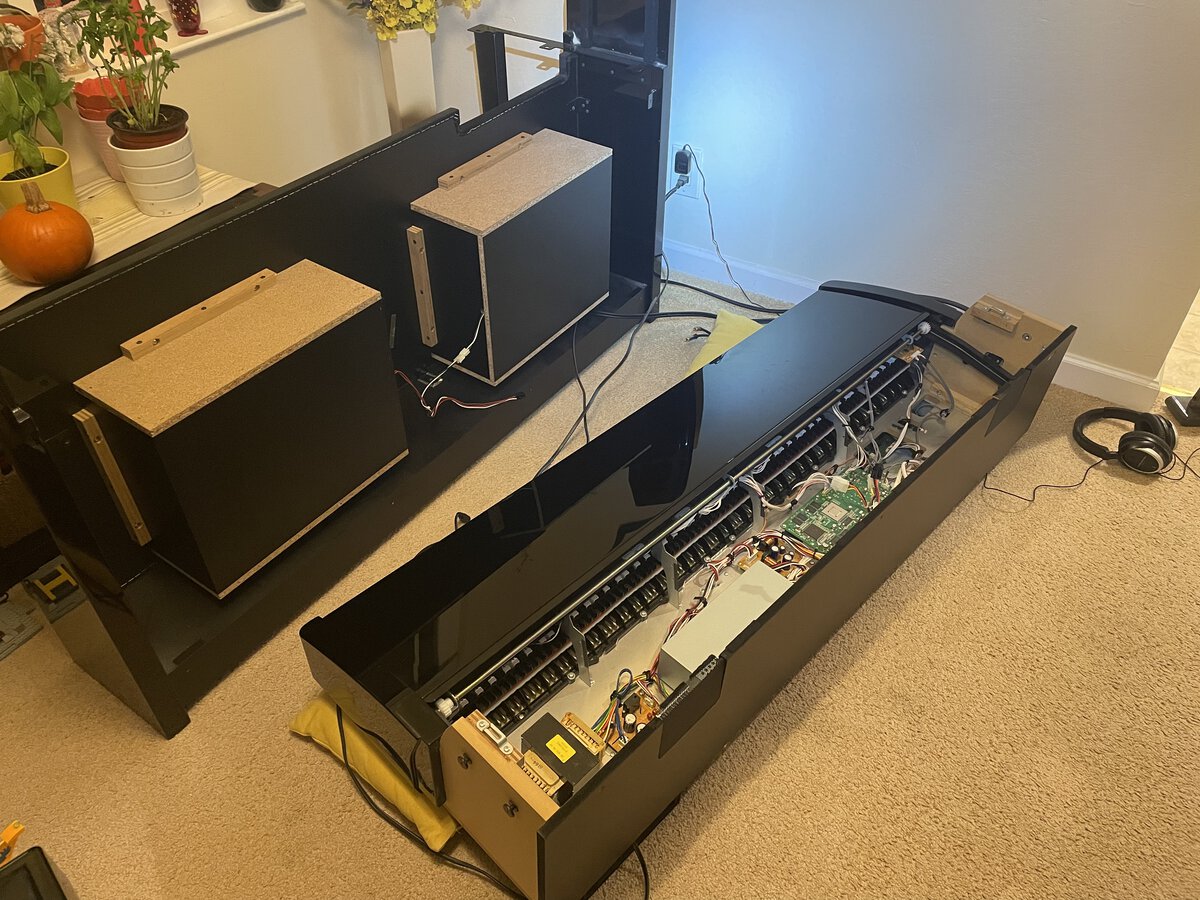
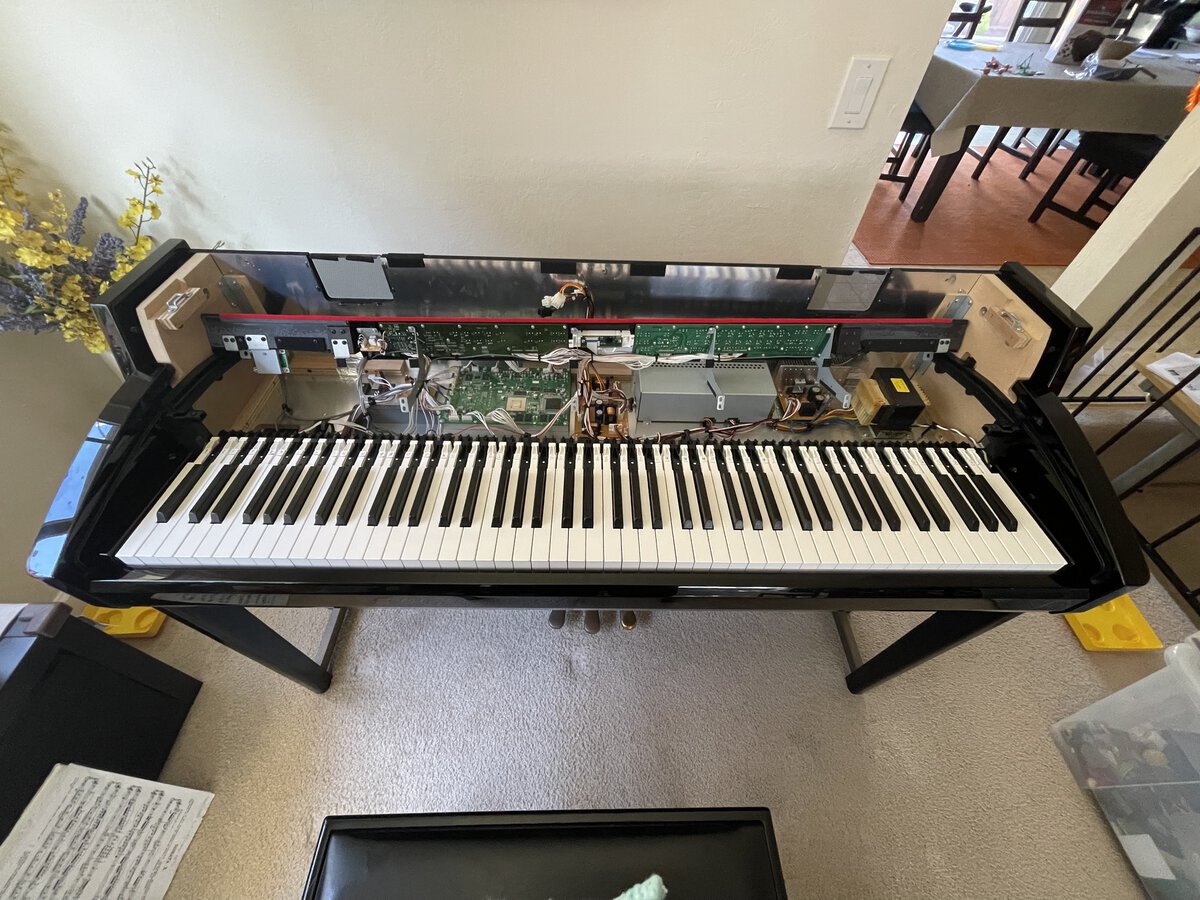
But it turned out not to be necessary! In fact, the top opens by removing 3 screws at the top from the back, and then sliding the top cover towards the front. Then you can remove the top cover and see inside. You have to disconnect 3 cables for speakers and microphones as well. I found out by chance and then a video confirmed that as well.
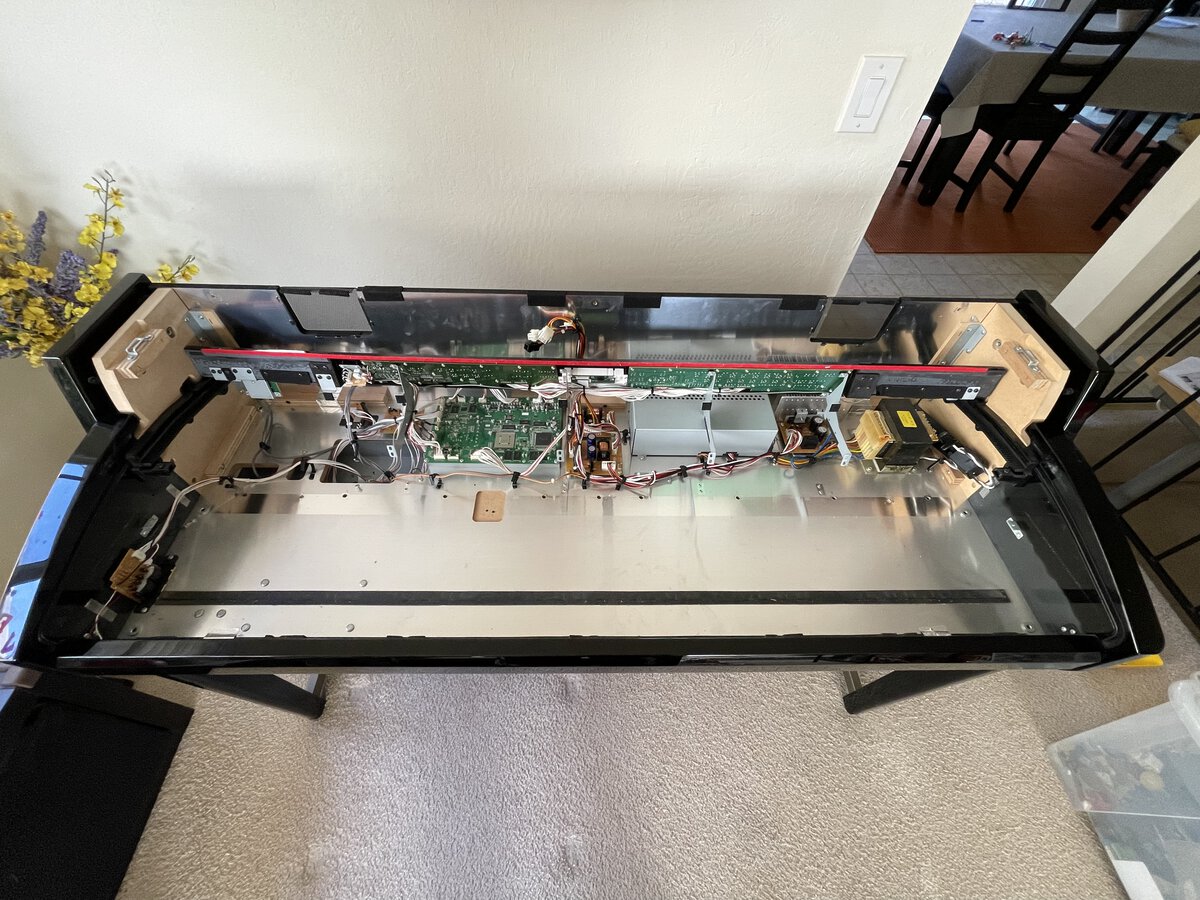
I looked inside, cleaned with compressed air as things were a little dusty, but that didn’t do anything to fix the issues. I even found a dime resting on one of the speaker boards! But that wasn’t the cause of an actual issue either.
In addition, while trying the piano again, I noticed that the A#3 key was moving too much laterally, and while doing so was making noise. It was the only key like this one the keyboard. Was this a new issue? Or maybe I hadn’t noticed it before? I still don’t know.
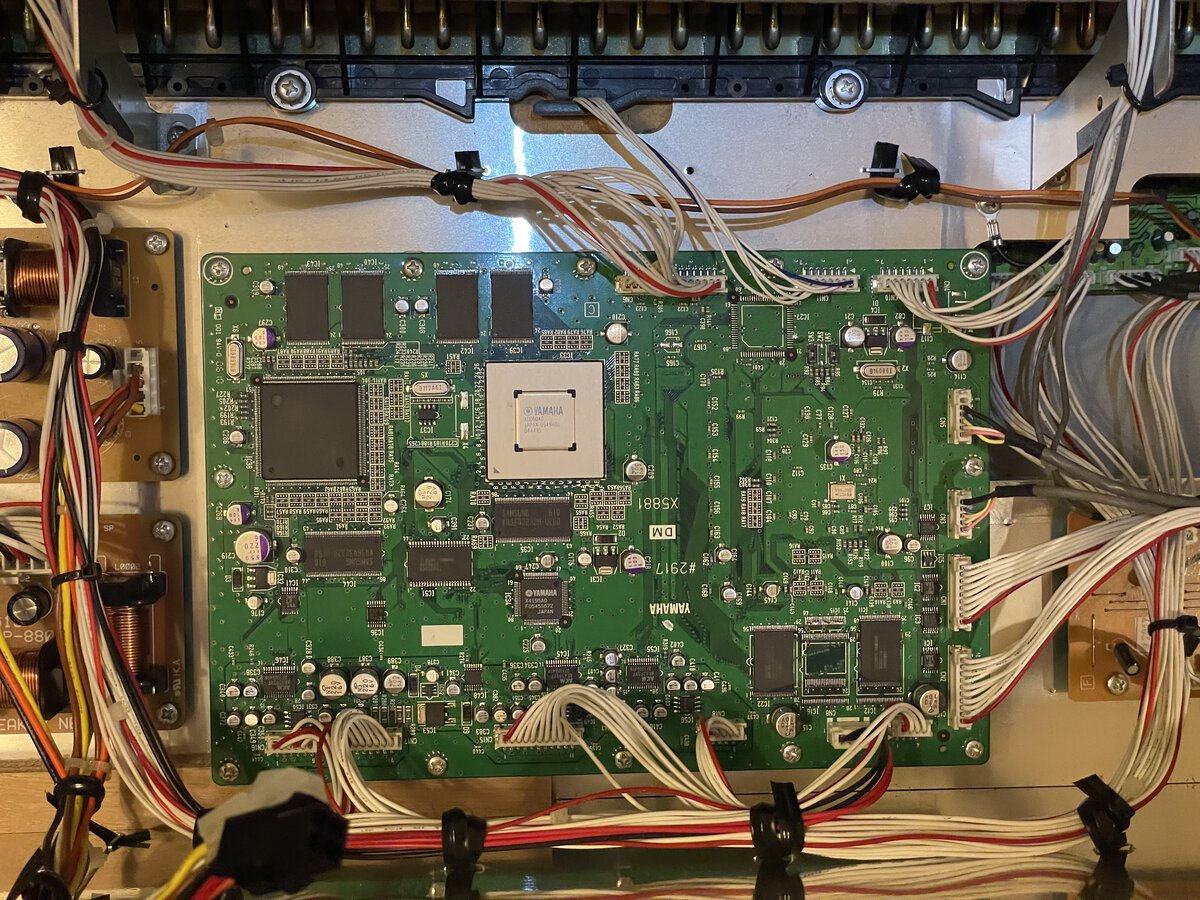
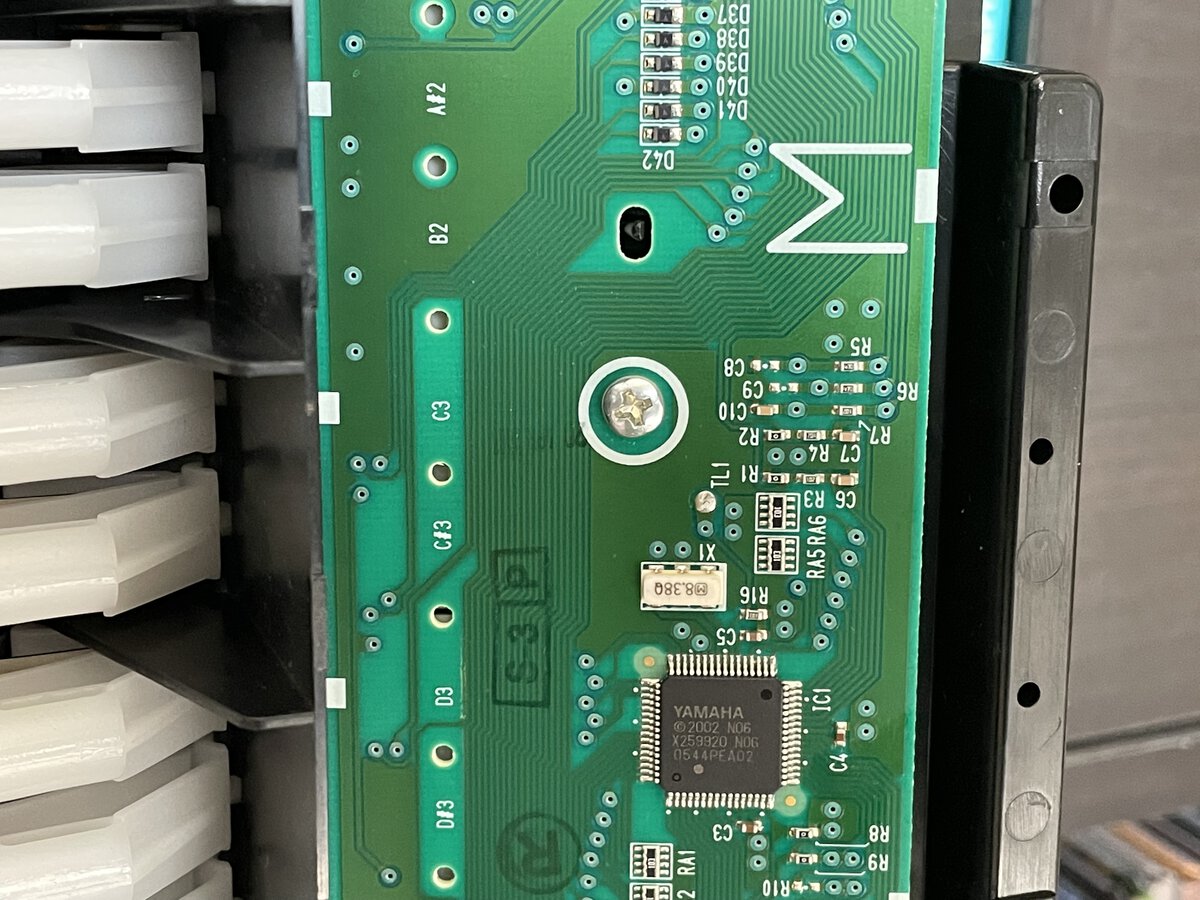
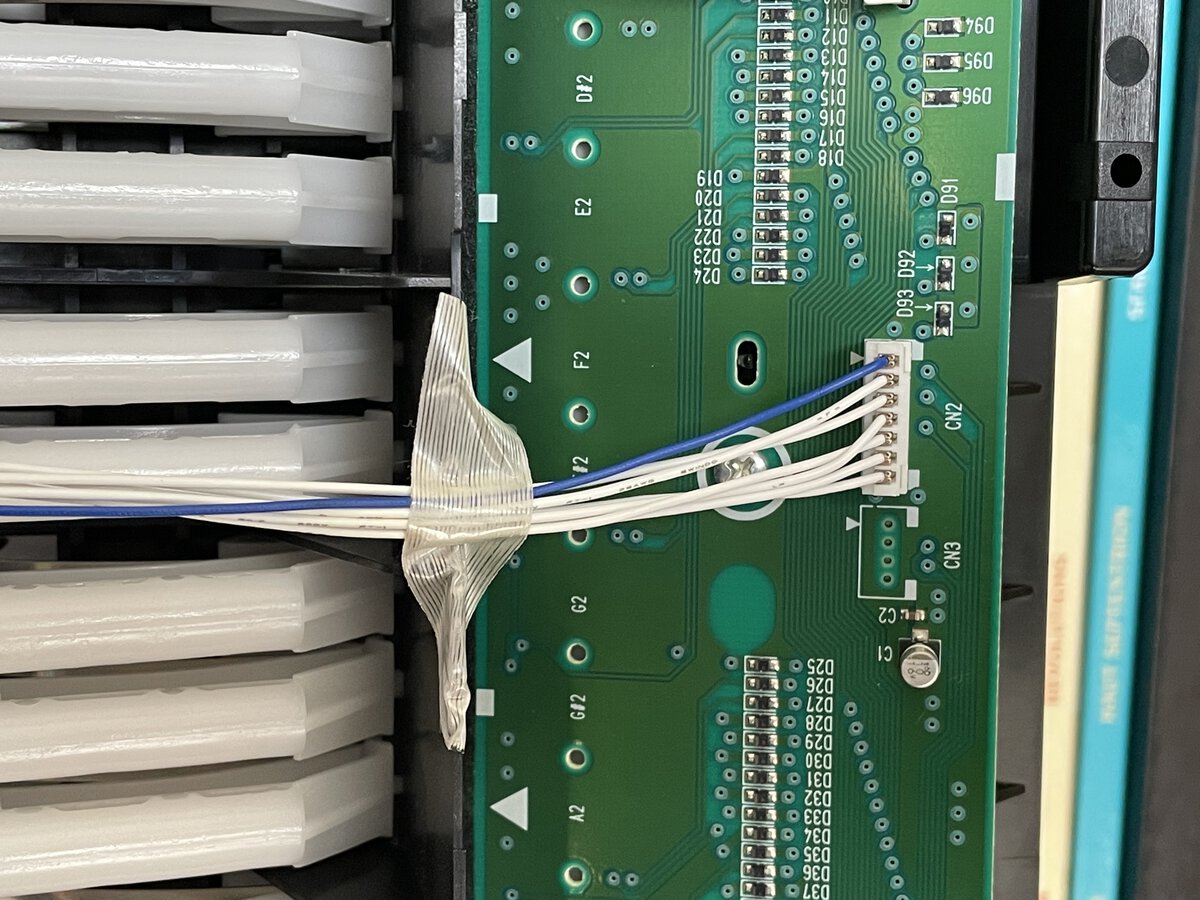
Not that it matters but here you can see the main board. There are some Samsung as well as Yamaha chips.
Even with the top removed I could only see the back of the keyboard and nothing obviously problematic there. I also couldn’t see an obvious way to go further, and I was almost ready to contact Yamaha service centers to see if fixing a 14-year-old digital piano was a possible thing. I put the piano back together.
Going further
But then I found a couple of videos online about replacing Clavinova keys, including removing the entire keyboard, and that encouraged me to go further (as did my wife!). It seemed like it wouldn’t be that difficult after all since others had done it without too many issues along the way.
So one day later I opened the piano again and did further disassembly:
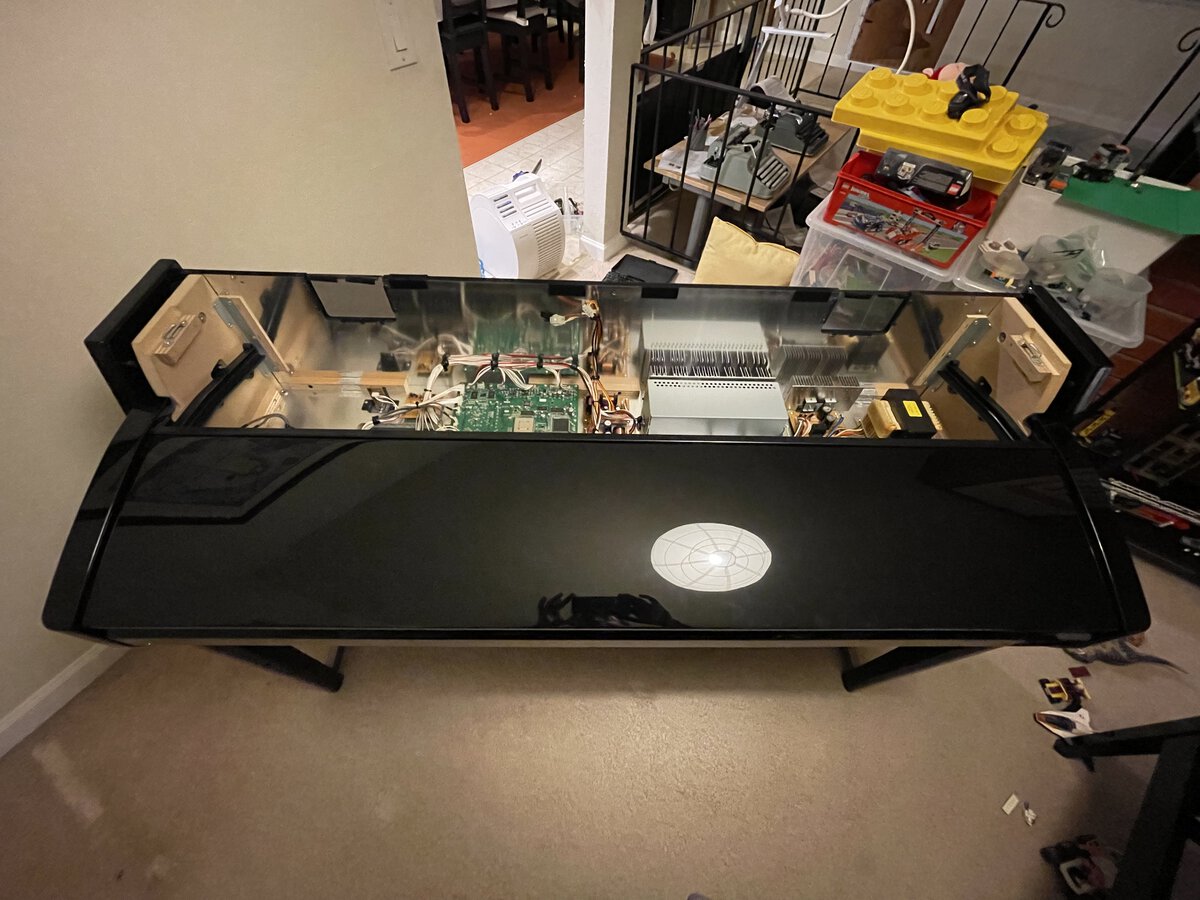
I removed the sliding keyboard cover. You do this by removing the 2 small covers on the rails on both sides. This allows lifting the back of the cover through. Then you rotate the cover a little so that it can come out of the rails.
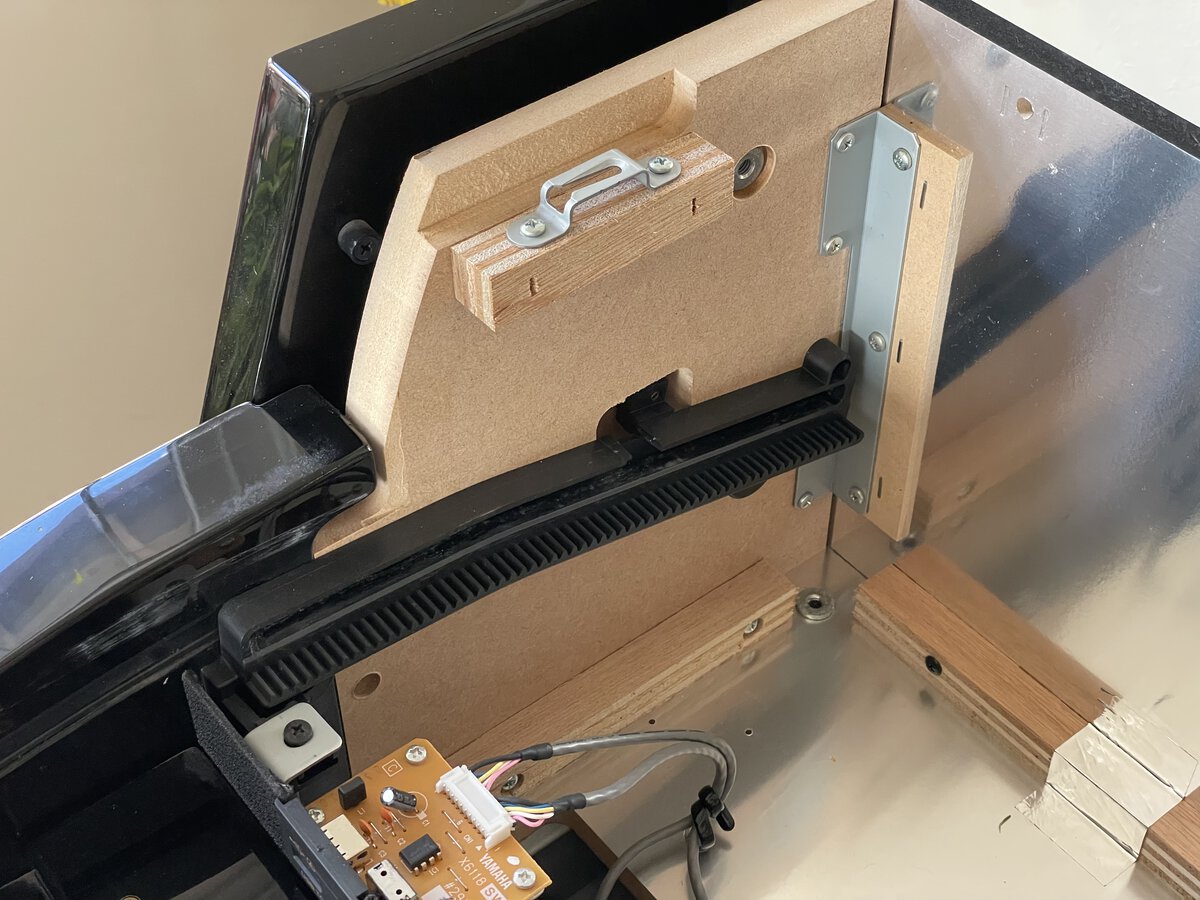
Opening in the rails I unscrewed the front panel which holds the buttons, LCD, and more. There are 4 metal supports, each with 2 screws. There is also a screw holding a cable which I removed, and one screw on each side of the piano. I also disconnected the connector on the left, leaving all the other ones connected. Then I just folded the panel towards the back, letting it rest on other elements.
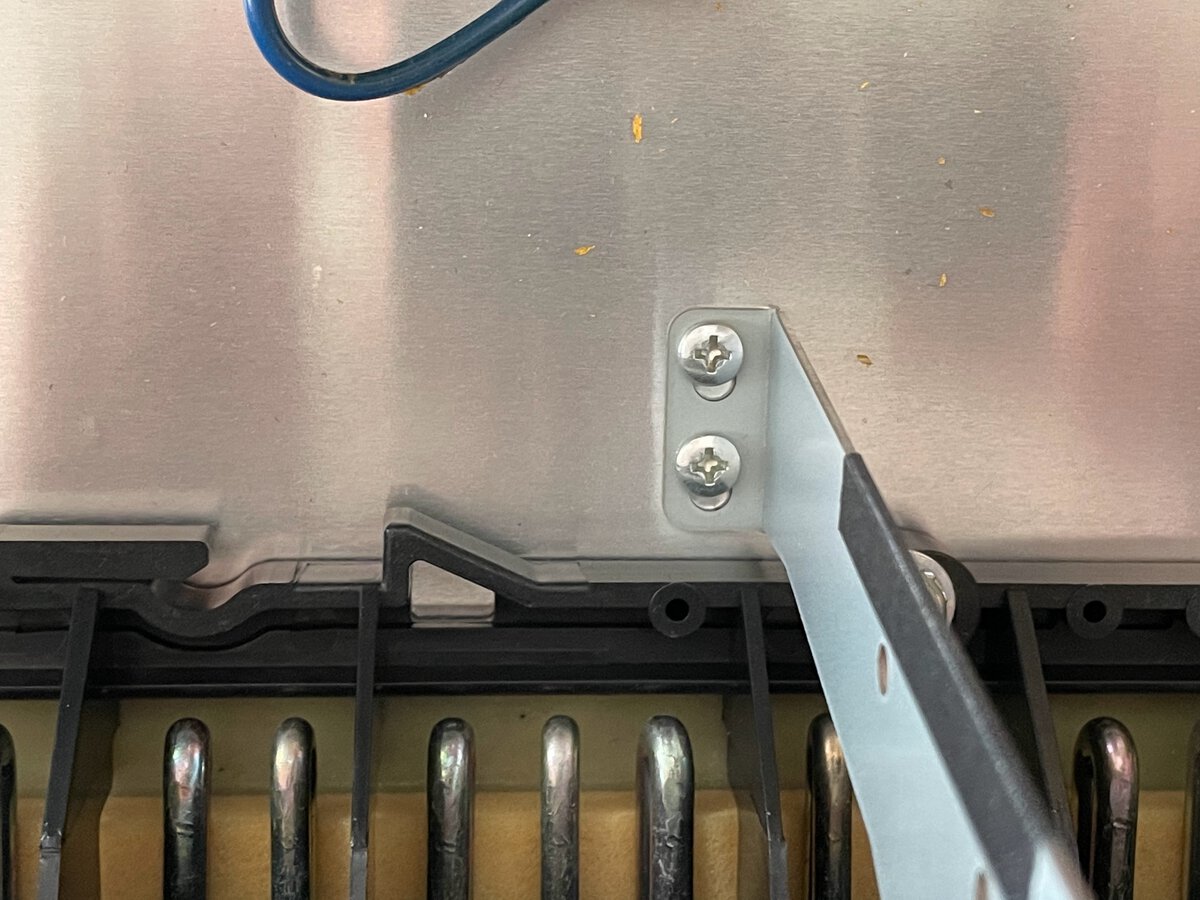
Front panel metal support screws I removed the two wooden blocks on each side of the keyboard. Each is kept in place with a single screw. The right-side block also holdes the power button. I am not sure that this step was strictly necessary.
I removed the screws that hold the keyboard in the back. There are 9 main identical screws (I think) and 2 secondary wood screws.
I disconnected the keyboard from the electronics.
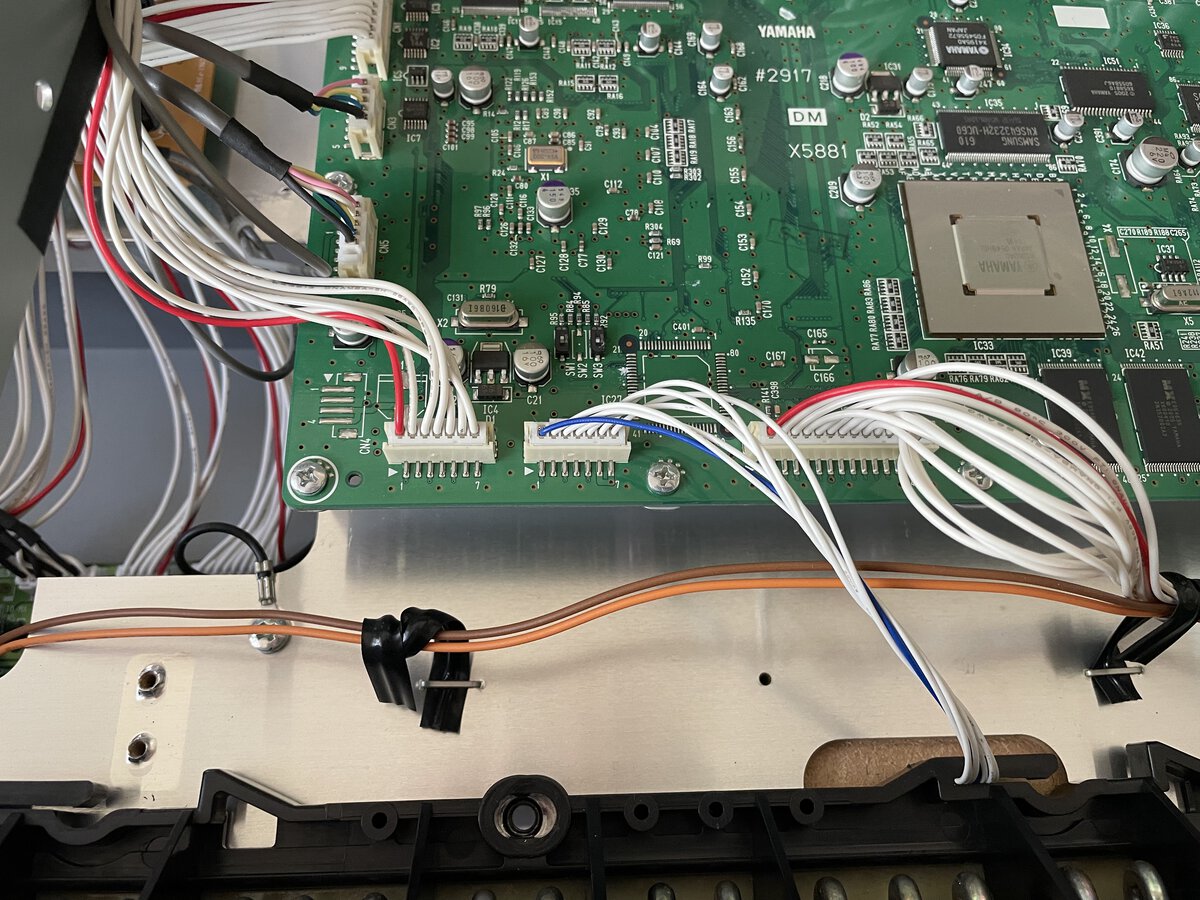
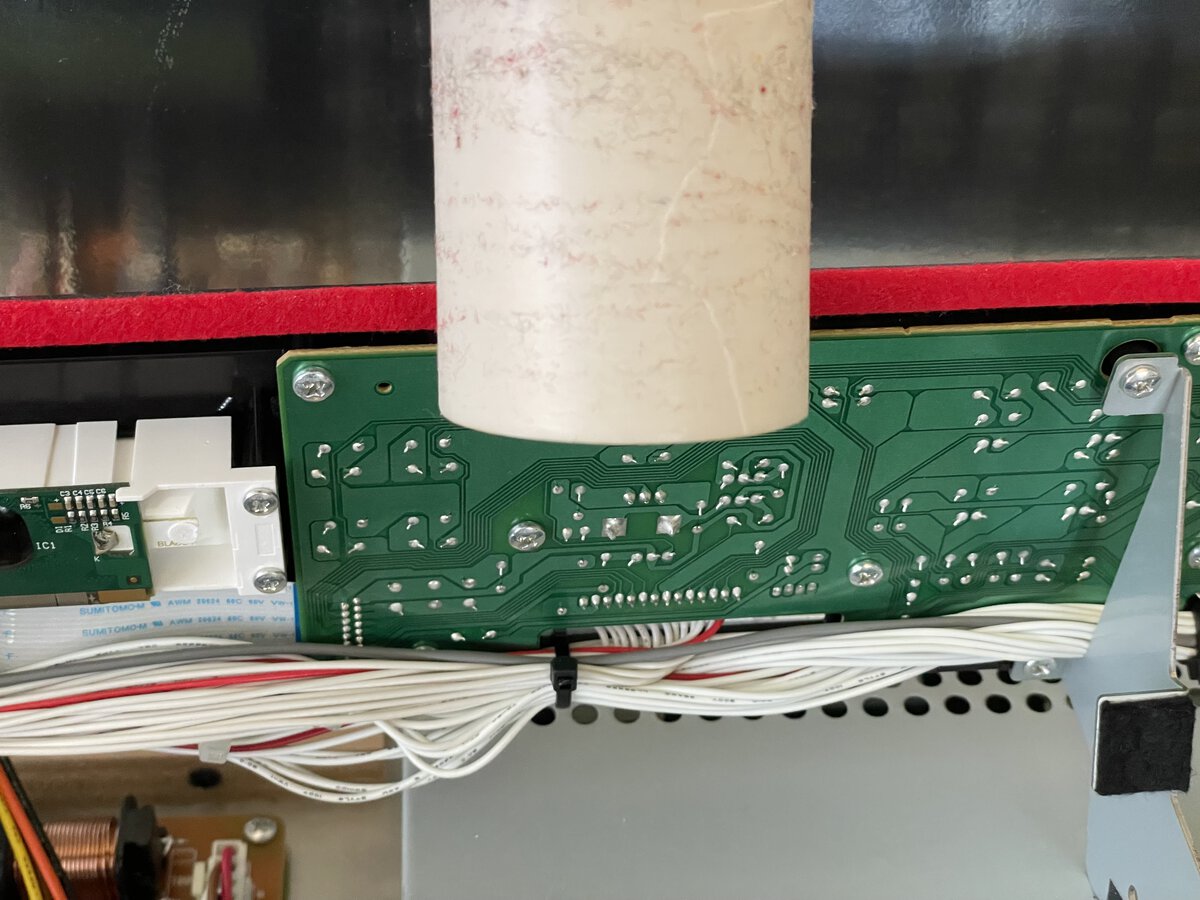
The keyboard connector is in the middle
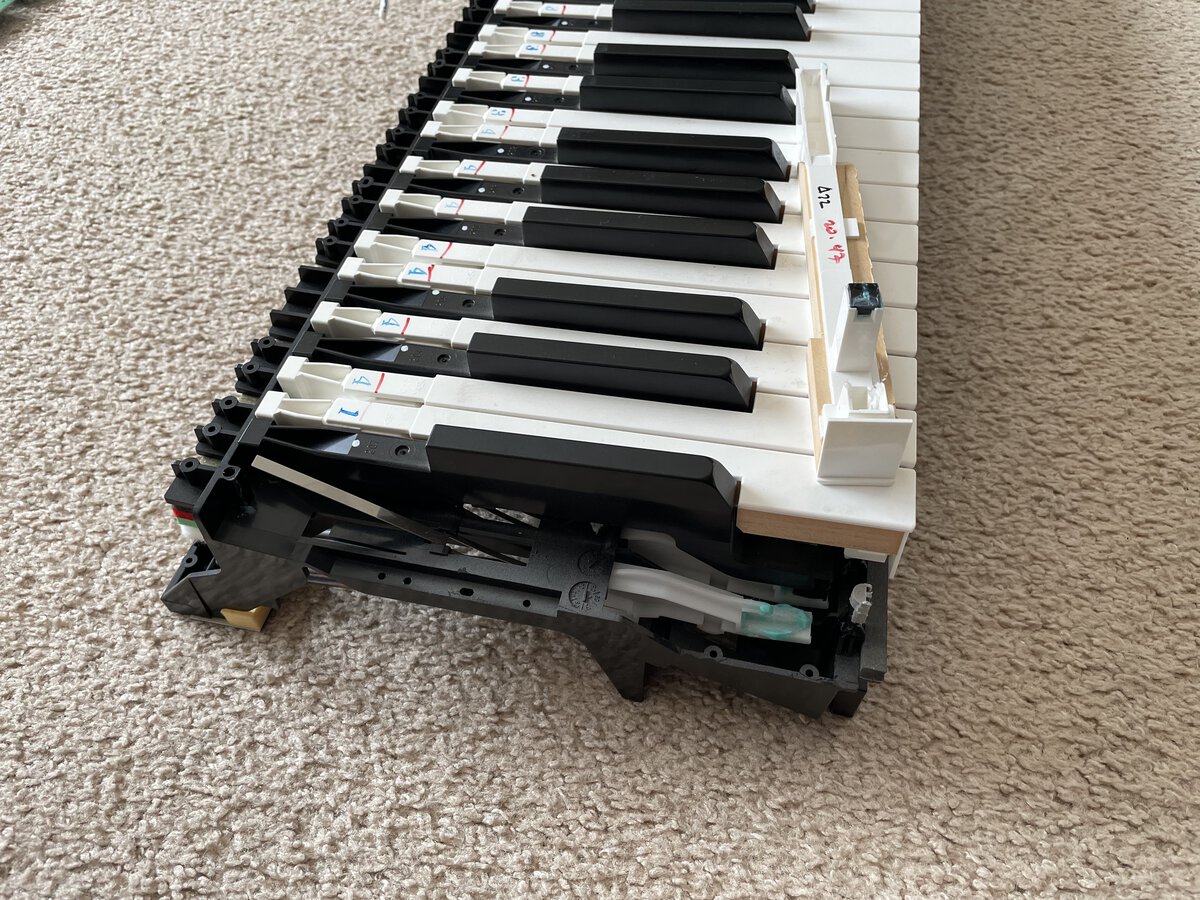
Once this is done you can push the keyboard a little towards the back and then lift it out of the piano!
The keyboard’s electronics
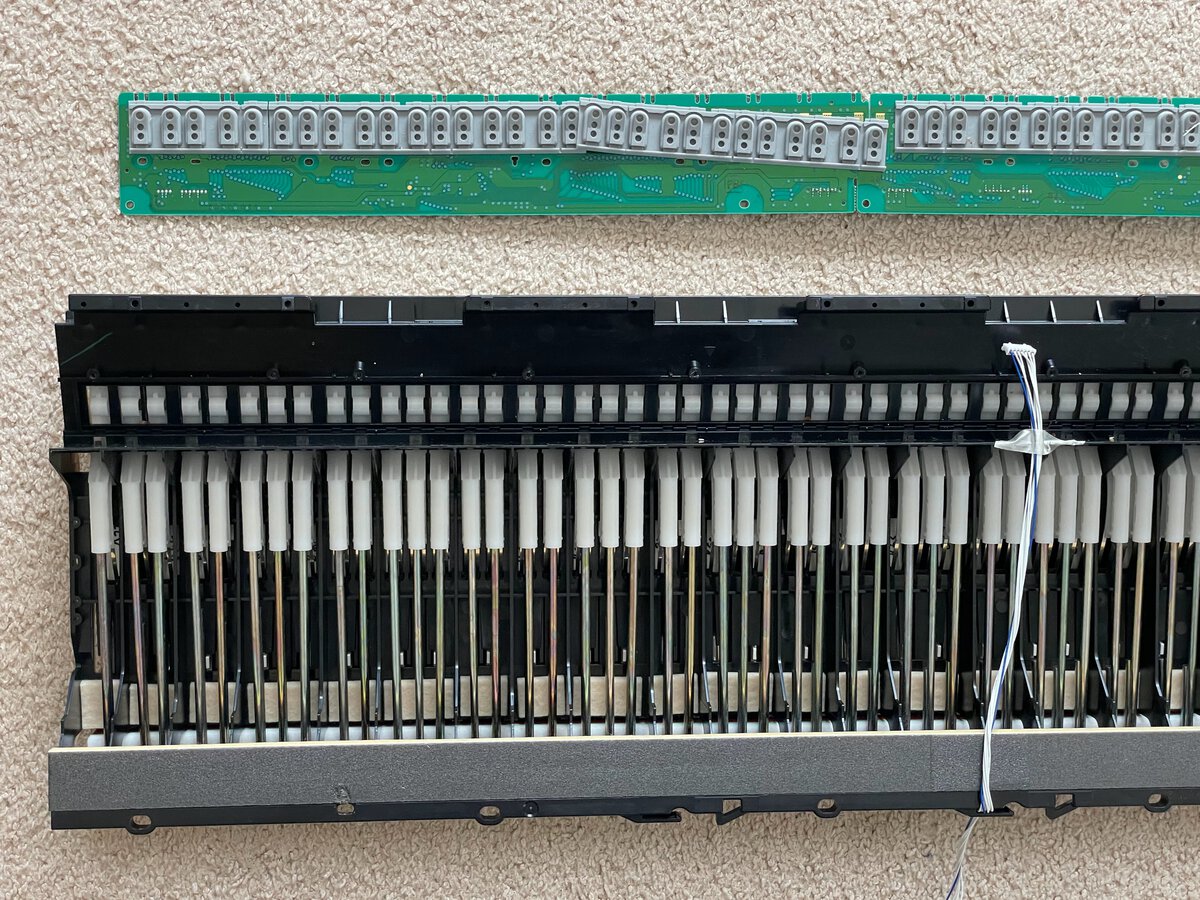
I put the keyboard on the floor to examine its condition. I did find some dust, hair, and small debris there. Was that causing the issue? Possibly.
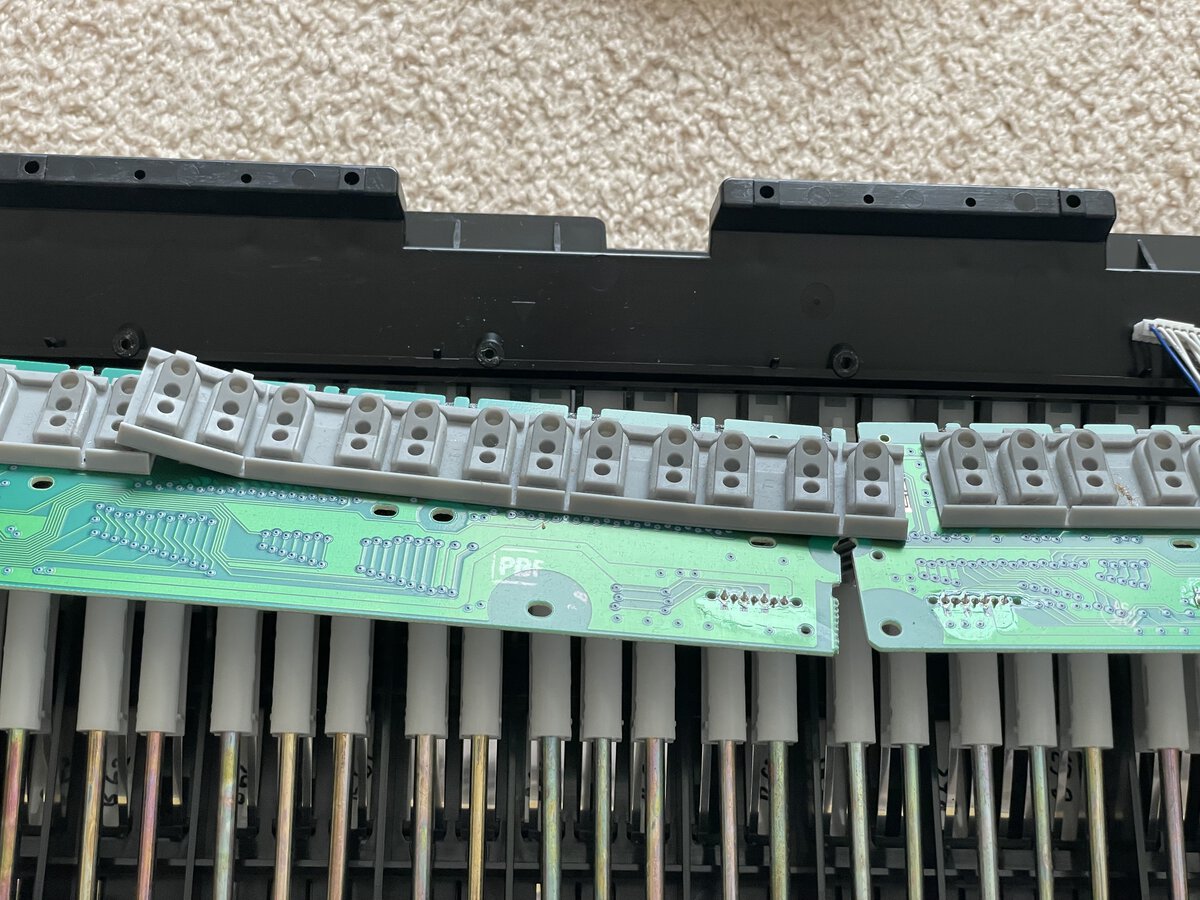
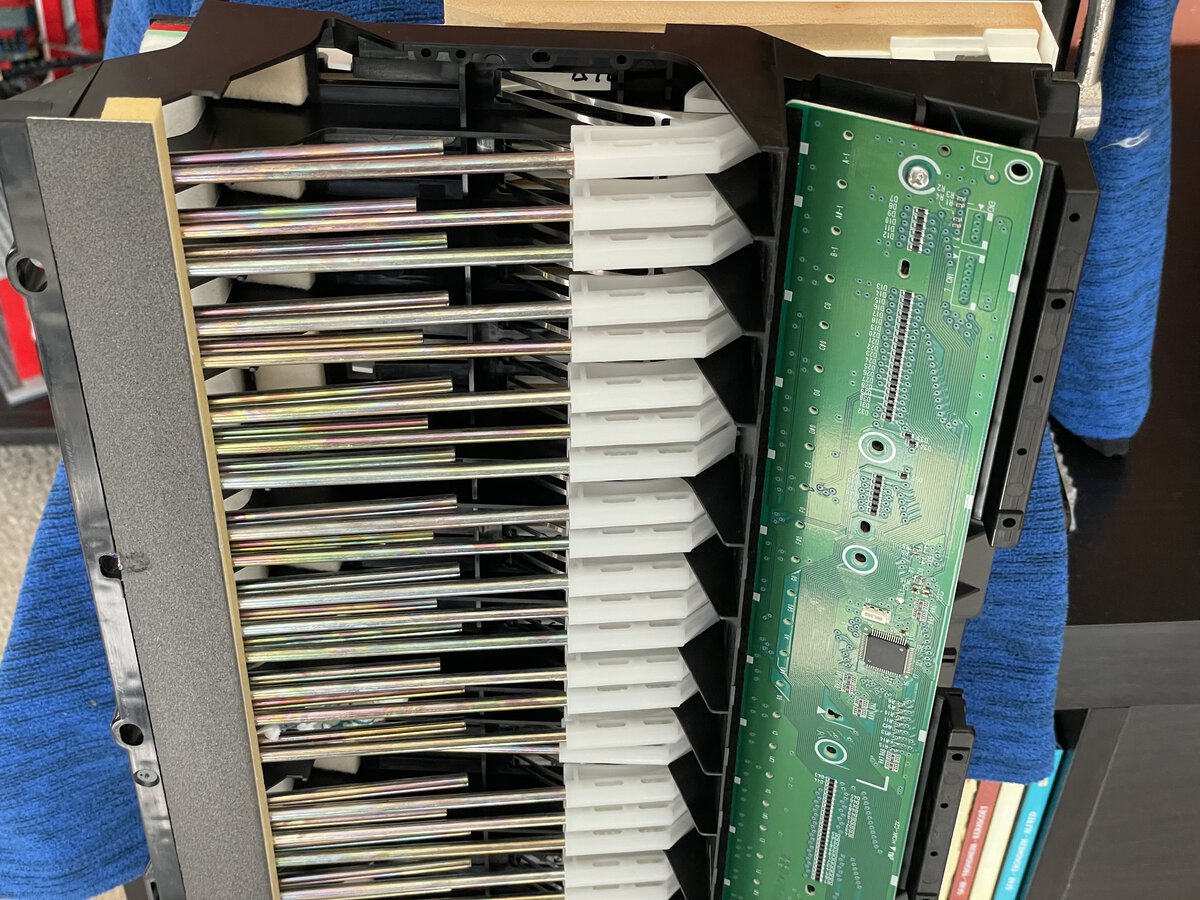
But I decided to go even further and to remove the three connected electronic boards or PCBs (marked “L”, “M”, and “H”) that hold the sensors for each key. Those are towards the front of the keyboard, which makes sense as that’s where the keys have the most travel.
You do this by flipping the keyboard on its back and removing all the screws, then pulling out the PCBs carefully. I also disconnected the connector going to the middle (“M”) board. I could see right away dust and debris.
The keyboard membranes will come out as well but that’s ok. I was careful not to mix them up, touch them inside, or let them gather more dust.
The keyboard parts that activate the membrane keys also had dust and some small debris. I vacuumed and used compressed air on everything.
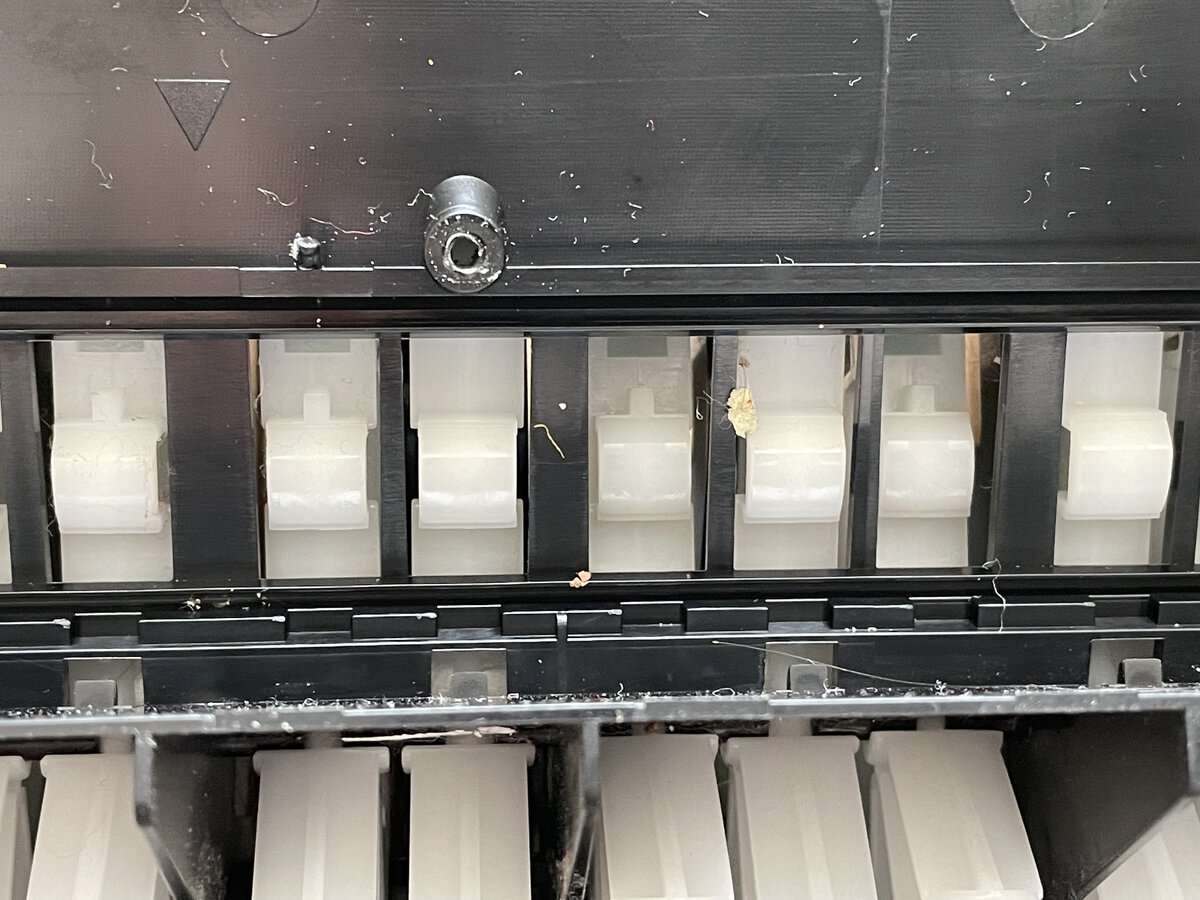
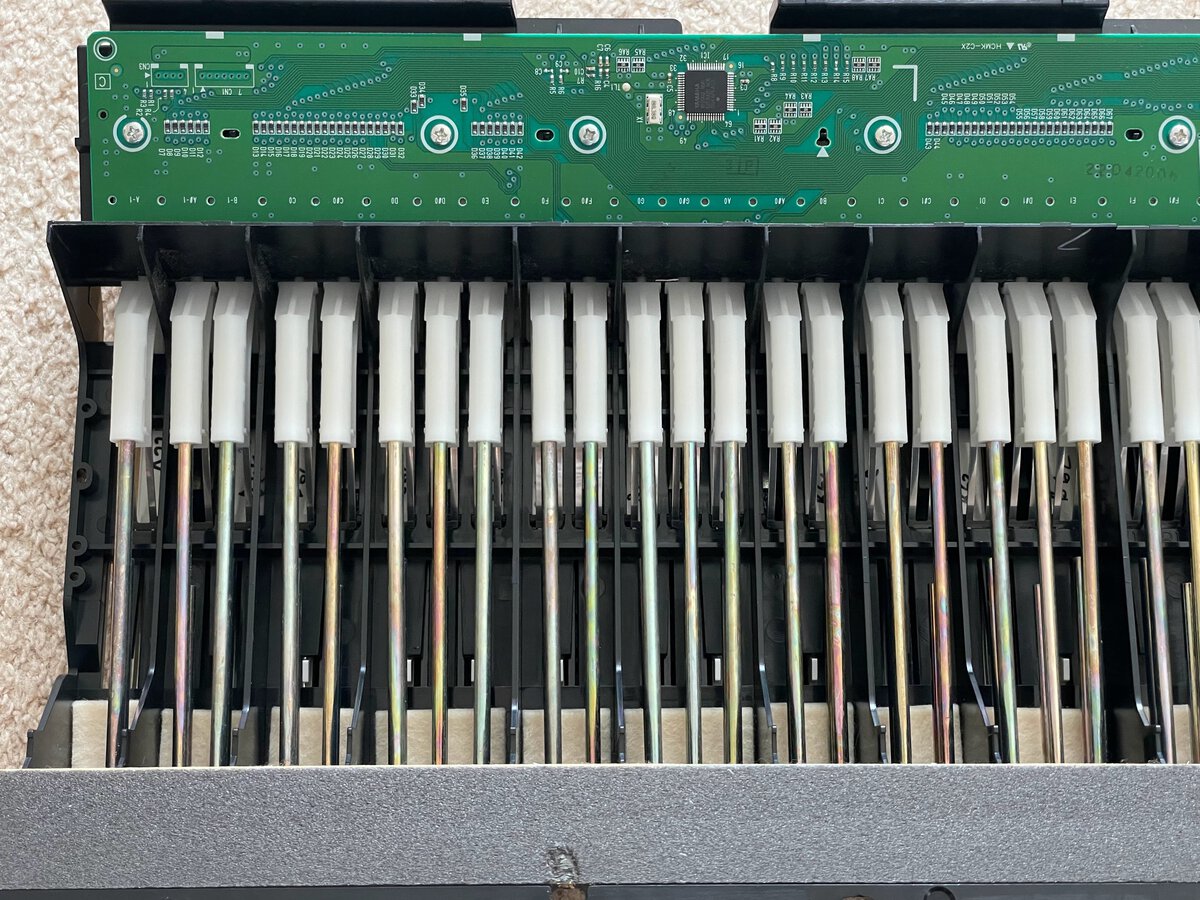
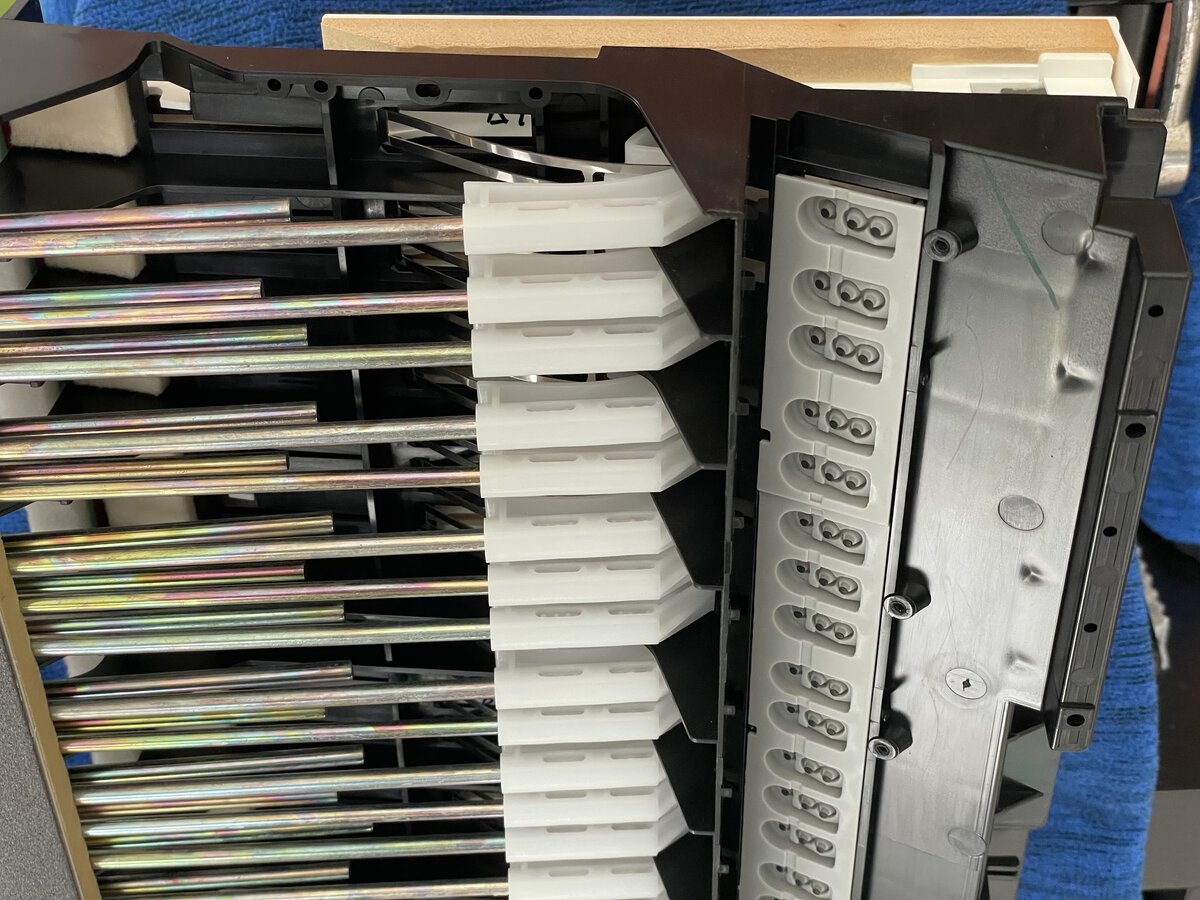
Here is how the keyboard bottom looks with the boards removed.
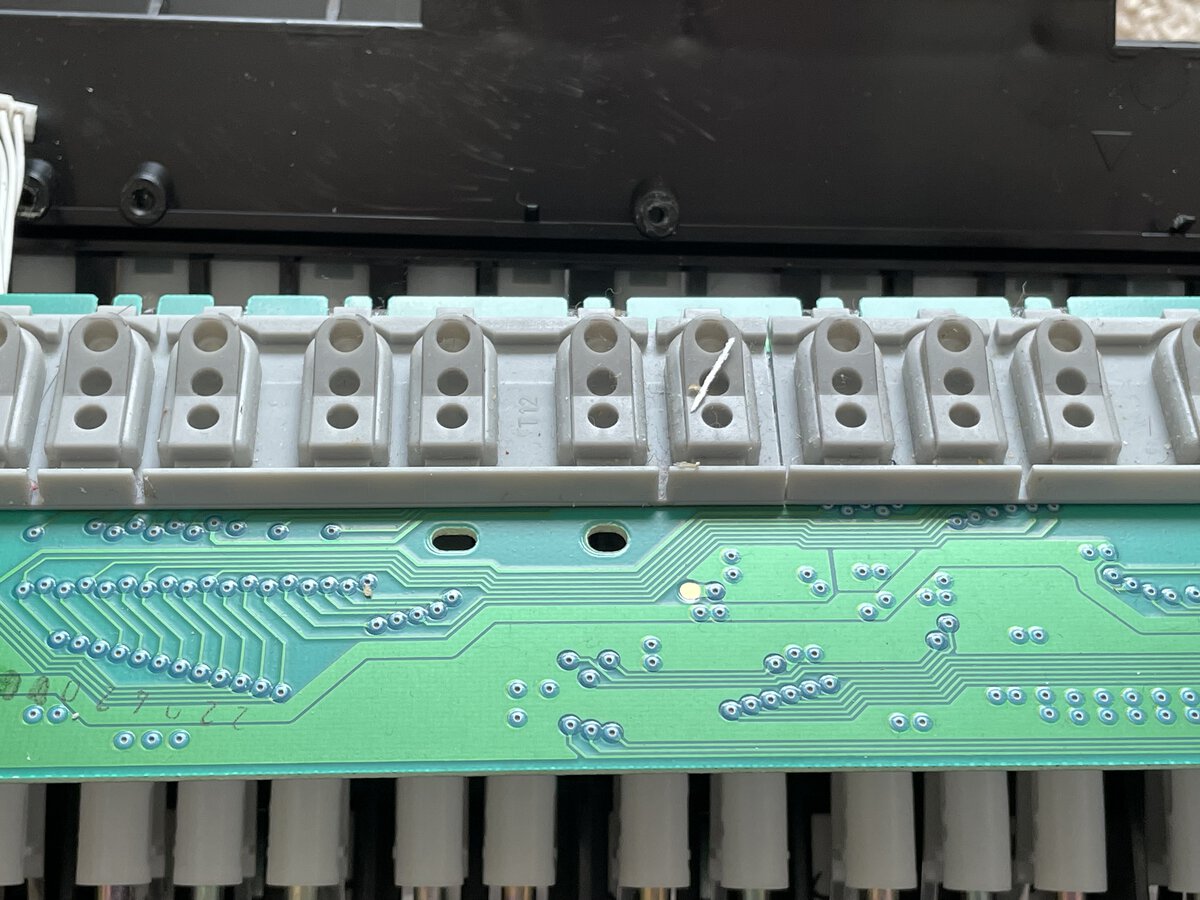
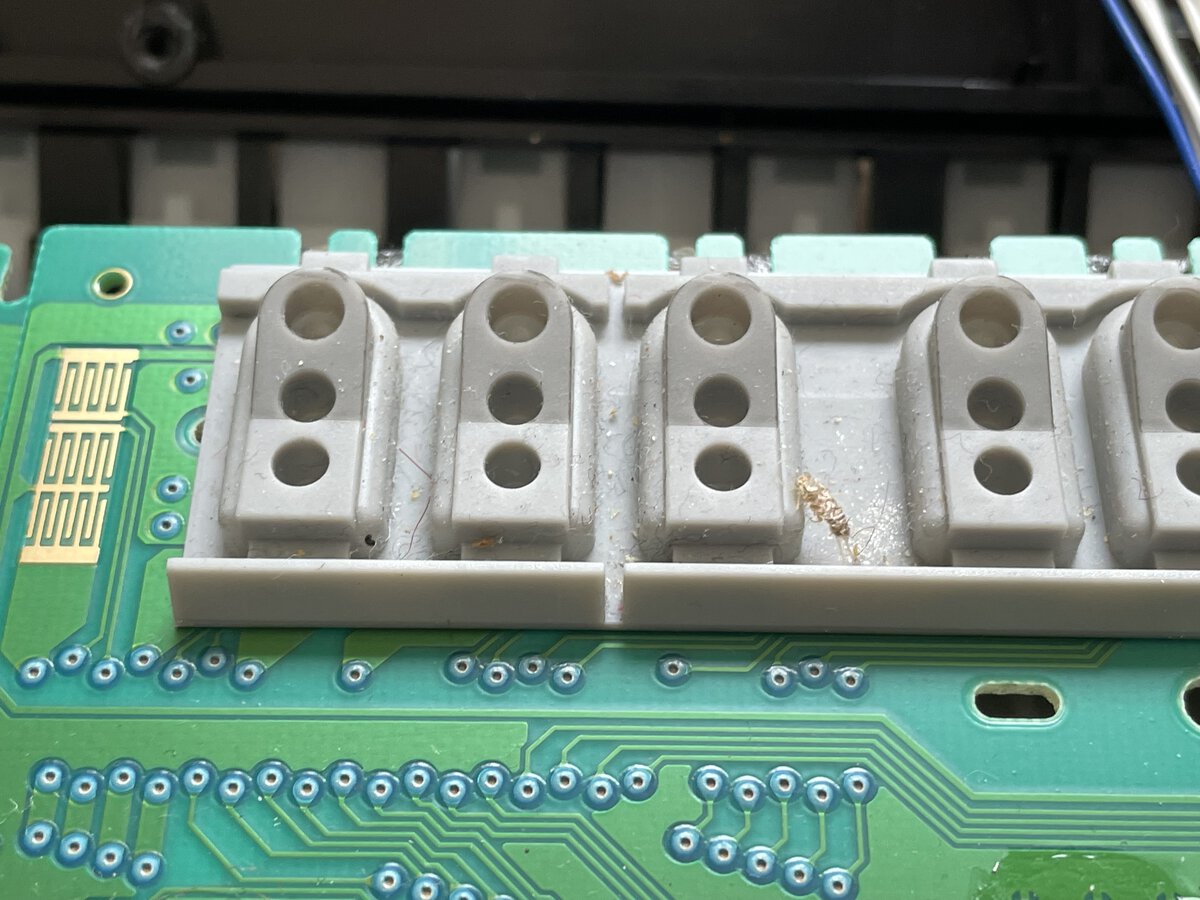
Here you can see how the membranes make contact with the PCB. All appeared clean, and so I didn’t even use my contact cleaner.
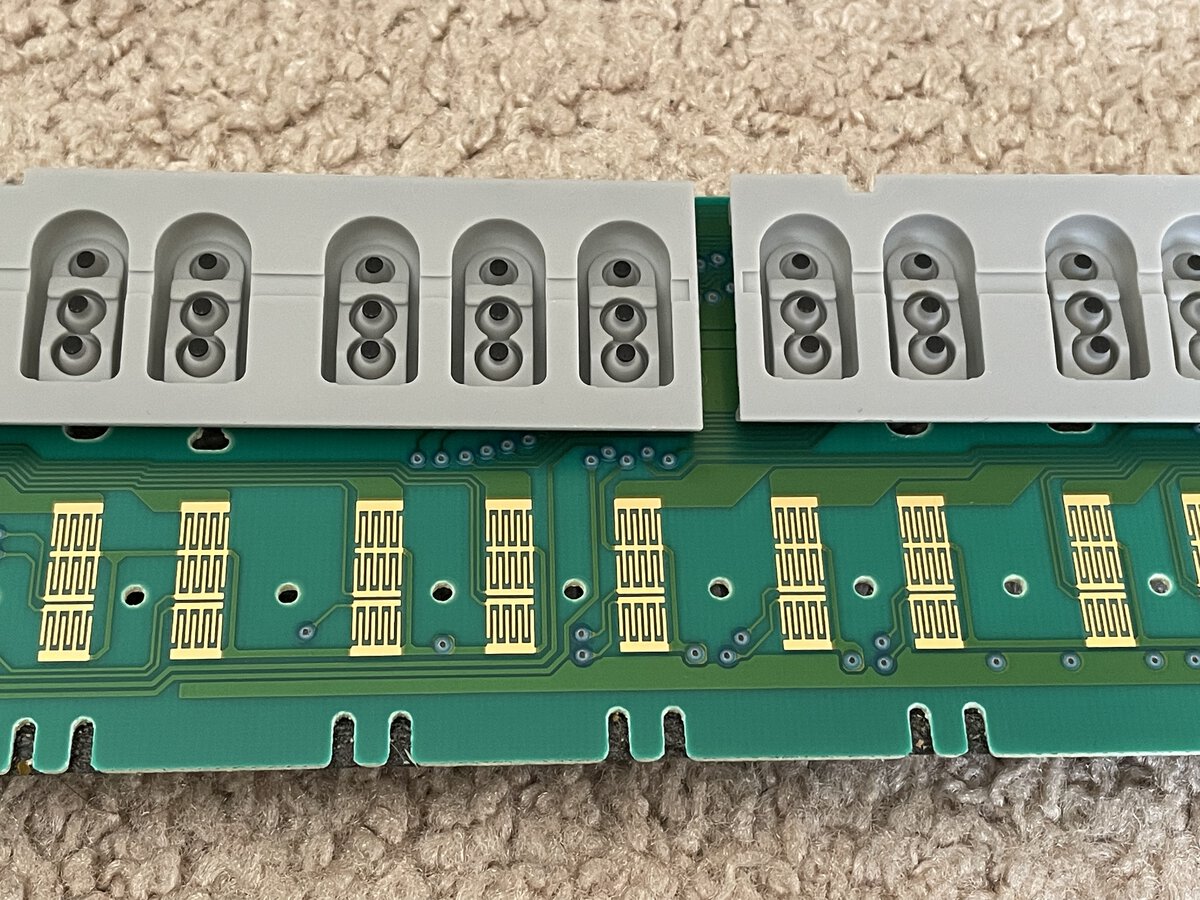
But I did dust with compressed air all the membranes, top and bottom, carefully.
Removing and fixing keys
I wanted to figure out why the A#3 was causing problems. One of the videos I watched mentioned that you couldn’t just take a black key out: you first had to remove the two white keys around it.
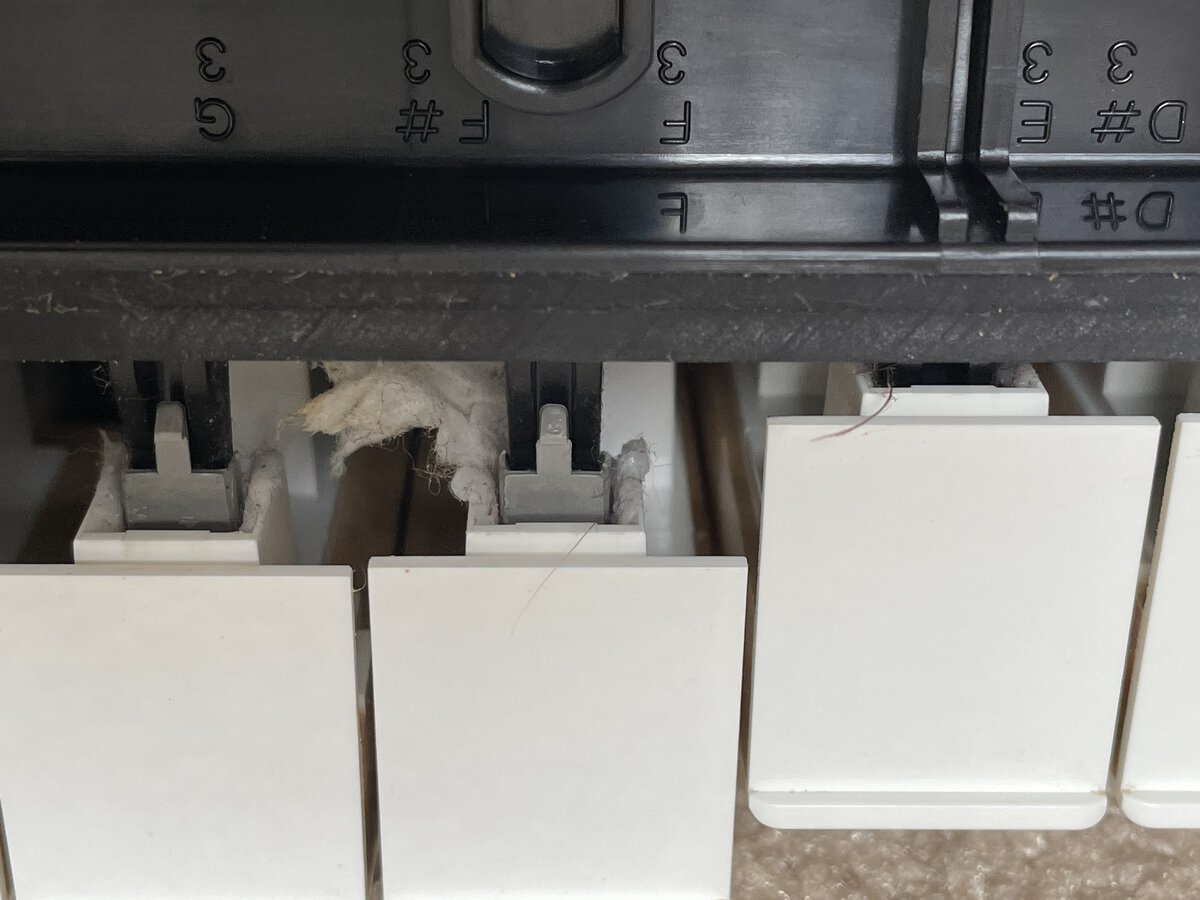
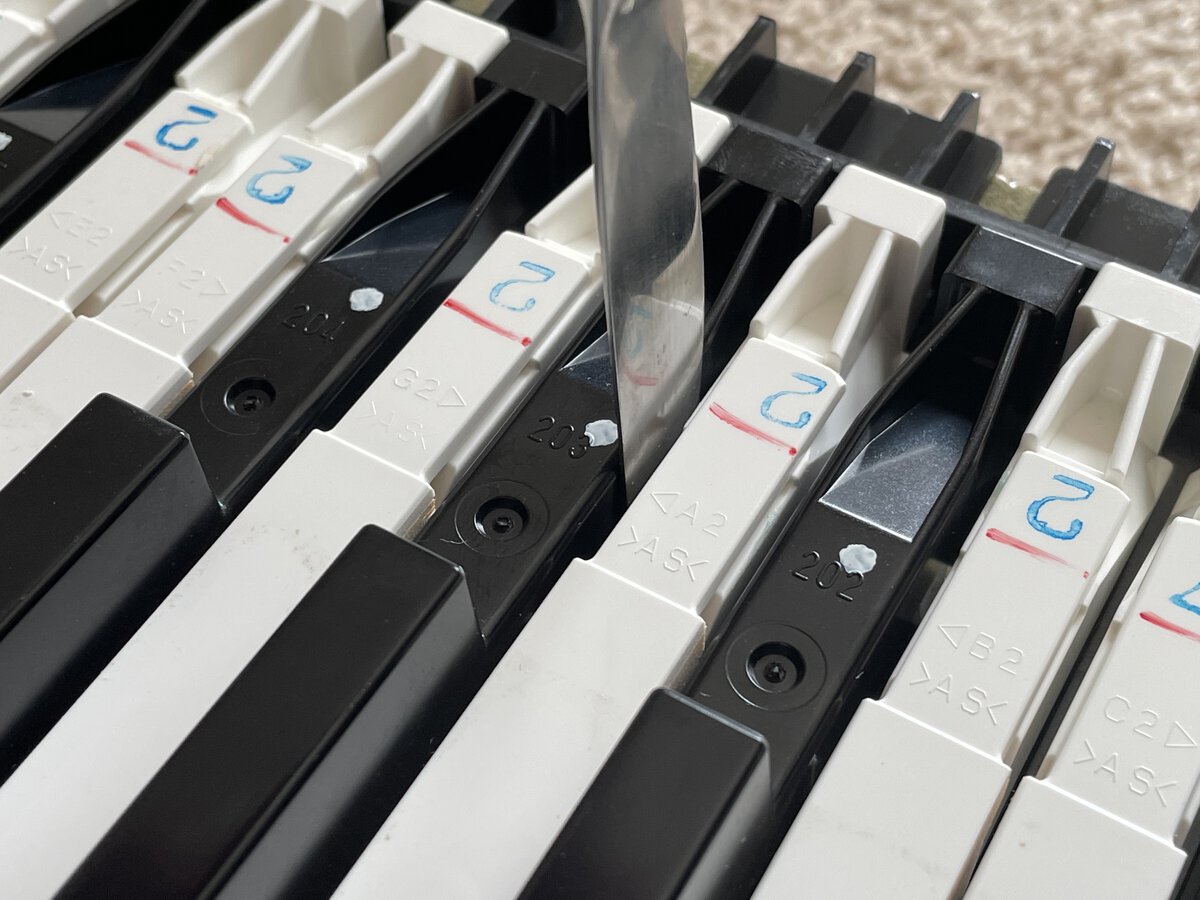
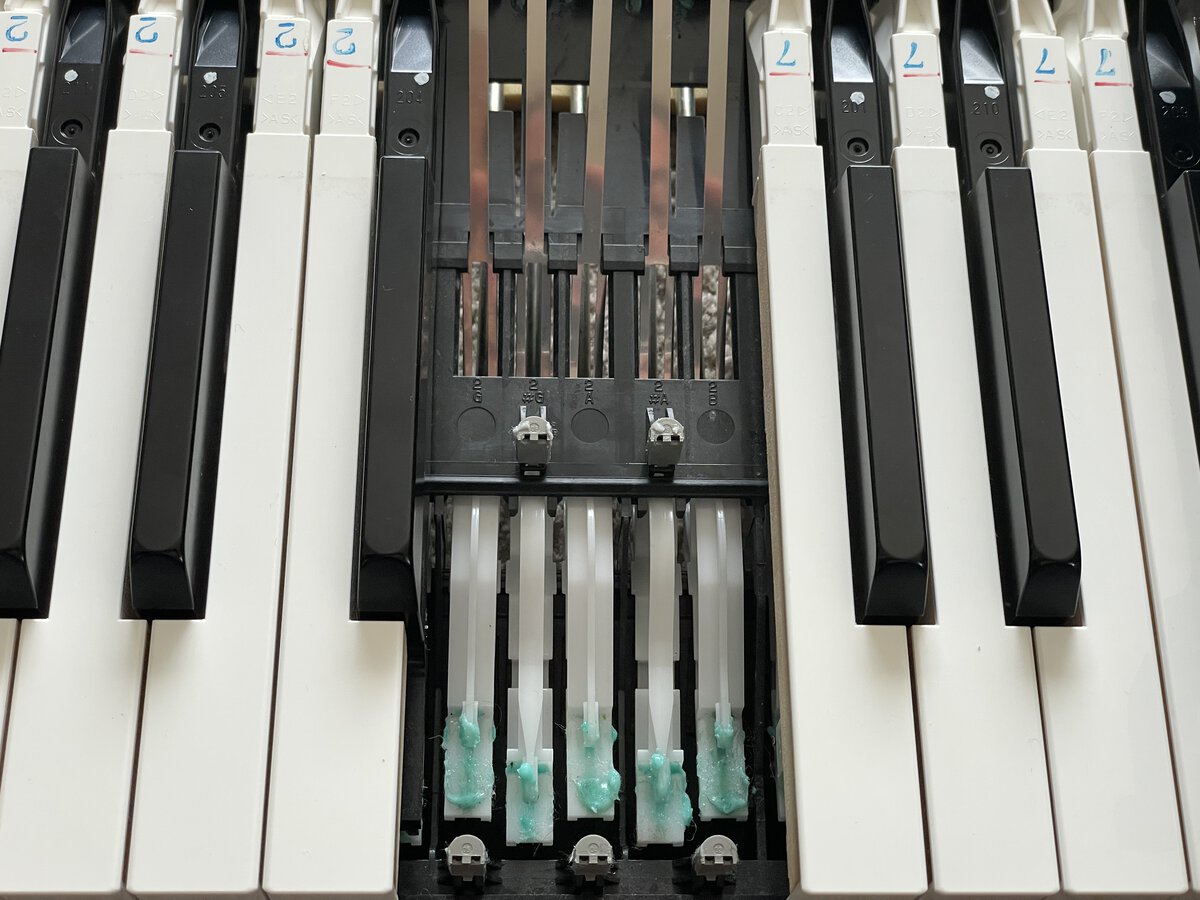
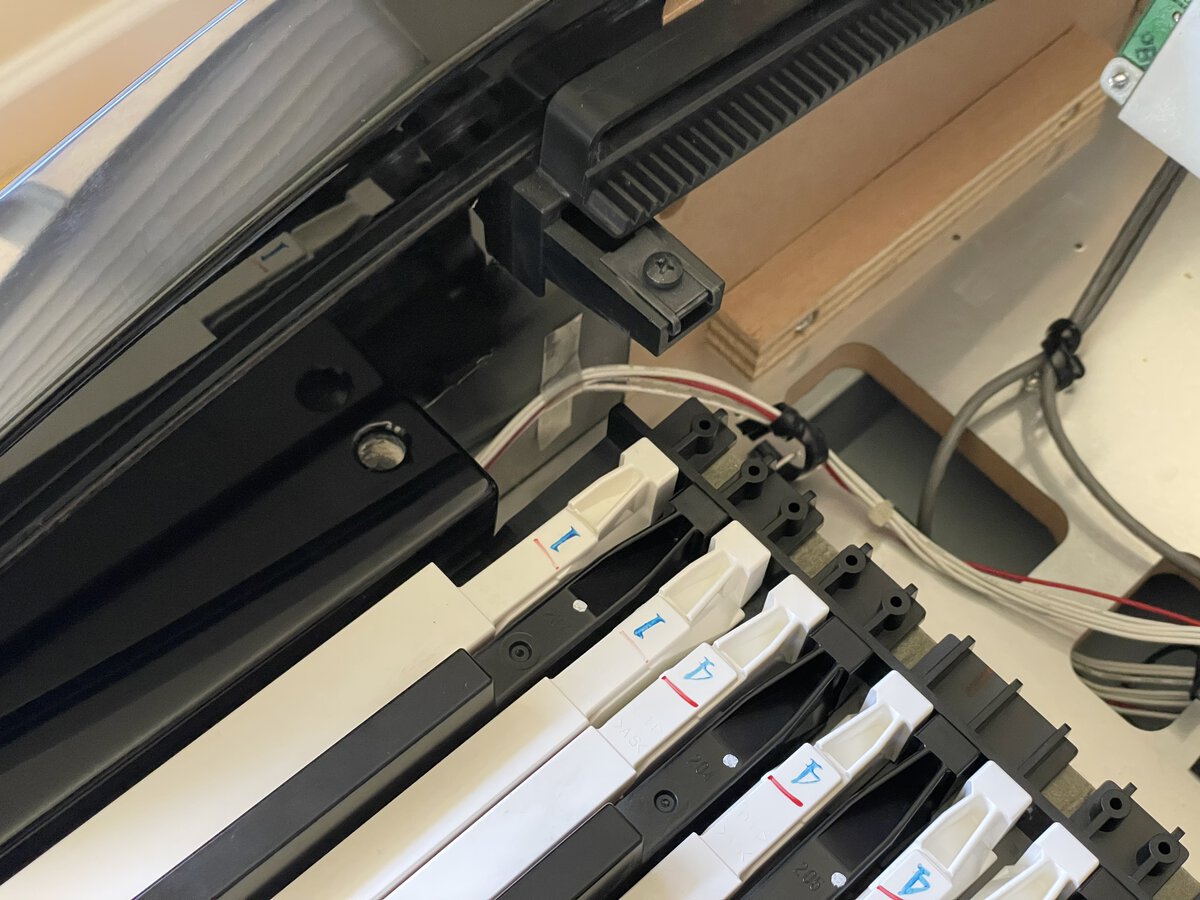
I wasn’t sure whether the “knife” method, shown in a video, would work. But looking at the leftmost key of the keyboard it looked like it should: indeed, a black plastic tongue acts as a spring to hold the key in place. Here you can see more closely how the key is held in place in the back.
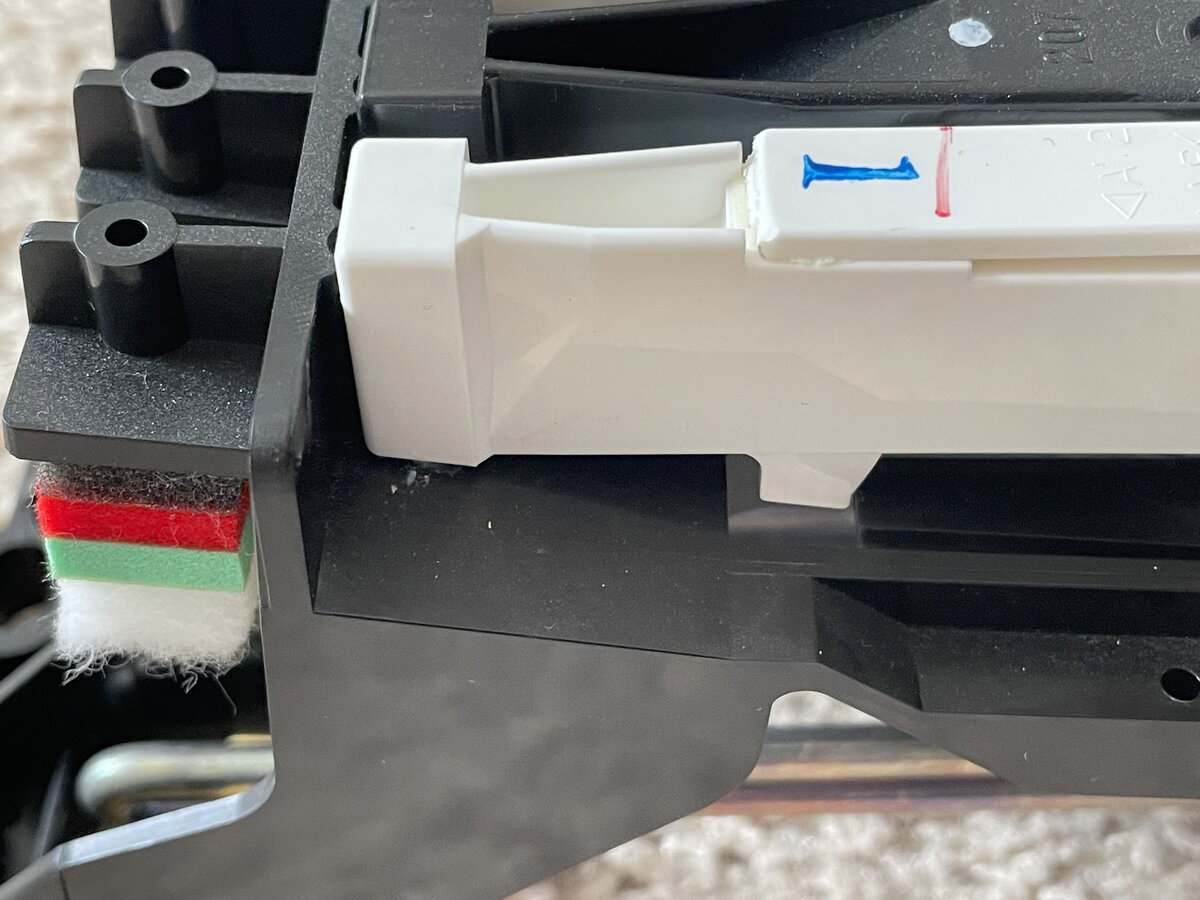
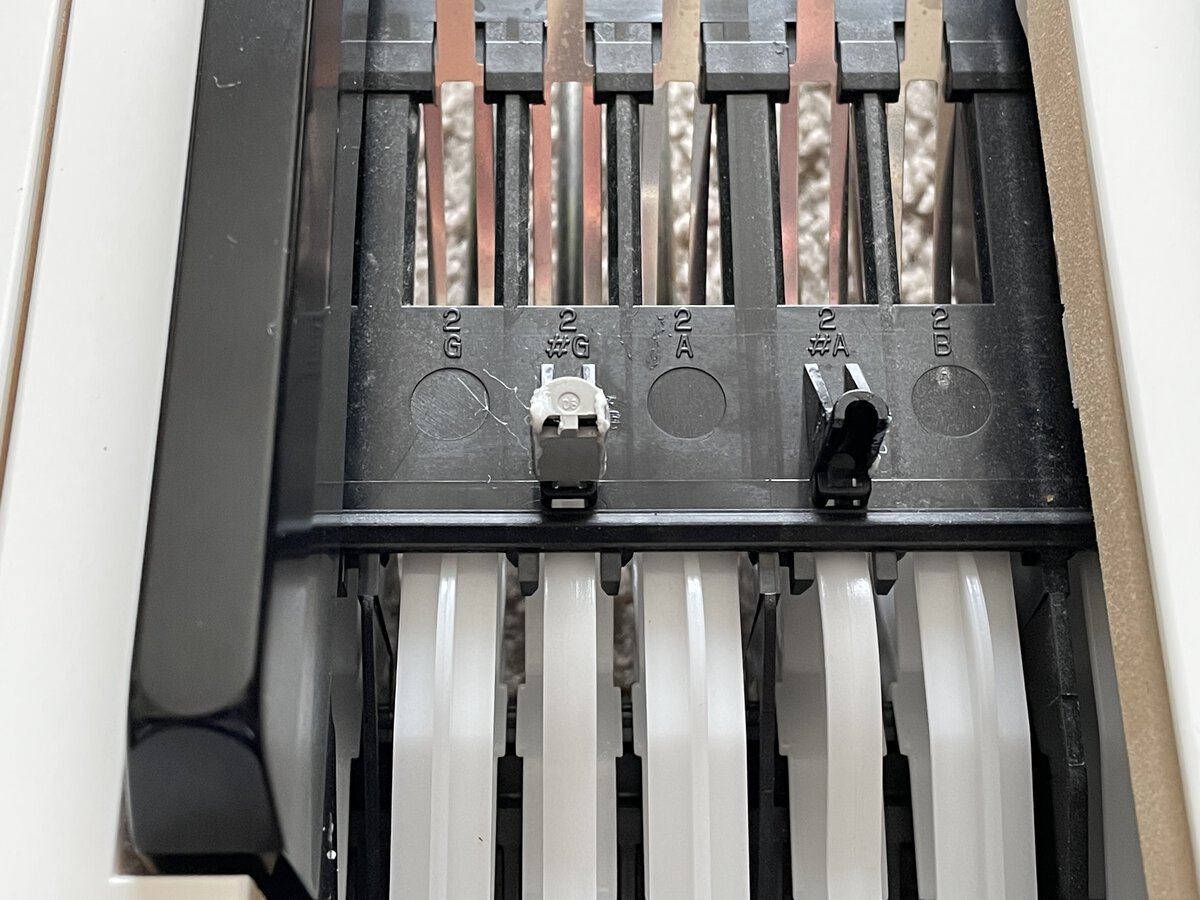
And here how it’s held in place in the front (with some visible green grease).
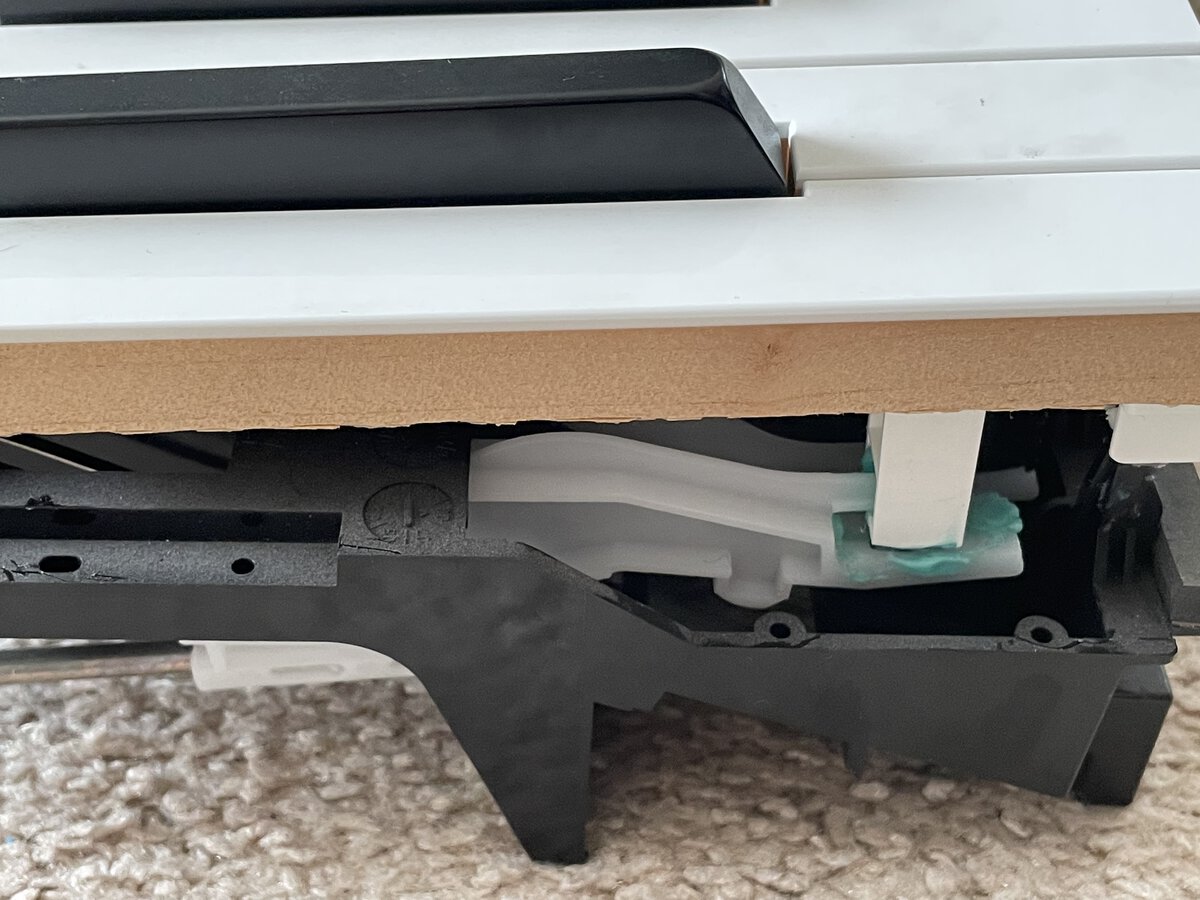
Note that since this is the CLP-280, the body of the white keys is made of wood. This is a nice touch and one reason we bought this specific model back then.
I removed the leftmost key by pushing the plastic tongue by hand, to get a feel for it. The key came out easily.
For the other white keys, push down carefully with a narrow blade such as a knife until you can pull the white key toward you. Once white keys are out, black keys between them can be pulled out as well.
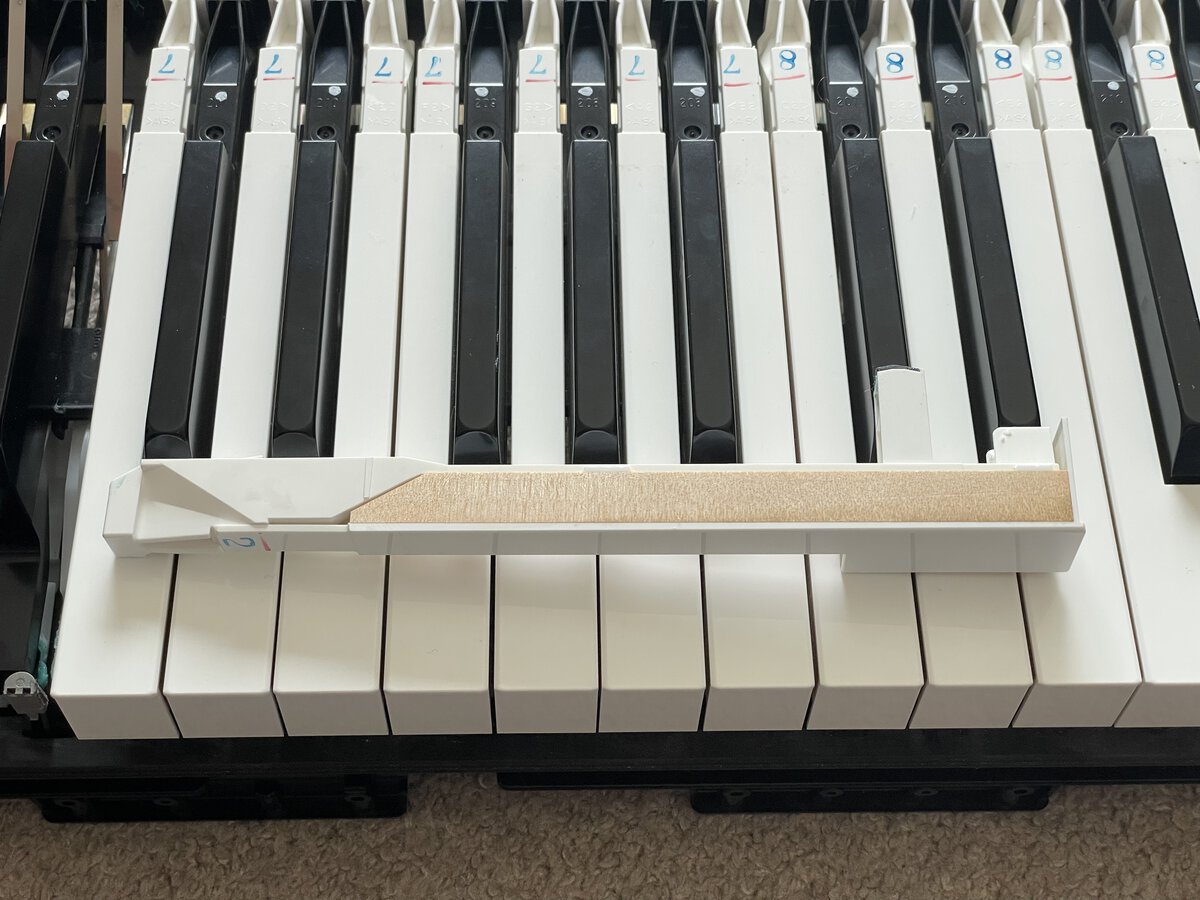
So I removed the 2 black keys and the white keys around them first.
The reason I took out two black keys was so I could compare them. And I did notice a difference: the gray plastic part, that should stay on its post, was missing from its post.
It was stuck inside the key.
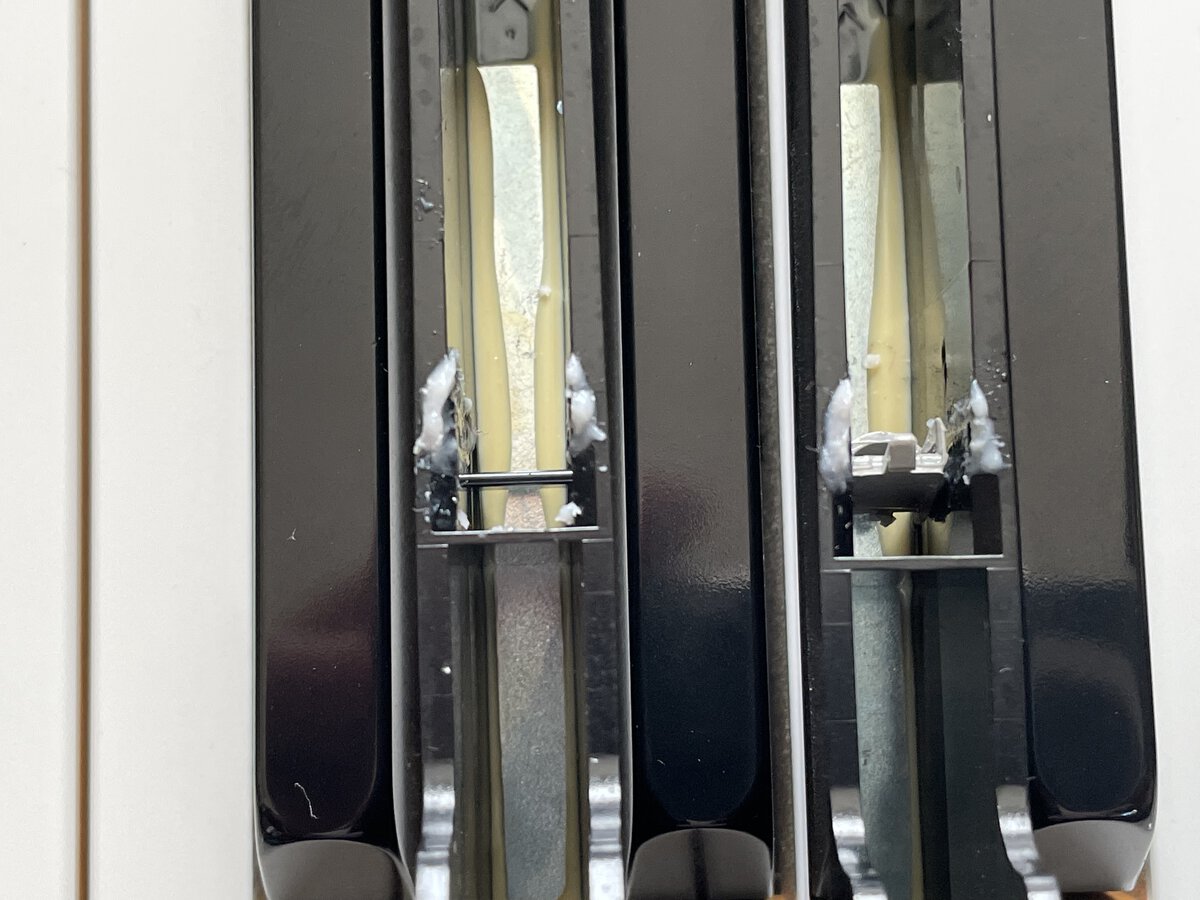
So I put it back and then the key behaved like the others.
Putting the keys back is not hard:
- Hook the key to the metal spring.
- Pull toward the front.
- Guide the key to let it slide into the back and front slots.
That’s it!
Note that after that I noticed that one of the black keys wasn’t properly inserted and had some front-to-back movement which was causing noise. I took it back out and redid the steps and that fixed it.
Now I had to put back the keyboard contacts. You don’t want to just lay them in and put the PCBs on top. I wanted to make sure they were positioned correctly. For this, I put the keyboard vertically (or almost) so that the keys were not in “down” position as that would make it harder to position the membranes. Use gravity! I placed all the membrane first.
Then I carefully inserted the PCBs, making sure they were ligned up. There are white marks that must match plastic slots.
Finally, I put the screws back.
Don’t forget the connector.
Reassembling the rest
Once the keyboard was back together I gave it some more compressed air and placed it back in the piano cabinet. I connected it and turned on the piano: success! The loud keys problem didn’t occur and the A#3 key was perfect as well!
So I put everything else back together:
I screwed the left and right wooden blocks.
The left wooden block I screwed the keyboard in its final position.
The keyboard is back in place I reinstalled the front panel. I used the opportunity to clean the red felt alongside the keys from underneath with a lint roller.
Cleaning the felt I put back all connectors.
I put the keyboard cover back on its rails.
Finally, I replaced the top cover.
And voilà!
Conclusion
I am glad that this simple cleaning and fixing appears to have addressed the issues. While this is not a new digital piano, it’s a beautiful instrument in its “polished ebony” (“PE”) version. It would be a shame if it was inoperable.
I must say that this digital piano is well-built and easy to service once you know the order in which to remove the assemblies. The main issue I see is the availability of parts: everything is custom and if Yamaha cannot provide a part, or if you can’t find it on eBay, you are probably stuck. Luckily in this case I didn’t need to replace any parts.
Let’s see if the issue is gone for good over the next few weeks and months.
Resources
Here are a couple of online videos that helped me with my repair:
- How to Remove and Clean Piano Keys in a Yamaha Clavinova
- How to repair a Yamaha Clavinova CLP 860 with a loud and/or silent key
(I also found a couple of other videos that applied to older Clavinovas but they turned out not to be relevant to the CLP-280.)
Finally, here are all the pictures I took during the process:
See also
Read about my later CLP-280 repairs:
Comments powered by Disqus.