
Introduction
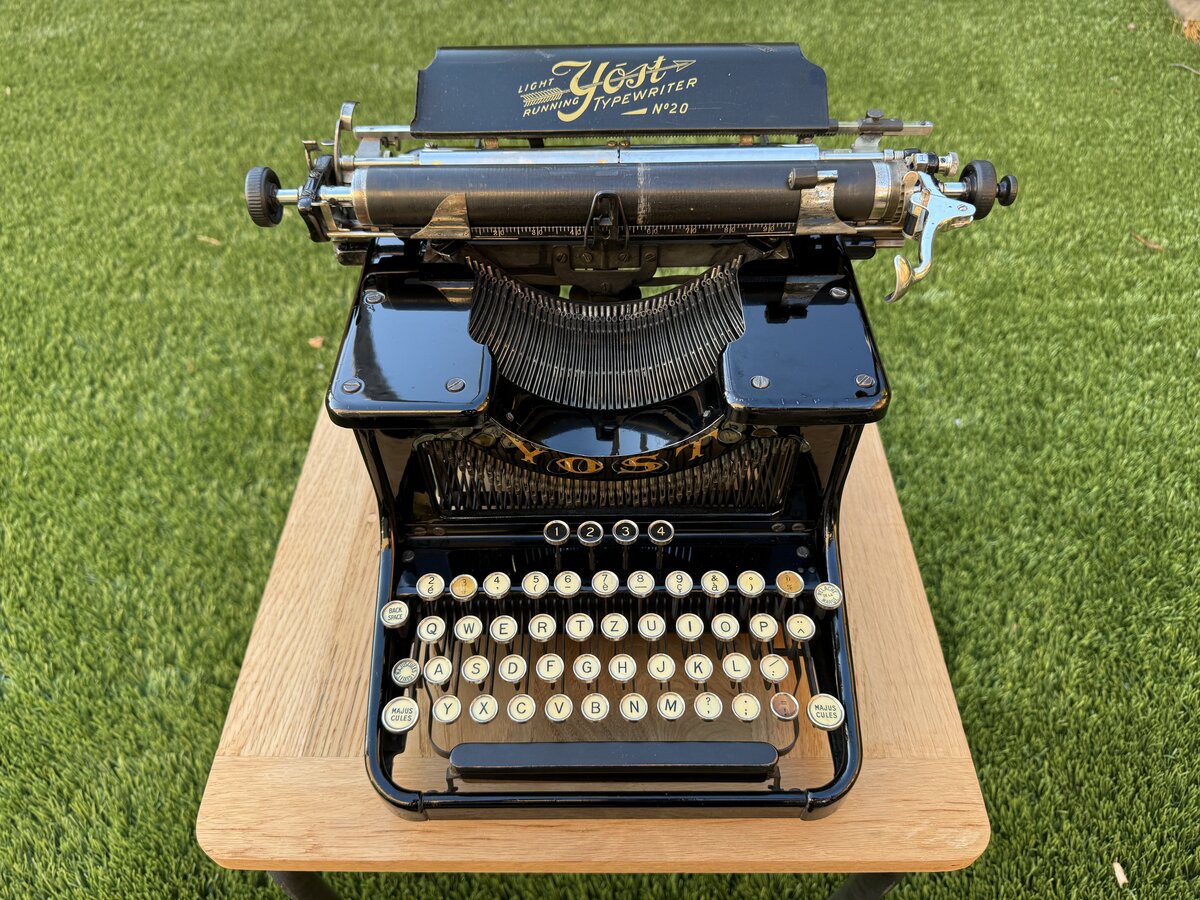
A few years ago, I bought a Yost 20 typewriter in Switzerland (serial number KM00370). The brand is named after George Washington Newton Yost, a character who was instrumental in getting the first commercially successful typewriter to market: indeed, he participated in the meeting that convinced Remington to manufacture the Sholes and Glidden “Type-Writer”. Yost went on, eventually, to create his own brand of typewriters.
The first Yost typewriters were understrike, blind typewriters. They are known for:
- their “grasshopper” action
- the guide that allows centering the type on the paper
- the use of an ink pad instead of a ribbon
- the use of a double keyboard (without a shift key)
The guide, in particular, was an important improvement to address an issue with machines like the Remington and the Caligraph, where the typebars could get out of alignment as the machine was used.
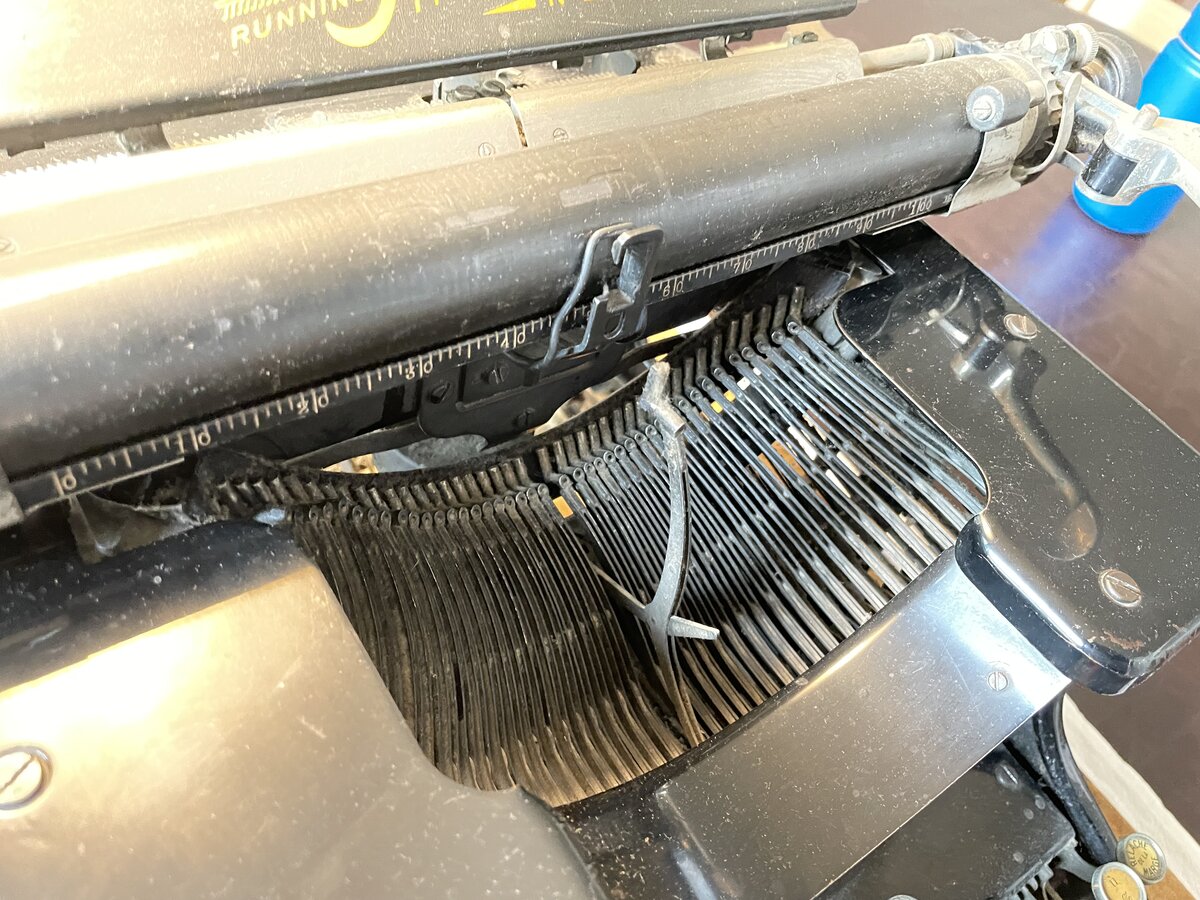
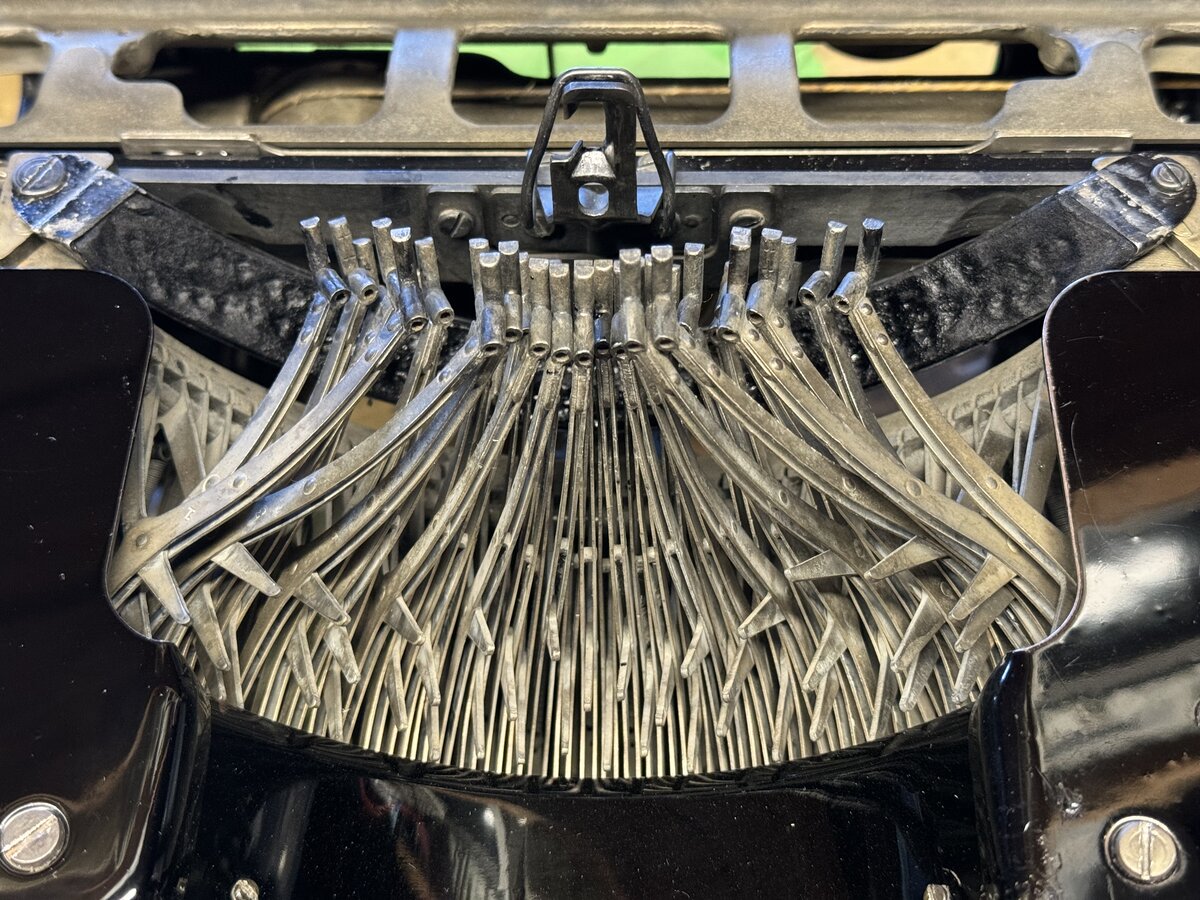
The “grasshopper” action is called such in reference to the unusual way the typebars move: they rest on the ink pad, then move down, and then up through the guide towards the platen. See this video for a demo on a Yost 4.
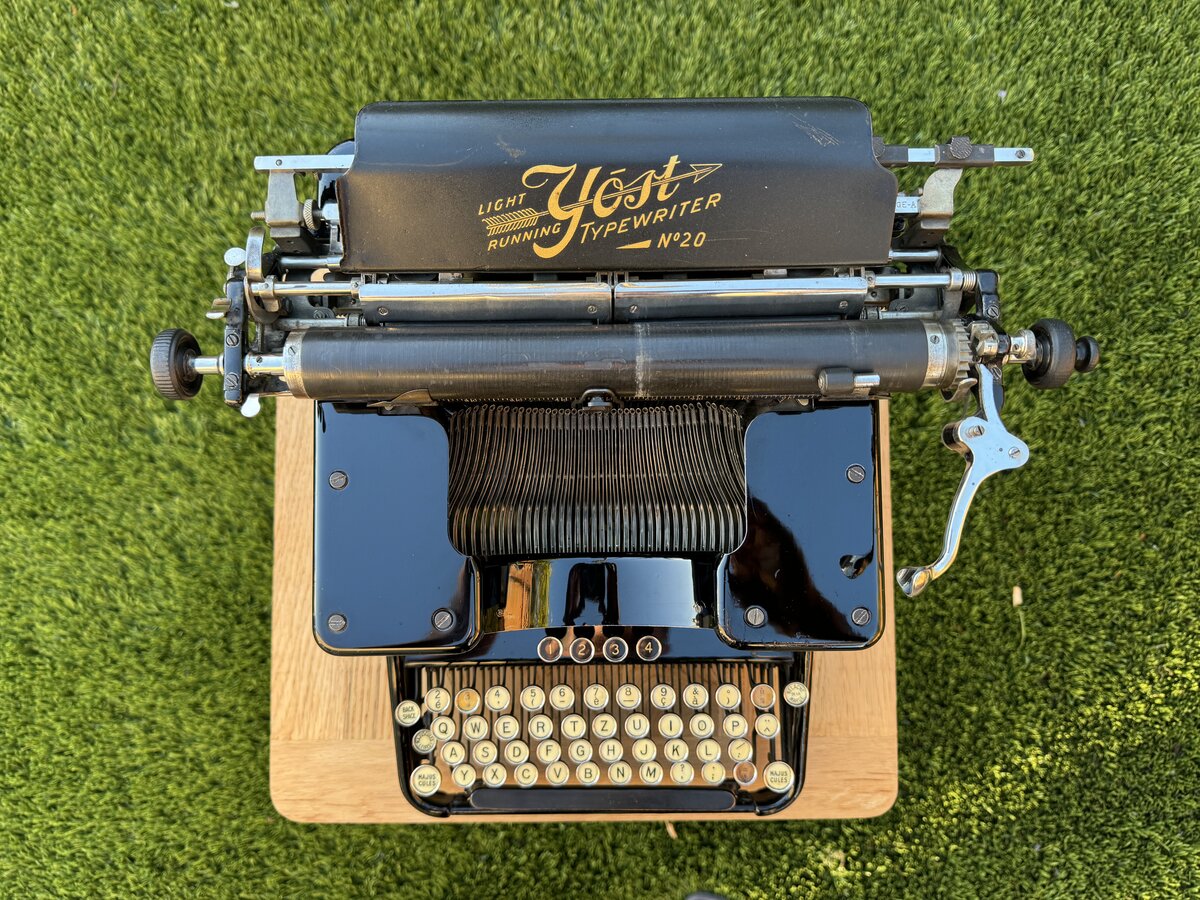
The later Yost models (number 15 and 20) differ from the earlier machines: they are more modern front-strike machines and use a shift key. But they still preserve some major features of the earlier machines:
- a variation of the grasshopper mechanism
- a variation of the centering guide
- the ink pad
On the 15 and 20, the typebars still rest on an ink pad. The modified “grasshopper” movement takes the types out towards the user, then forward again towards the platen through the centering guide. The guide is no longer a simple square as it was on the upstrike models, but rectangular to accommodate the types that contain two characters.
The Yost Model 20 is the last Yost typewriter model. I don’t know if it is particularly rare, but it is certainly uncommon. When I added it to TWDB, it was the first entry of this model (soon after, someone added another entry).
My instance
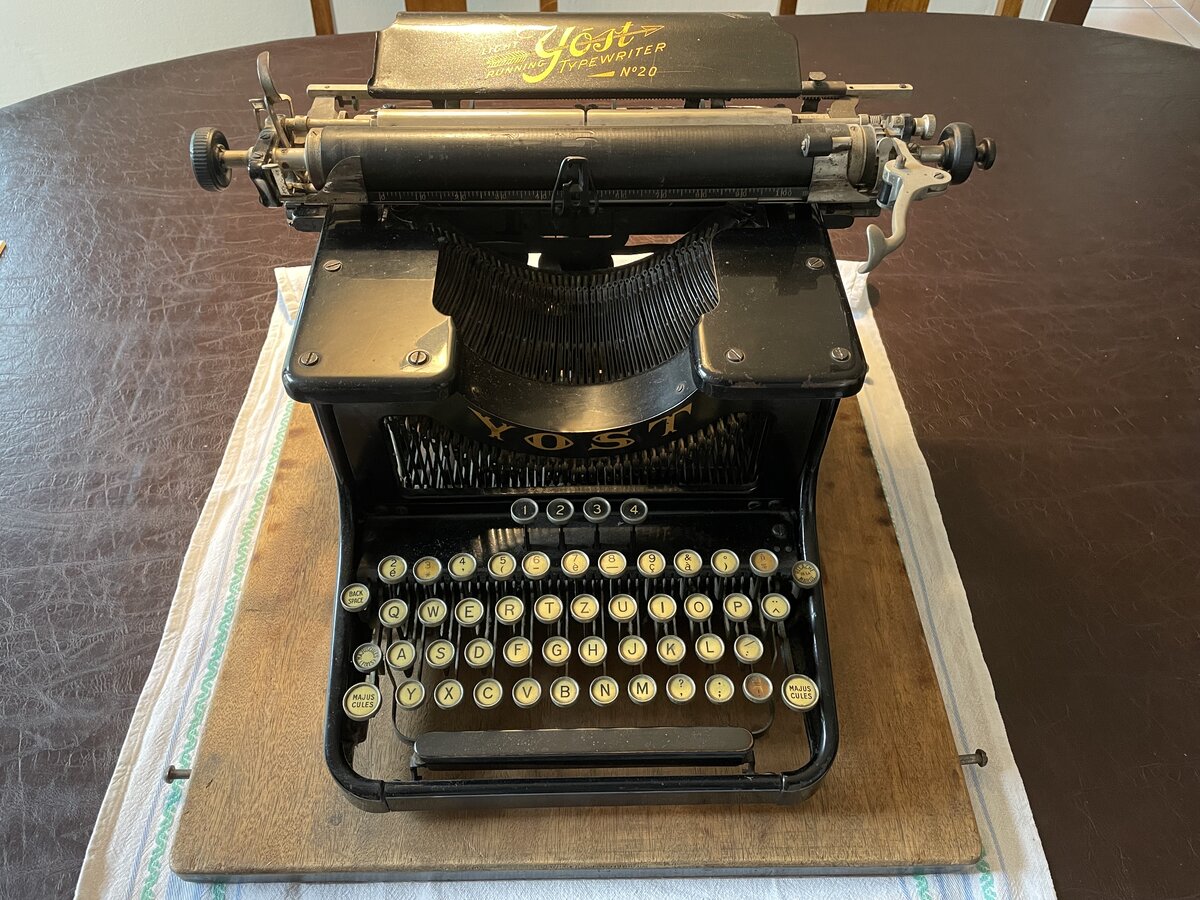
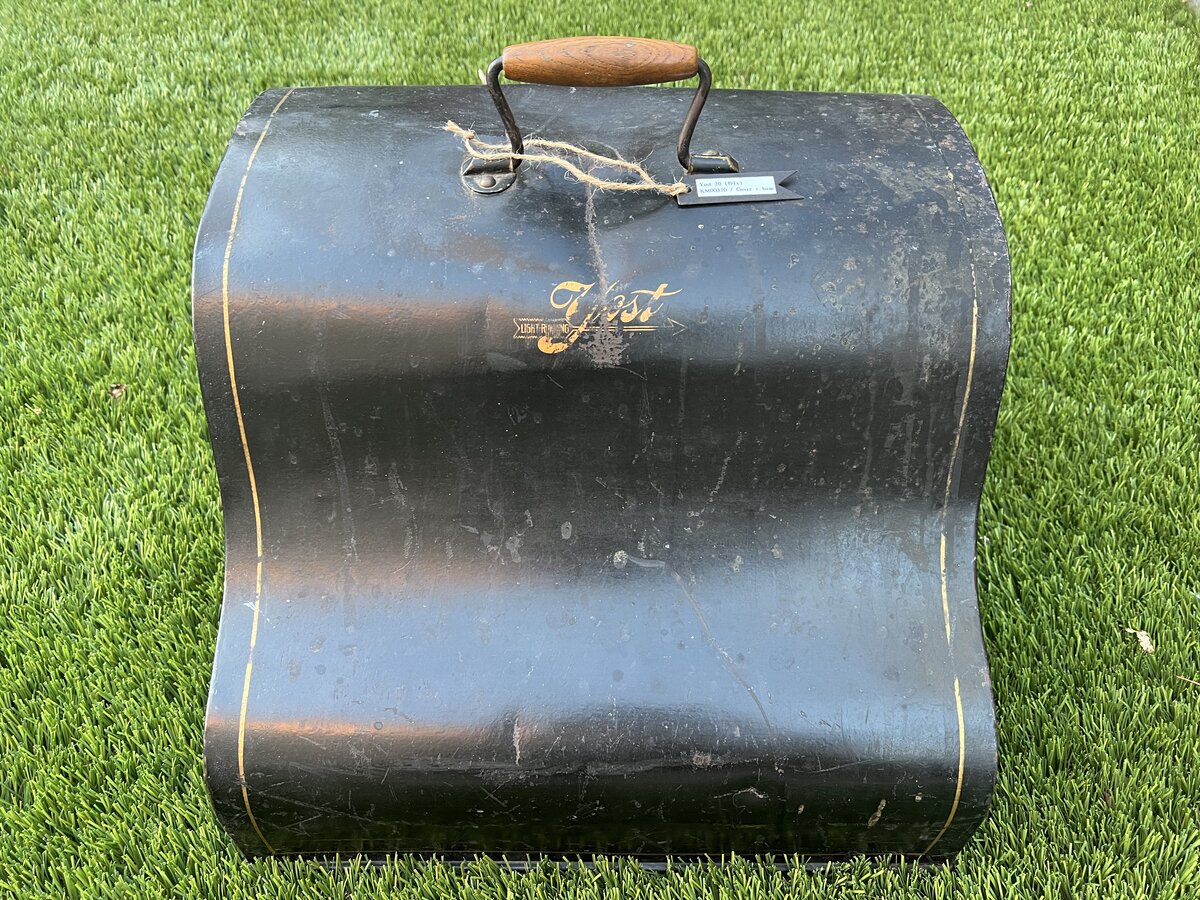
The Yost 20 I bought was in great condition. It came with a beautiful base with slots for the four (now hardened) rubber feet. Here is one of the first pictures of it I took.
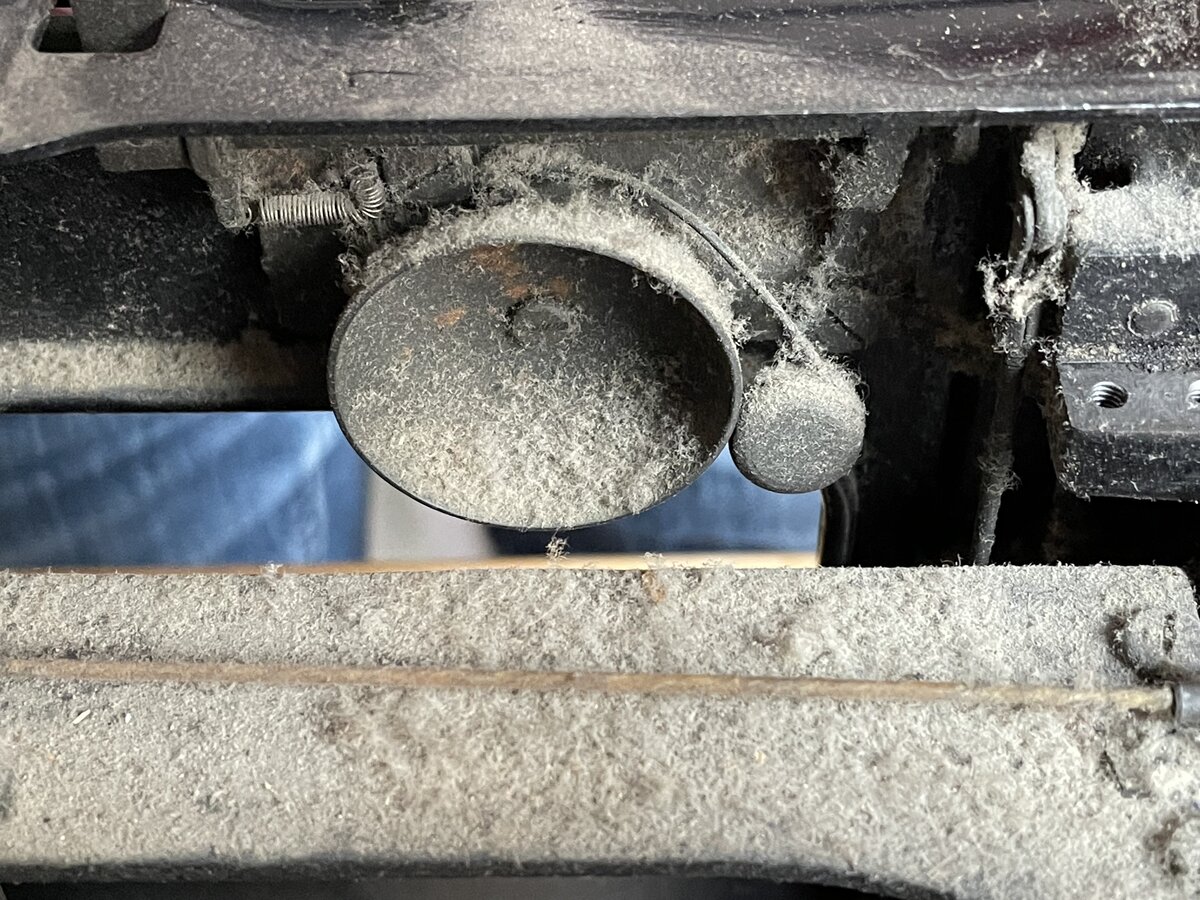
Some parts were almost attractively dusty.
I shipped the machine to myself from Switzerland in two parts: first the machine and its separated carriage (the base travelled in a suitcase), and its cover in a separate shipment (see A tale of typewriter shipping and A typewriter shipping update).
As I covered in one of my posts about shipping typewriters, one of the top panels suffered from scratches in transit (which was entirely my fault). You can see the damage on this picture, as well as the small paint loss and corrosion and generally dull original aspect of the panel.
.jpg)
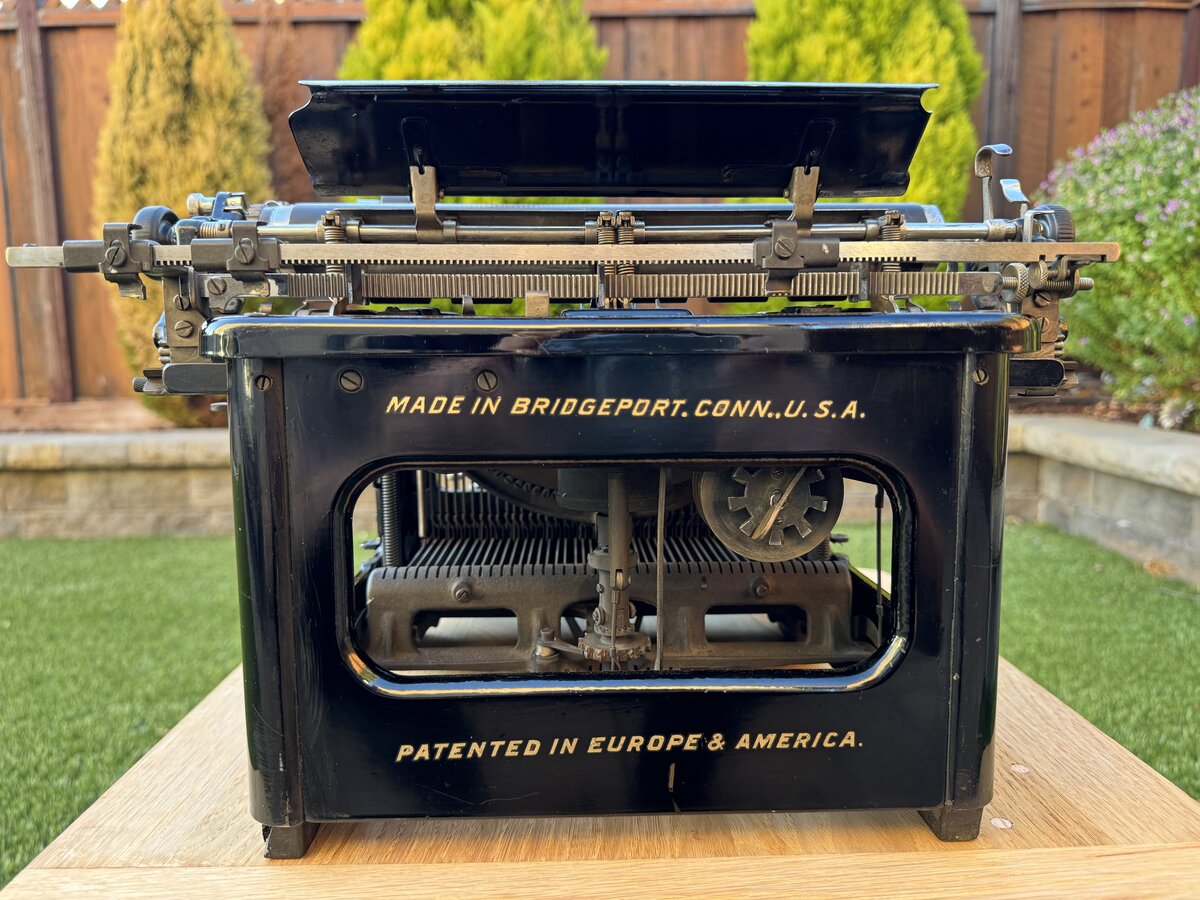
This machine was made in Bridgeport, Connecticut, USA, as the decals at the back of the machine proudly state.
Cleaning and restoration
I started the cleaning following the usual method:
- removing all panels and other accessory parts
- blowing compressed air
- cleaning the inside with mineral spirits
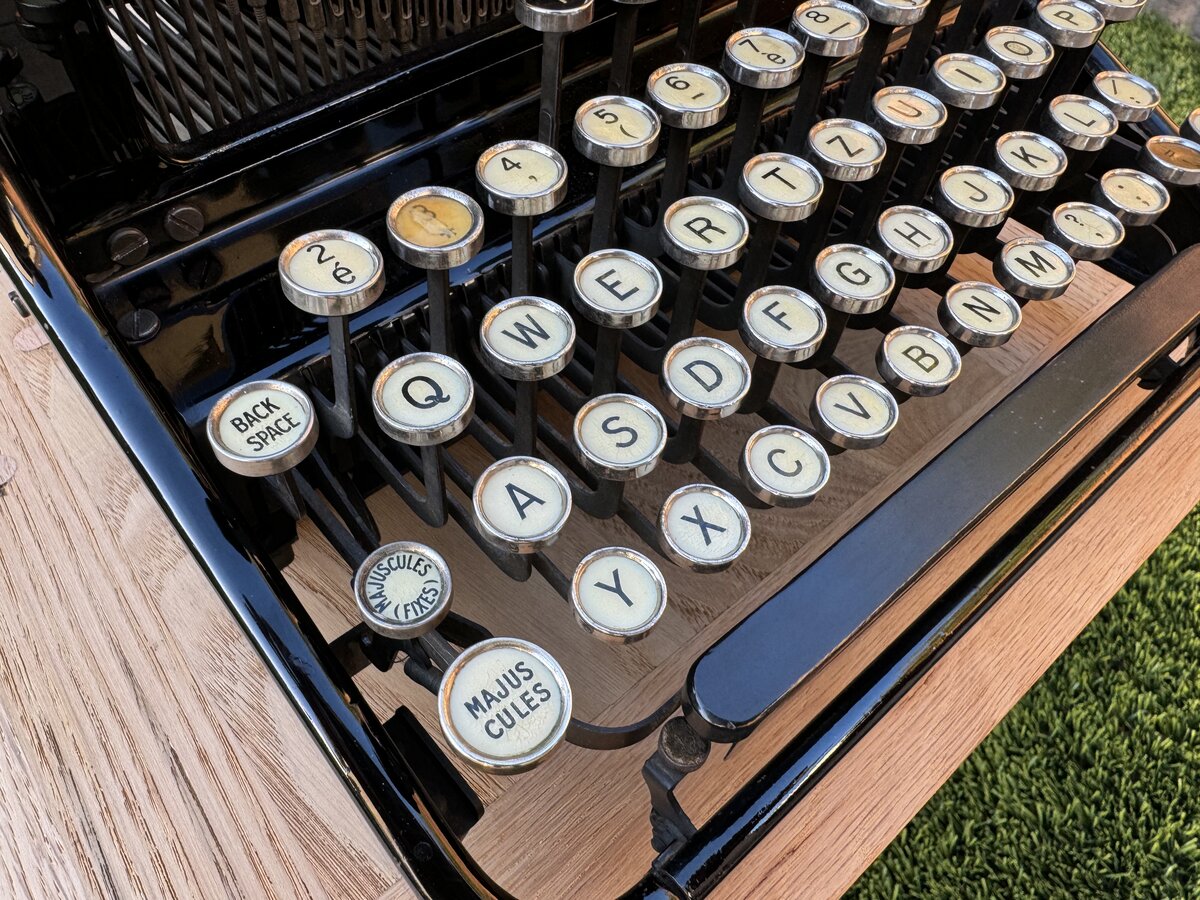
I then polished the outside body of the machine, cleaned and polished the keyboard’s key caps and rings. The key tops are not made of glass, but, I think, of celluloid. Glass keytops can generally cleaned with steel wool, but steel wool would scratch celluloid tops. I just used instead Q-tips with Meguiar’s polish. The keytops still have some marks, and the metal rings are not as shiny as they could be, but it’s an improvement and I wanted to be careful. Three keytops are darker and browner than the rest:
3/*ù/%=/!
I really don’t mind. They keyboard turned out beautiful.
I also removed the tab keys for cleaning. I tried to remove the underlying panel, but it seemed like other parts were attached to it and that it would be trouble to go further. So I cleaned it in place, which is not exactly ideal but got me most of the way.

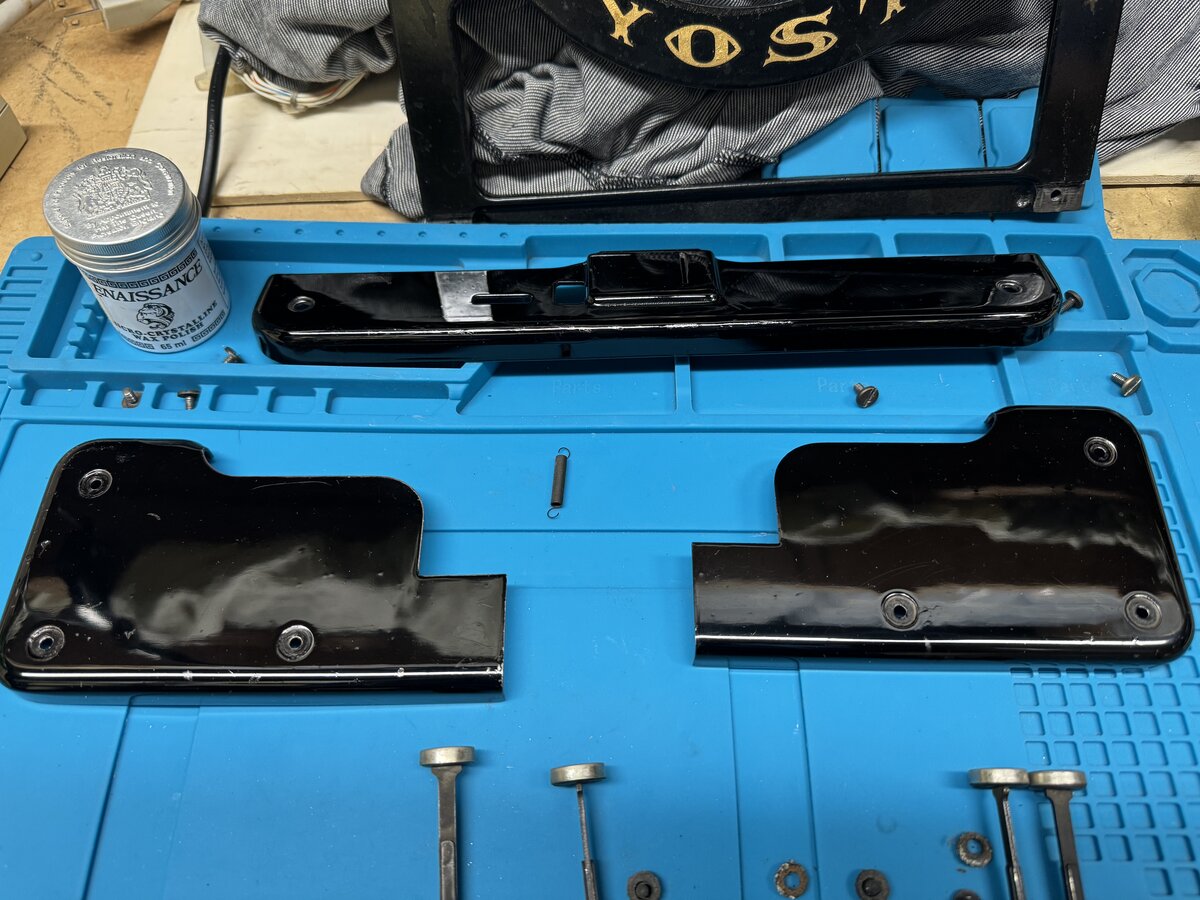
I considered repainting the scratched top panels, but then decided to postpone that to a later time. I used a punch to flatten the deep dent a little, then polished the paint a little, did a few minor touch-ups, and then applied wax. It’s not new-looking, but I think it is acceptable and it makes the statement that it had history.

I applied the same process to the top left panel and the back panel. While the picture doesn’t show this well, there are still scratches and imperfections but all in all they look quite good.
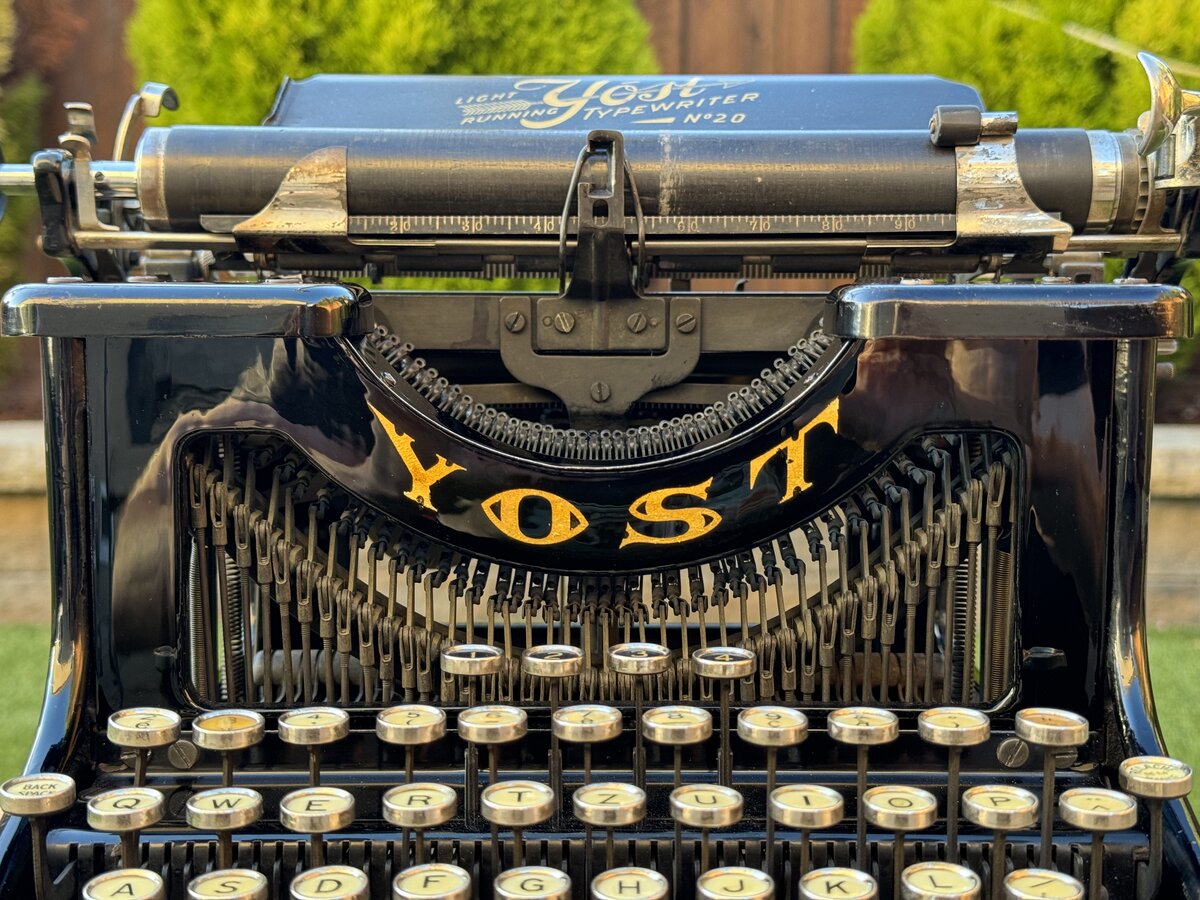
Shellacking the front decal
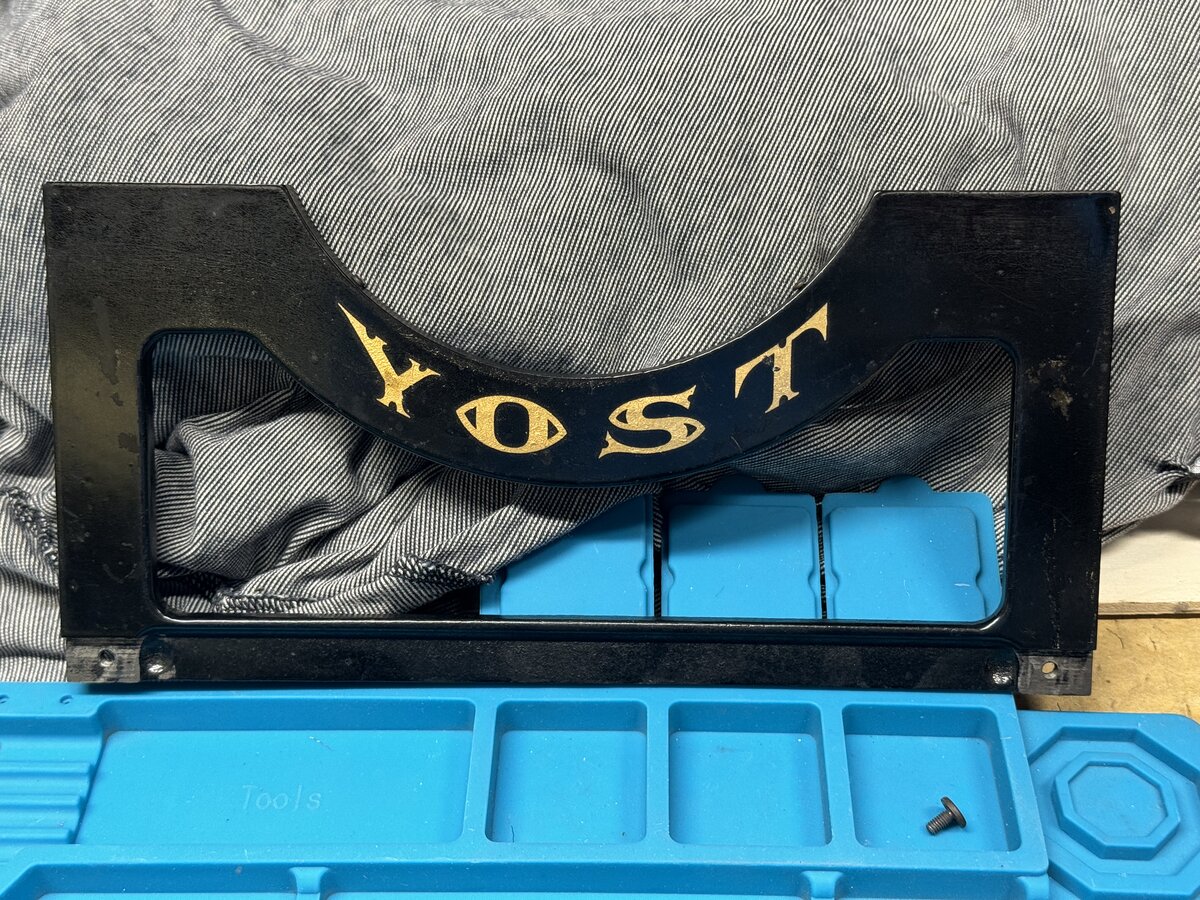
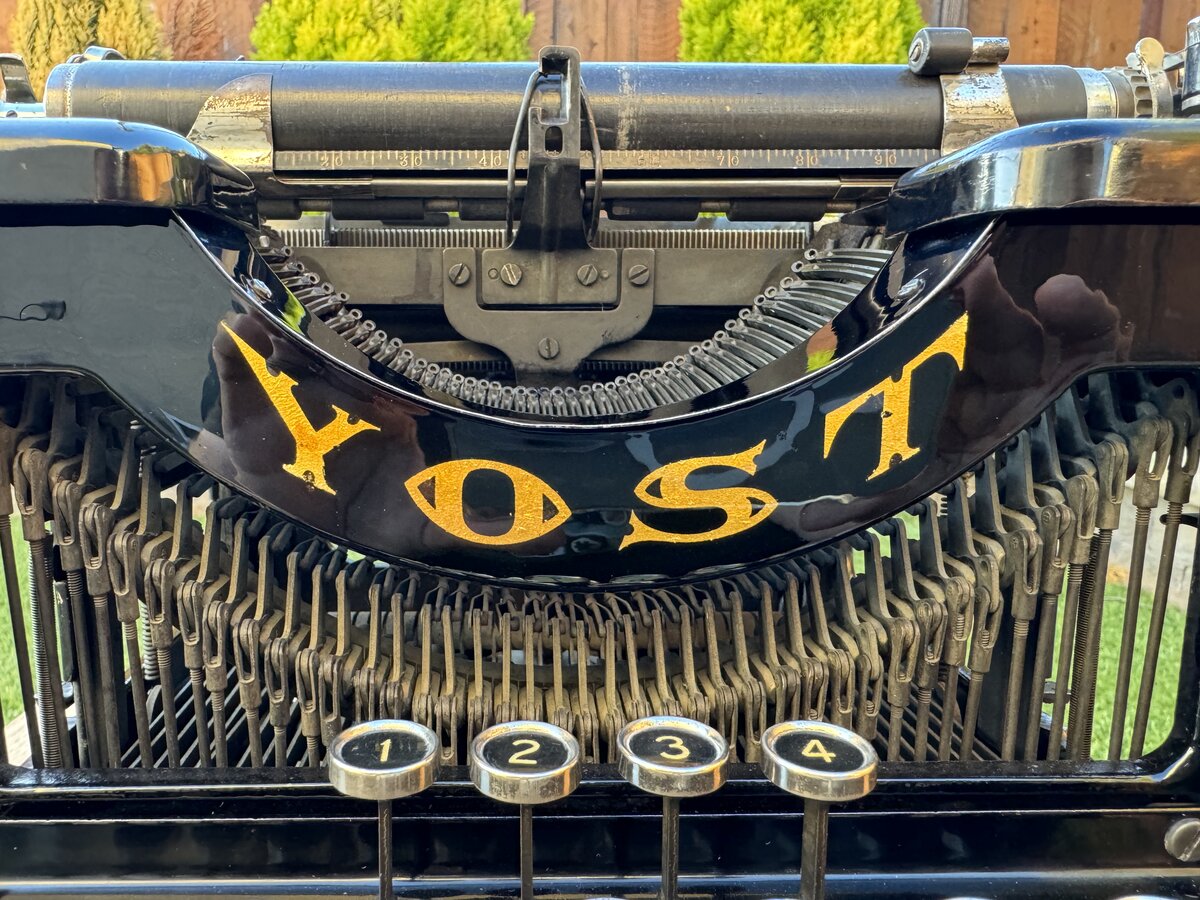
The decals in general are in excellent condition for the machine’s age: front, back, and paper table.
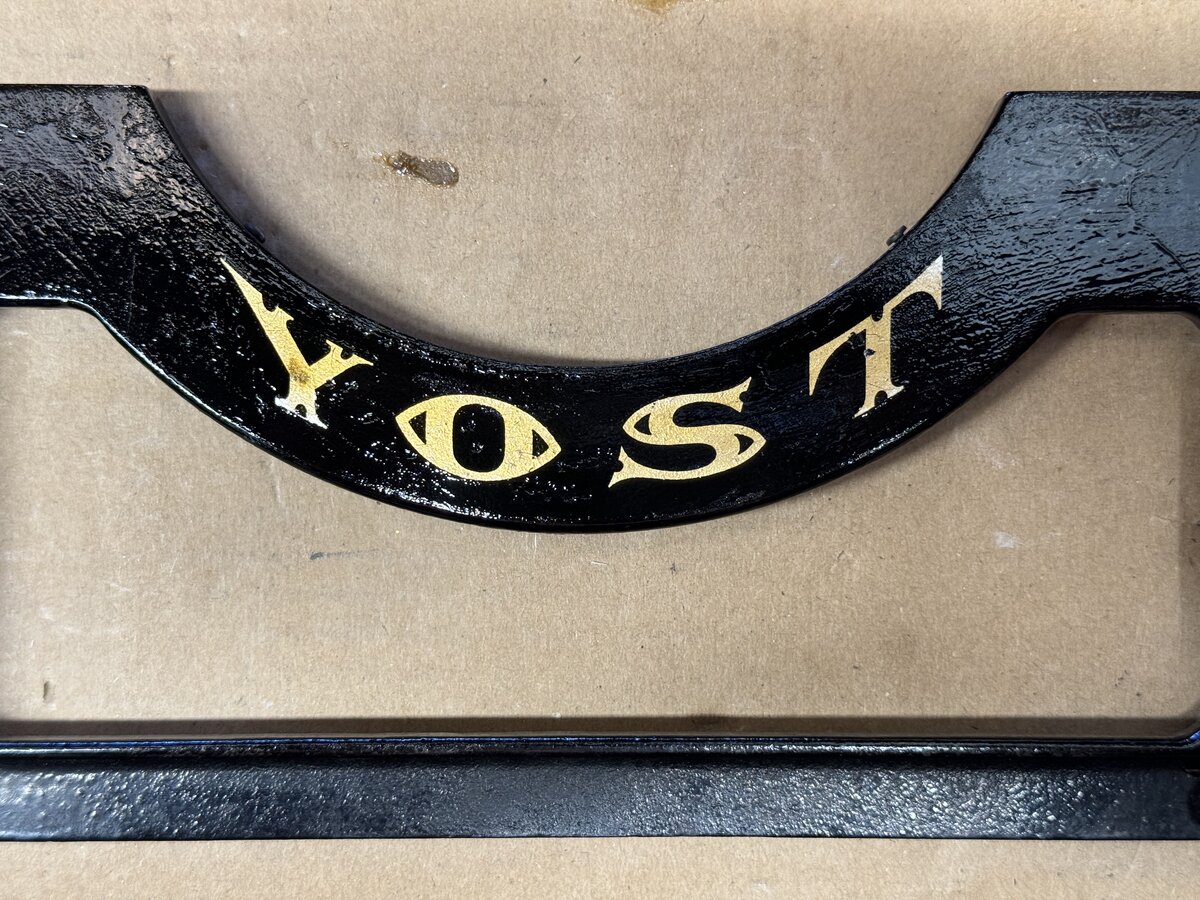
However, the front panel’s paint and decal were very matte, and had signs of yellowing outside the decal. Everyone who has dealt with a Royal 5 (in particular) might know a case of this illness: the paint appears dirty and uneven with some yellow, grainy stuff around the decals. You cannot clean over decals too much: the golden color will go away to reveal silver, and eventually you will destroy the decals completely.
But I had heard that that yellow stuff, on some machines at least, was shellac: that the decals were originally applied and then shellacked. For some reason, on the Royal 5 in particular, the shellac had a tendency over time to dry and become apparent and grainy.
In any case, I started cleaning delicately the front panel, and then tried to apply some wax on one of the areas without the decal. But the result was bad: the wax only highlighted that non-uniform, grainy, yellow stuff. The following picture doesn’t quite show how bad it was.
I had heard that one way to deal with the problem was to apply new shellac over and around the decals. In fact, I had had in mind to try this for a long time, on a Royal 5 as well as on an Underwood. So this was a great opportunity to finally try this, and I ordered shellac flakes and alcohol after reading and watching a bunch of videos on the topic.
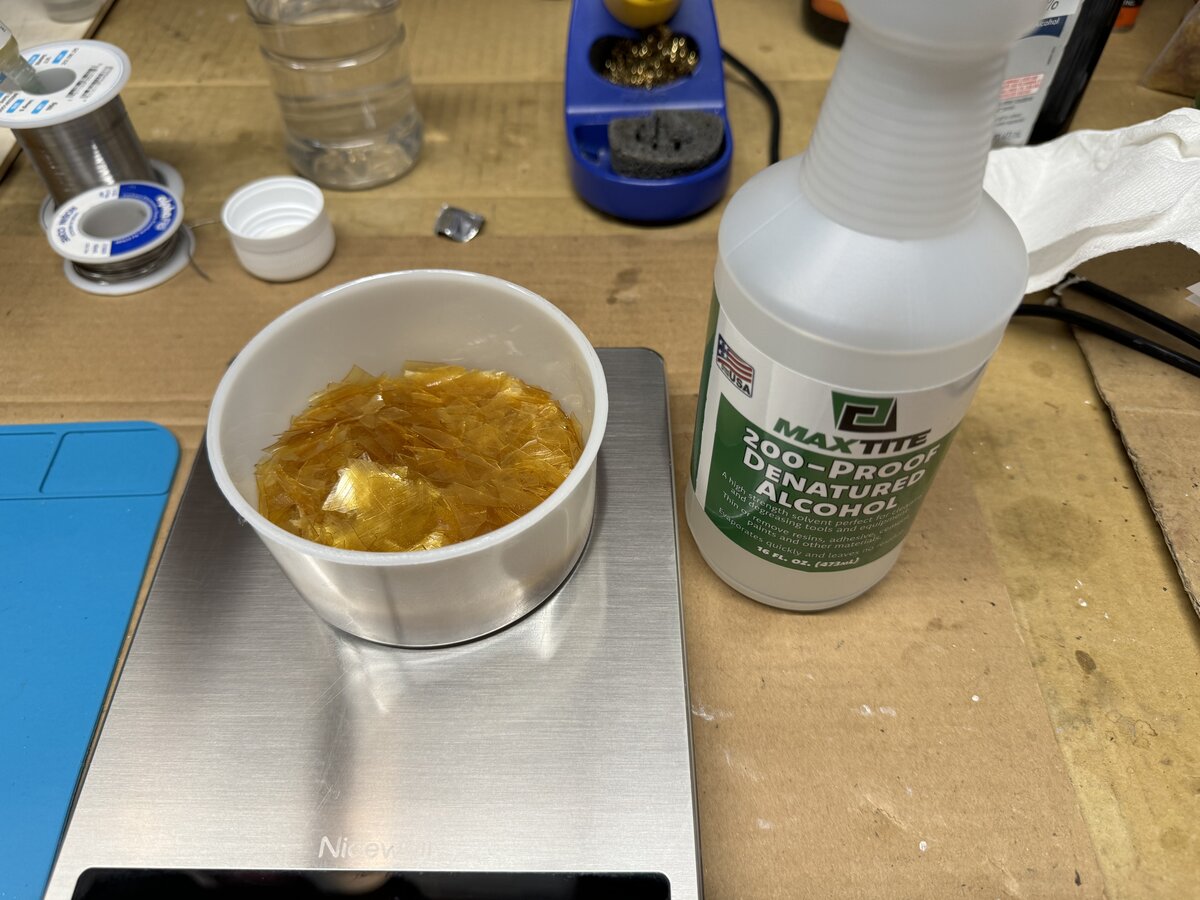
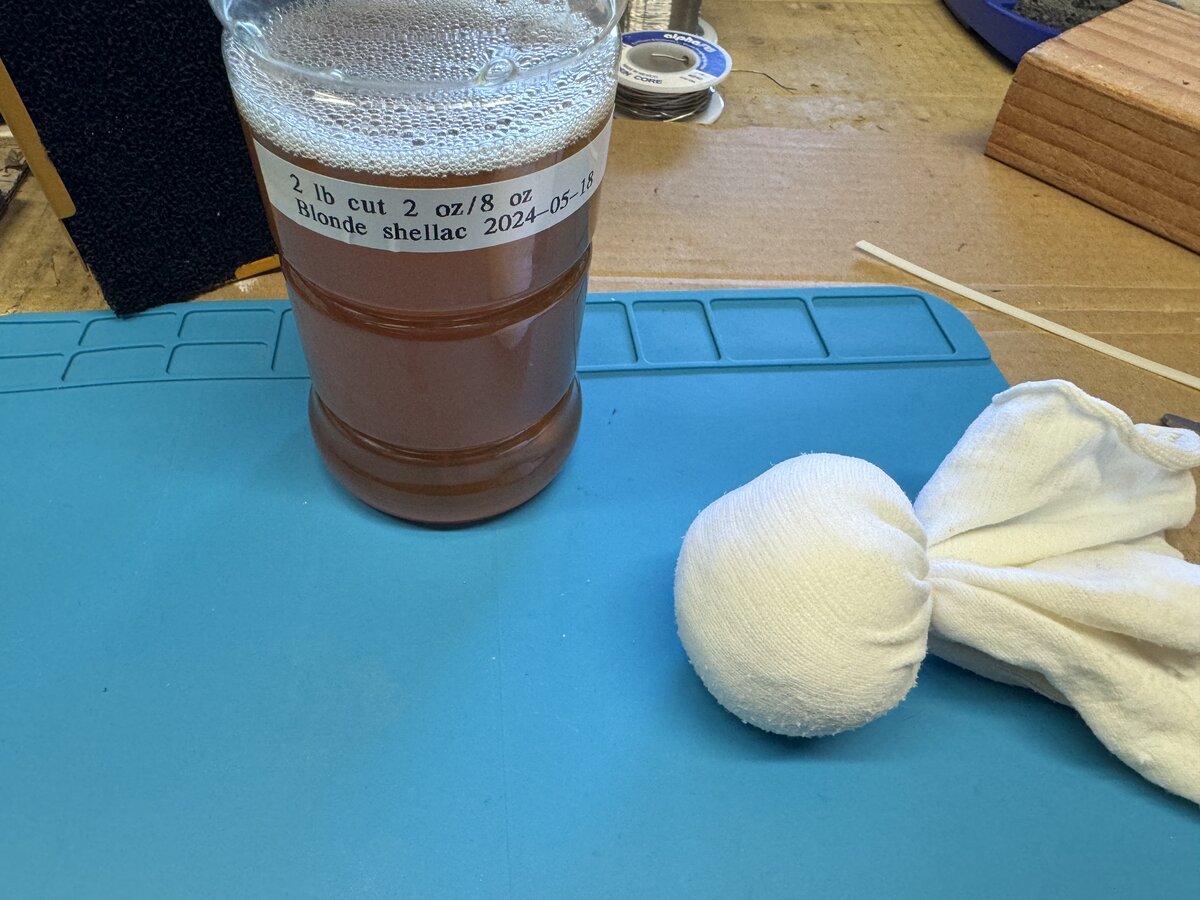
I dissolved the flakes to make my own “2 lb cut” shellac solution.
I tried applying mineral spirits to remove the wax I had partially applied. I don’t know if it had much effect, but it is supposed to dissolve it.
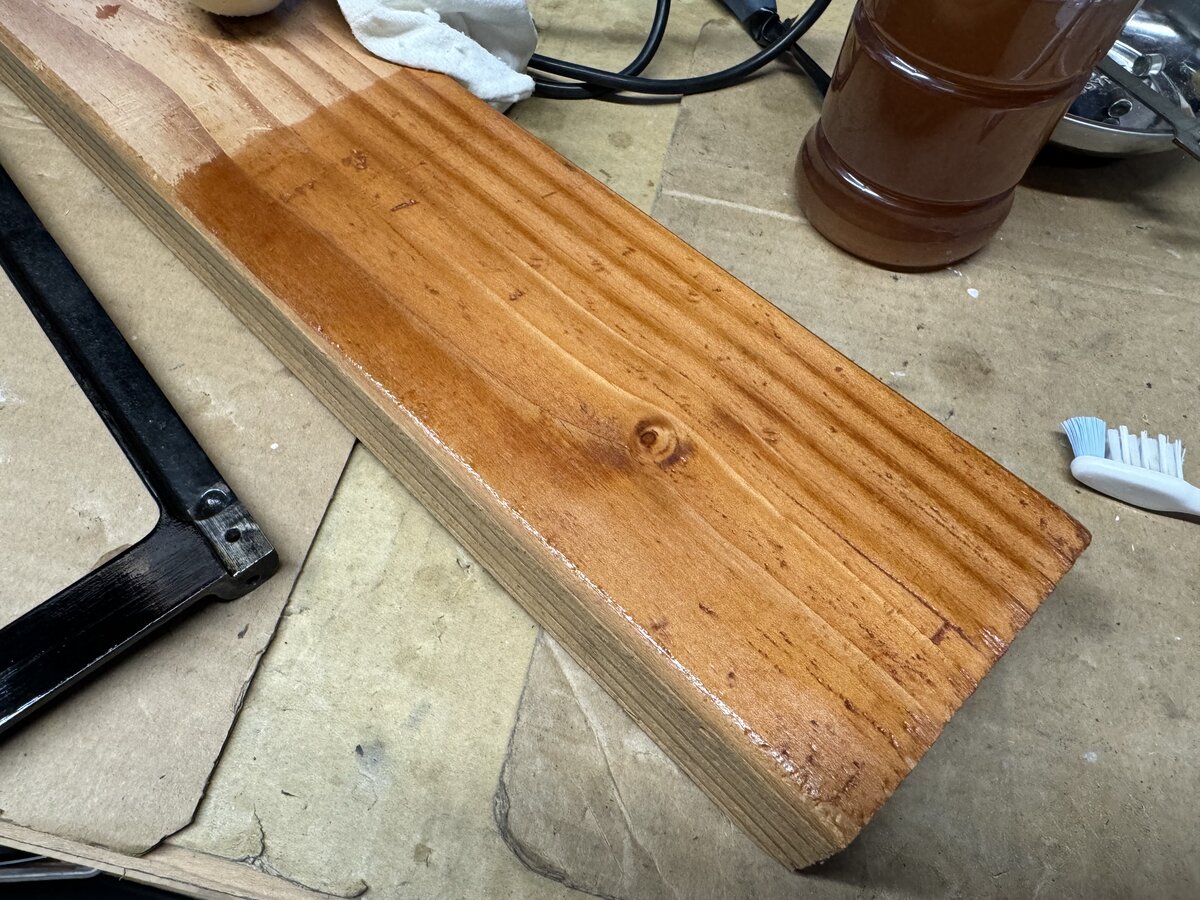
I tried shellac first on a sanded 2x4 piece of wood, to get a feel for the product. In articles and videos, shellac is always applied to fairly large and flat wooden objects.
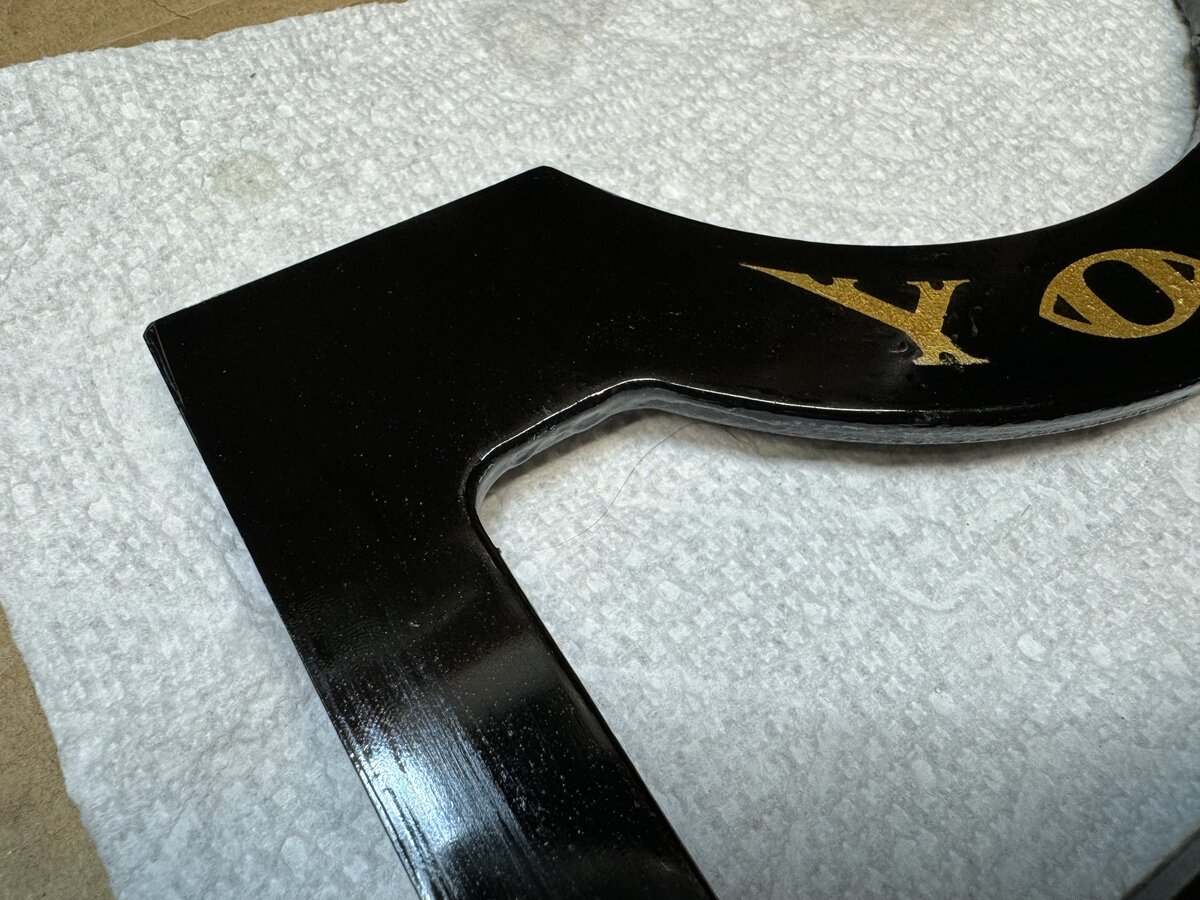
Then I went over the front panel. I started on the black part, then just went for it. After a couple coats, however, I noticed that the appearance was very uneven.
I decided to keep adding coats, over several days, and then to wet sand down with 600 grit sandpaper. I wanted to have some degree of certainty that I wouldn’t start sanding the decals. I encountered only one issue, which was as I rubbed shellac with my applicator a little too hard over the raw decal at some point, and I removed a tiny bit of the golden color in a couple of spots. This is visible on the picture above. So later, I went even more carefully over the decal. As coats add up, this is quickly not a concern.
After sanding, further shellac applications become smoother, as we can see here.
I kept doing this over a couple of weeks, with a few rounds of sanding, to try to get the surface smooth, without holes. The following shows the result after a round of sanding. We can still see some low spots.

At some point, I established that this was good enough. I just did a last coat of shellac, and let things settle and dry for a few days. The finish evened out pretty well.

I remain worried about the toughness of the finish: at some point, after I thought the shellac was dry and hard, I pressed a little firmly on the front, and my fingers left imprints that wouldn’t go away. After that, I resanded and recoated. I am letting the shellac cure for a long time now before touching it, to increase the chances that this won’t happen again. But in any case, there is no real need to touch the front panel in regular dealing with the machine. I was careful not to touch the front when reinstalling the panel.
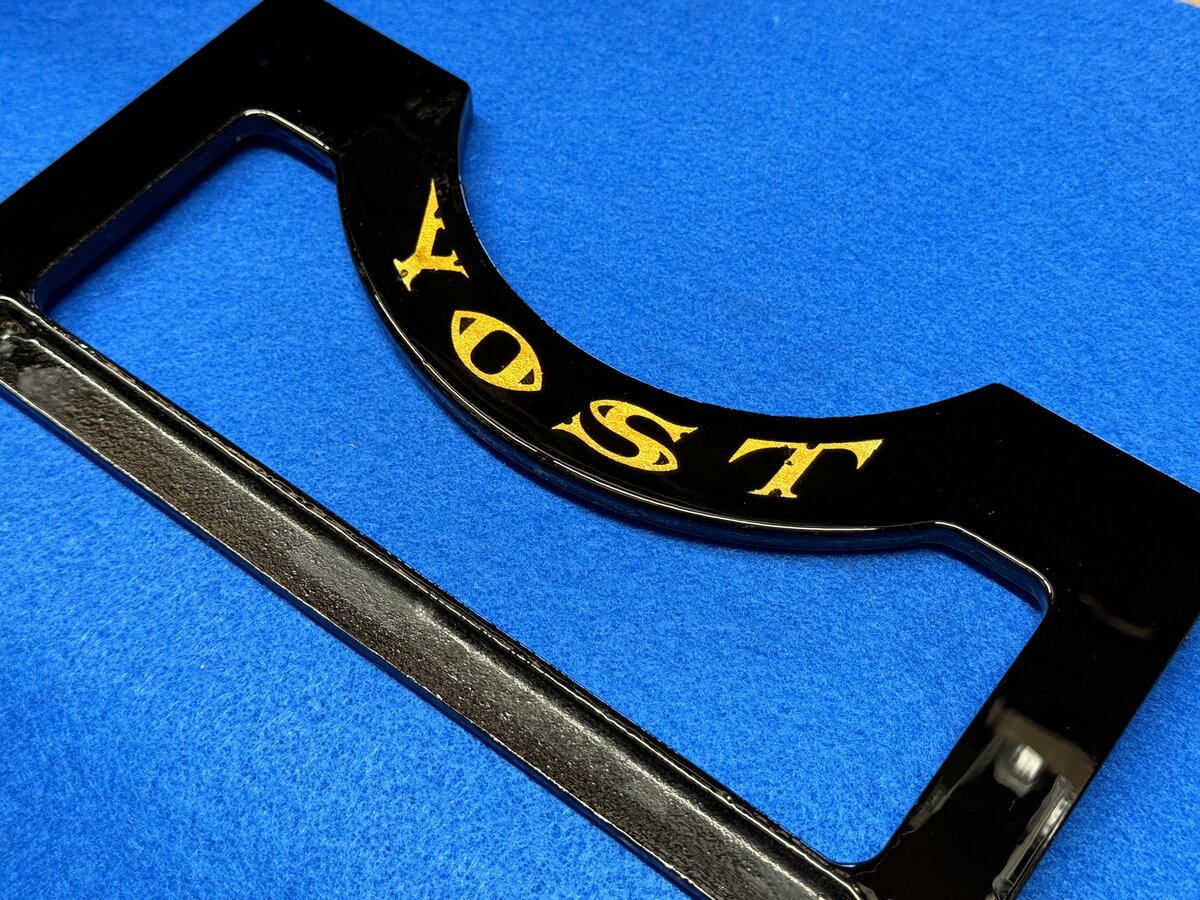
The result is quite shiny. There is no visible yellow grain. The slightly silvery spots that I damaged are almost not visible anymore, thanks to the added yellow color of the shellac. There are a couple dust spots visible, if you look: perfection is not of this world. But the good thing about shellac is that you could sand the top again a little, and apply more shellac - or just do that without sanding. The alcohol dissolves the shellac, so you can always add new coats.
I consider myself satisfied with the result.
I haven’t applied the same process to the paper table, which looks matte but ok. I suppose it could be done, and look awesome, or not. There is some slight risk, so for now I am leaving the paper table as is.
Cleaning the carriage
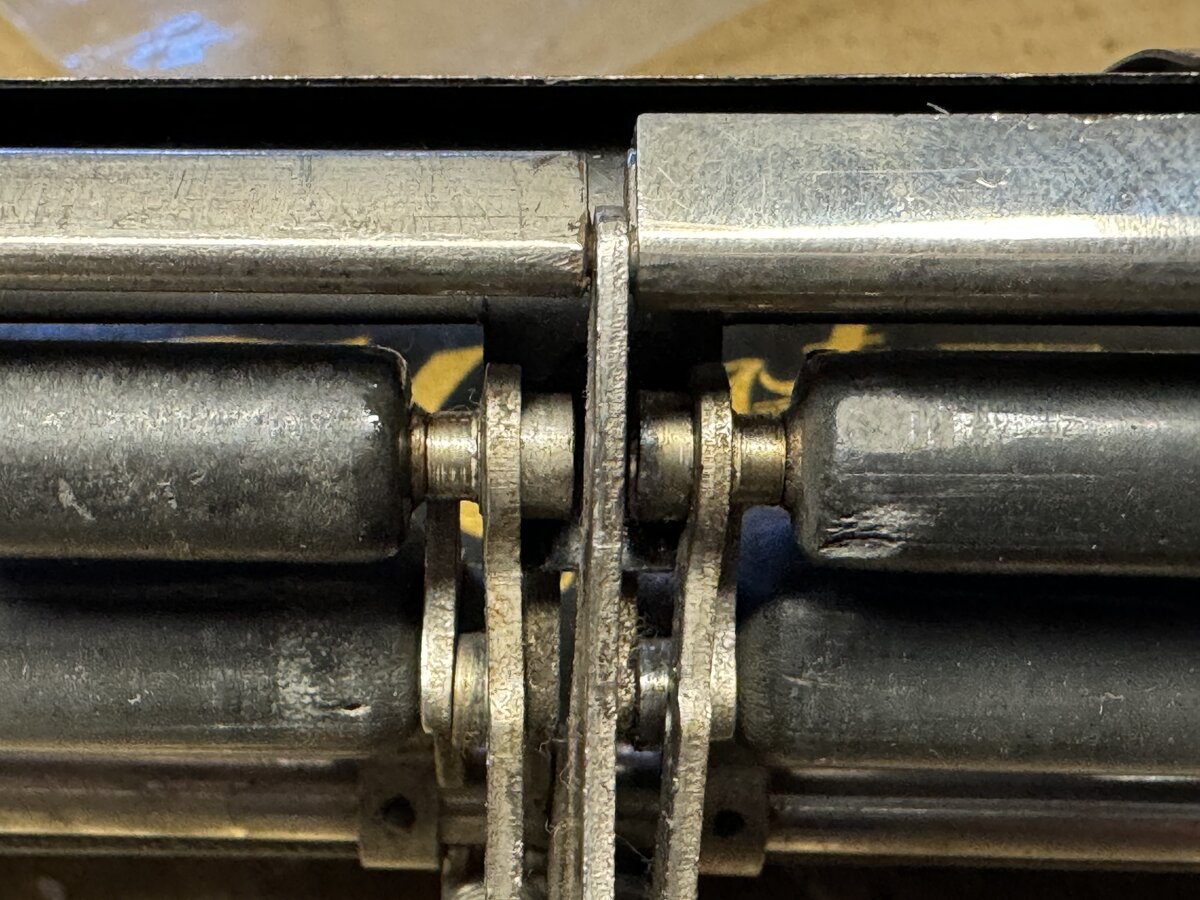
I had removed and disassembled the carriage for shipping. There is a carriage base, which slides on the carriage rails, with intermediary carriers with bearings.
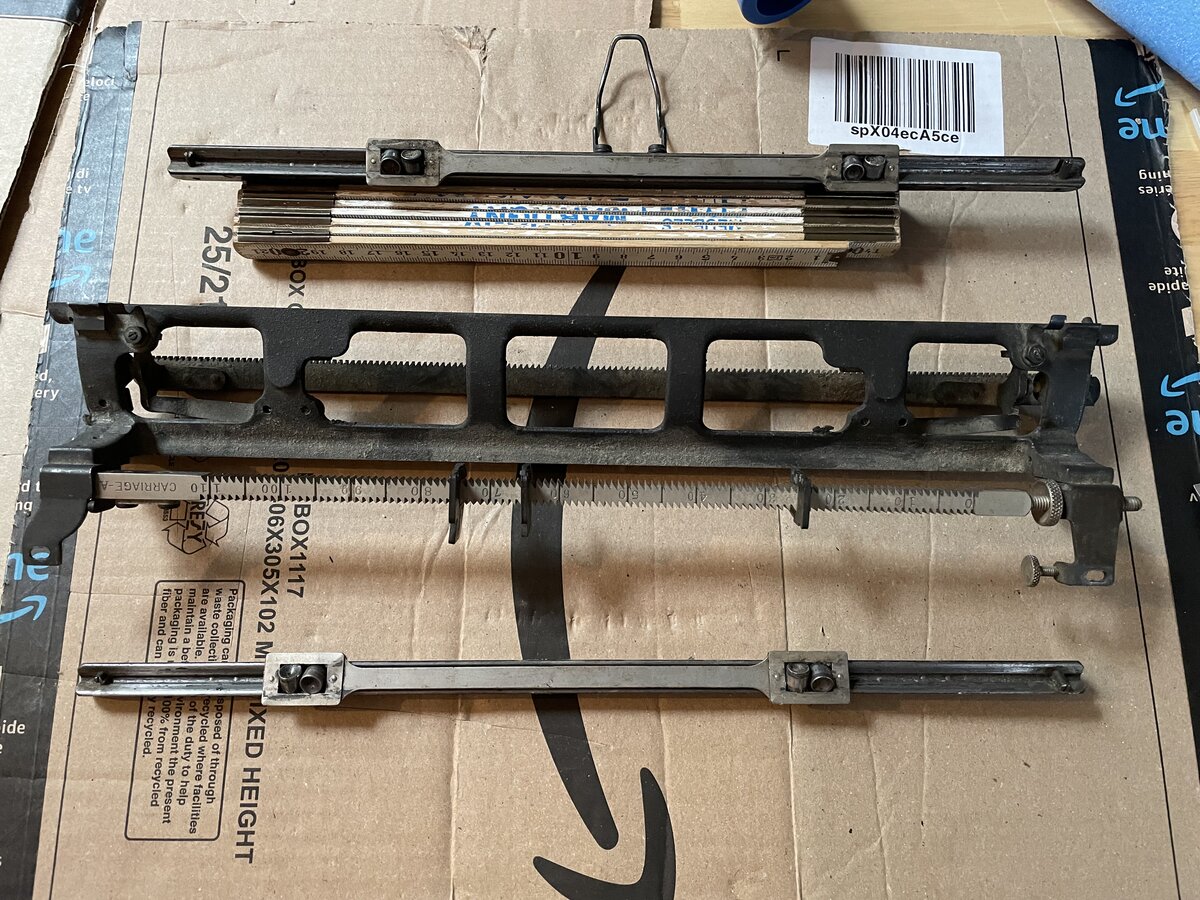
On top, there is a removable carriage top, which just slides upward and out.
I removed the platen and I cleaned everything (air, mineral spirits, wire brush). I polished the shiny parts.

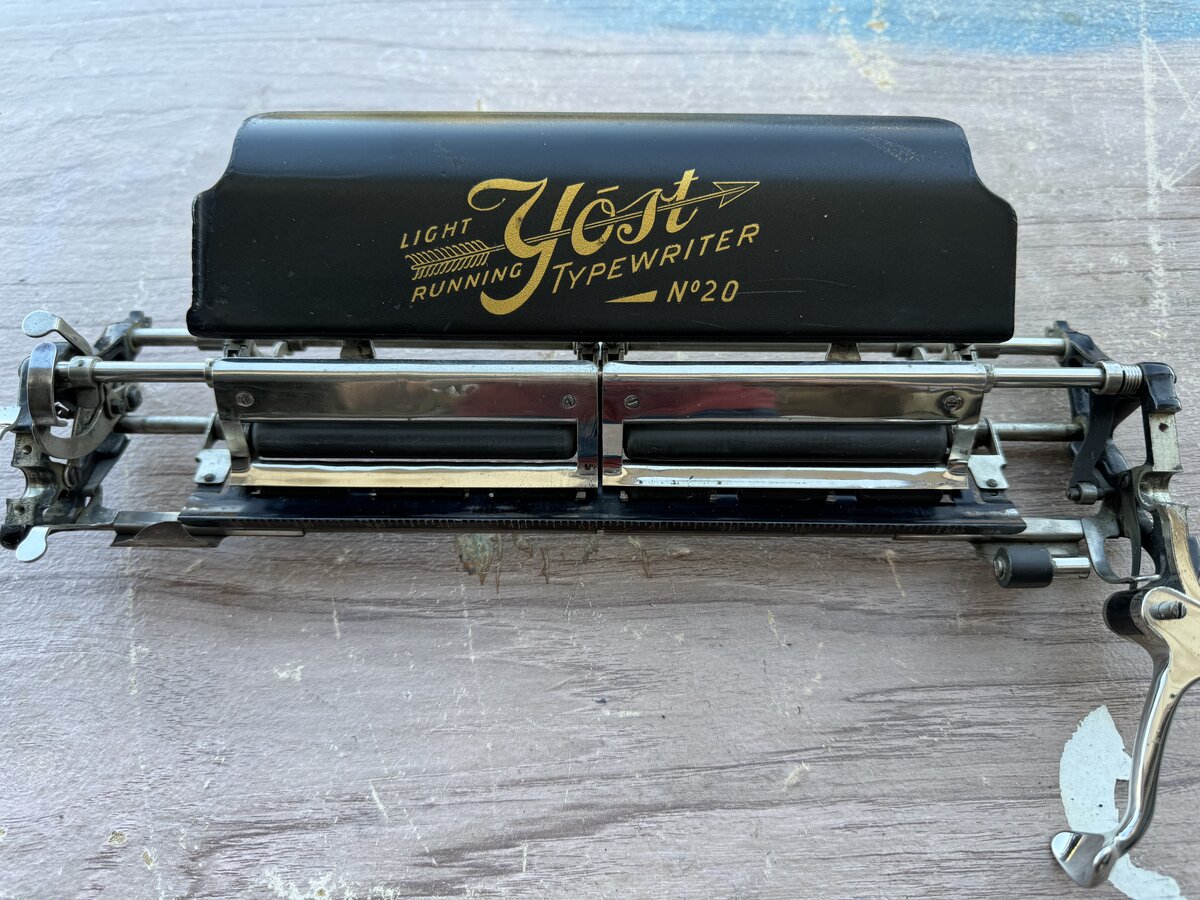
Then I reassembled the carriage. But I found an issue: it was very hard to rotate the platen, and paper wouldn’t feed. I then realized that two arms that hold the front feed rollers were not clearing properly. I tried to bend those arms a little, and that addressed the problem.
This is the reassembled top carriage.
Cleaning the inside
The inside of the machine was black with dirt and oxydation. I cleaned with mineral spirits, but also used a wire brush. Interestingly, the metal showed or took a little yellow tint after that. I don’t know if that will stay or just oxidize again. I don’t think these parts were originally blued.
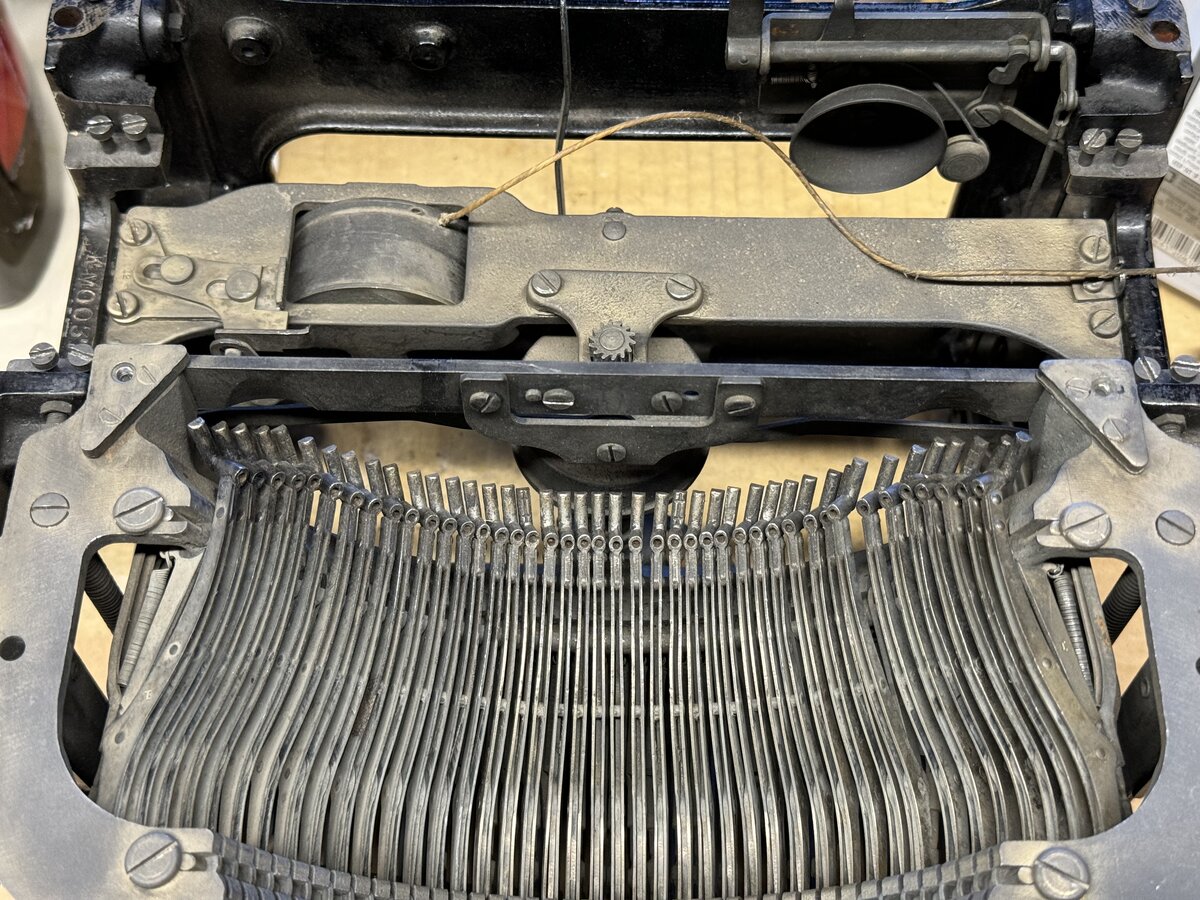
As of now, this looks pretty cool.
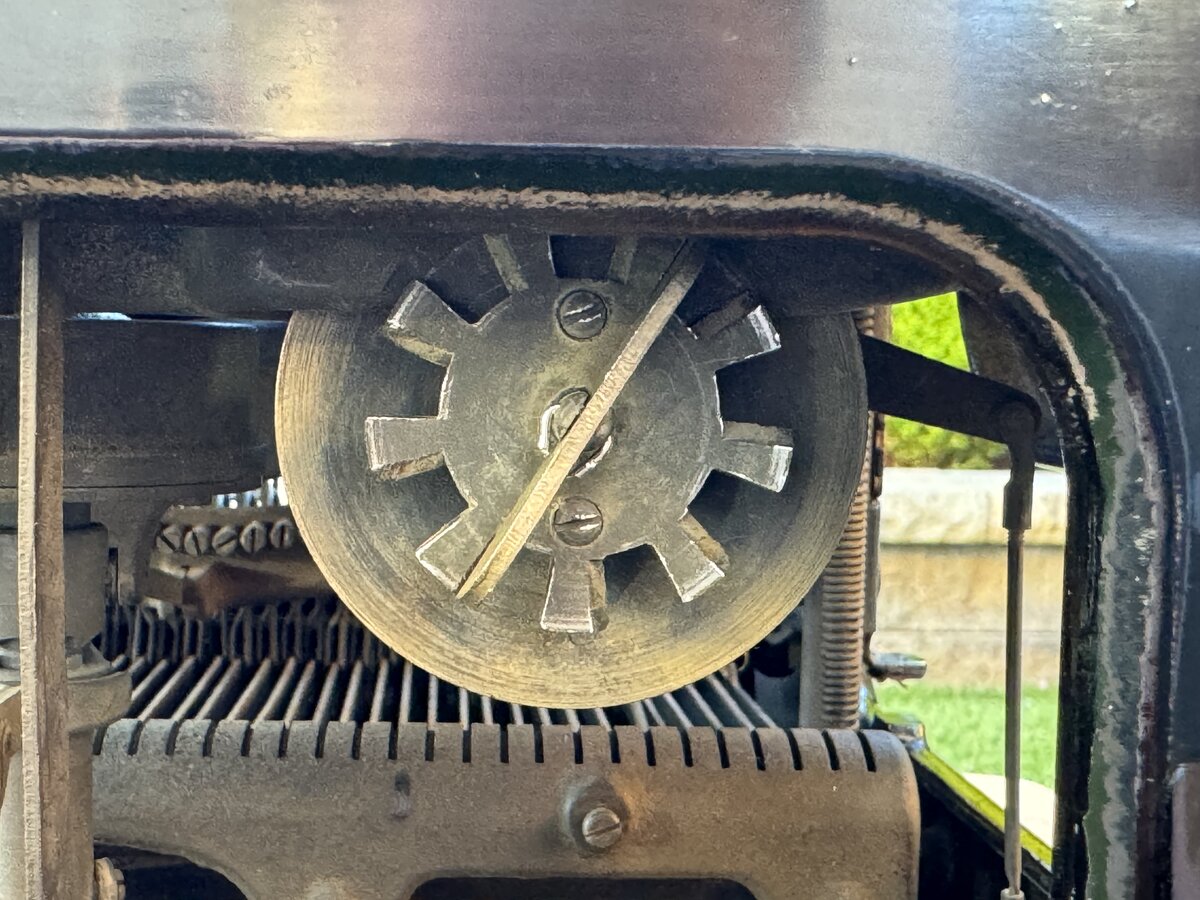
The bell is not very visible, unlike with some other machines like the Underwood, but it looks better now.

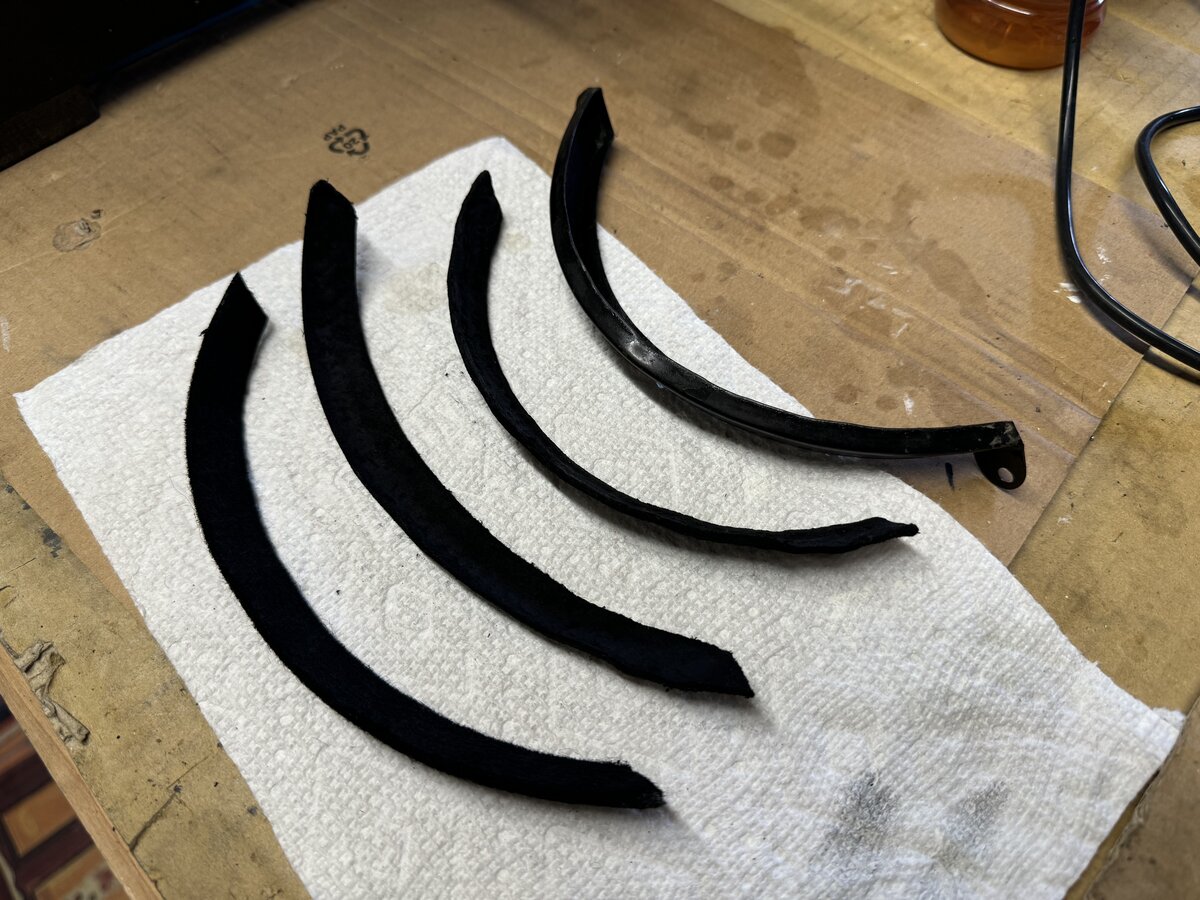
The ink pad
In all Yost machines, the types, when not on their way to strike the paper and back, rest on an ink pad that has to be regularly re-inked.
I took out the ink pad and support in the process of cleaning. The pad is made of three separate layers.
I put everything back, and used, well, ink pad ink to re-ink the existing felt-like material. It took a while for absorption to work. It does seem to work to some extent, but there is no doubt that the material is old.
Someone, in a forum, had pointed out that there is a lever to raise all typebars. At first I didn’t find it, as the lever was recessed, on the right-side of the machine, but eventually I did! Using this lever is necessary to properly re-ink the pad without making a total mess.
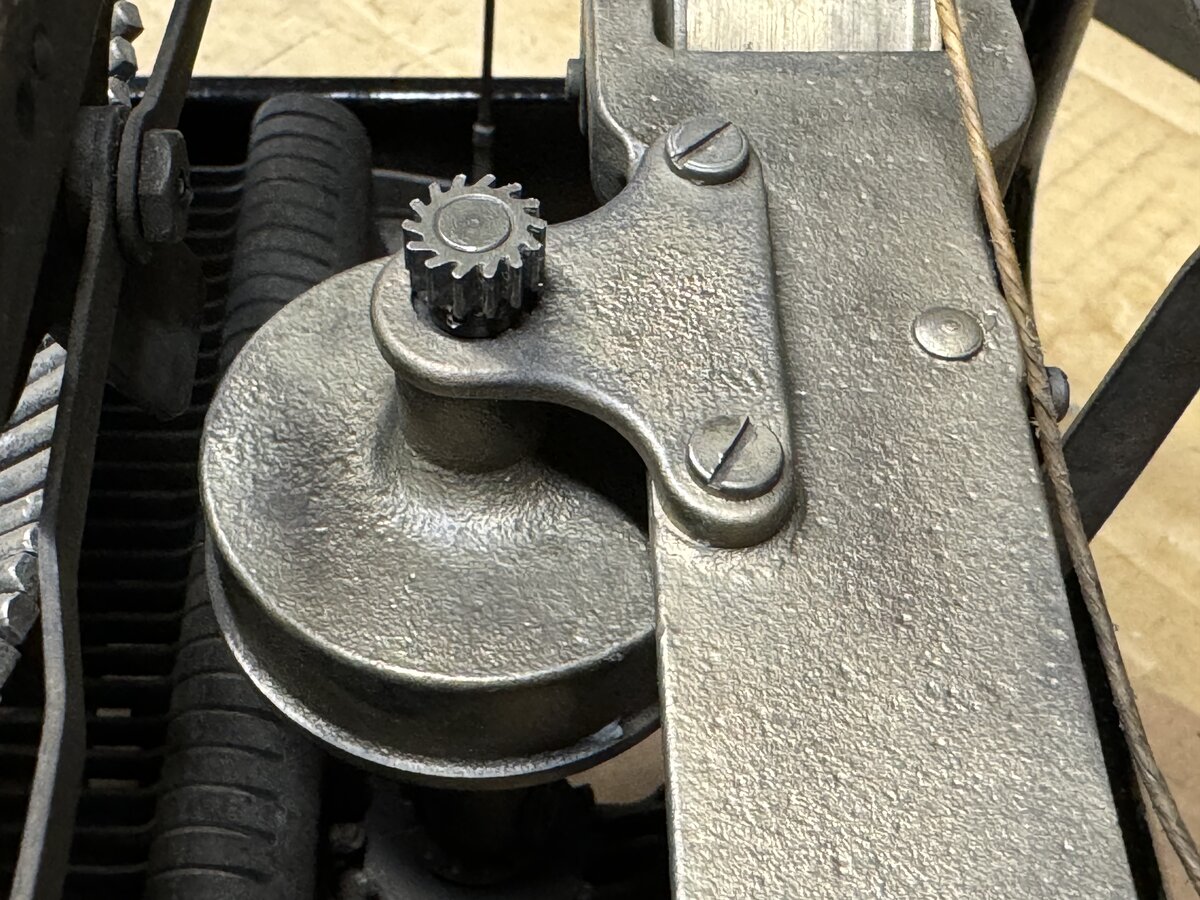
The spring drum handle
The spring drum handle was loose. I am lucky I didn’t lose the part, as it was missing some kind of pin to attach it to the drum. I temporarily installed a part made of a paperclip. It seems to do the job but a larger diameter would be better and provide tighter clearance.
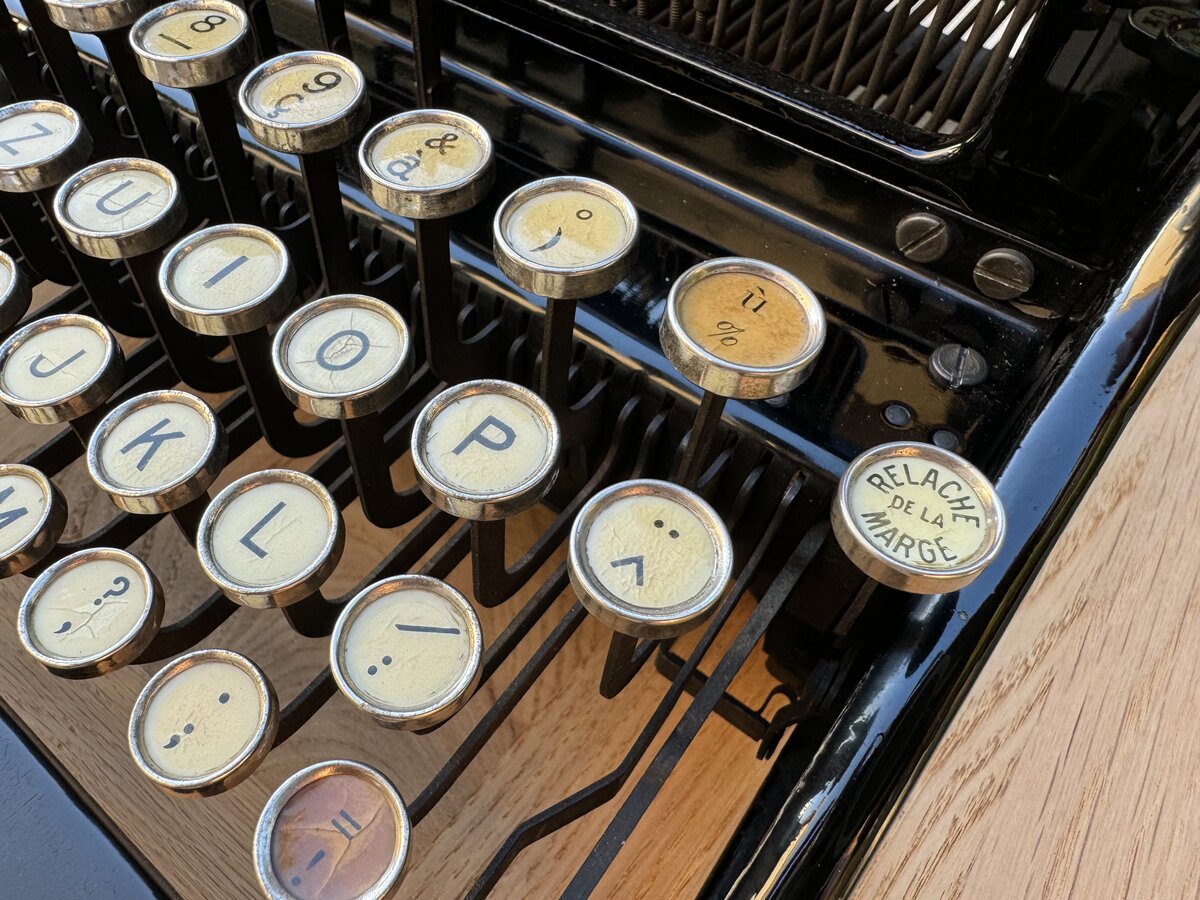
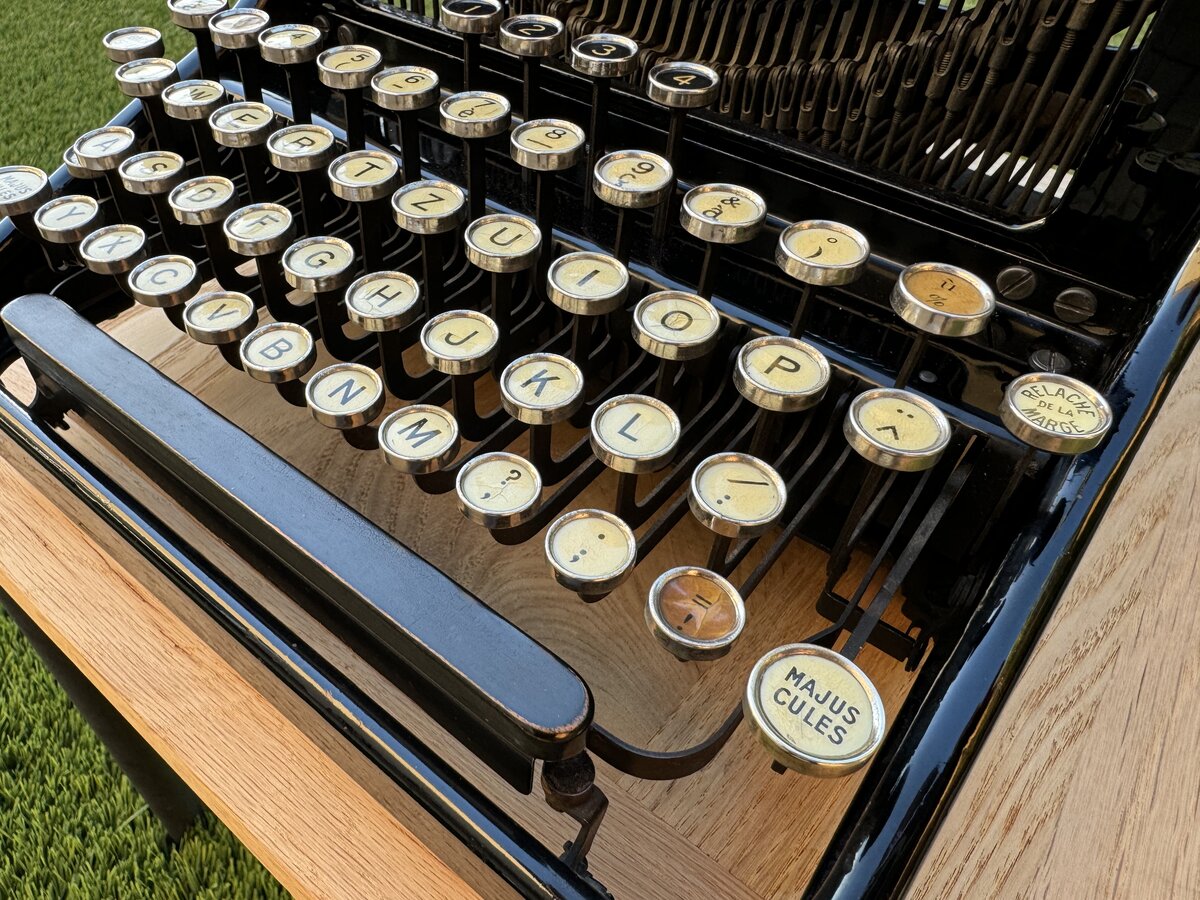
The keyboard of the Yost 20
The keyboard is a Swiss-French QWERTZ keyboard: it allows you to write French, but could also work for German. It is quite beautiful:
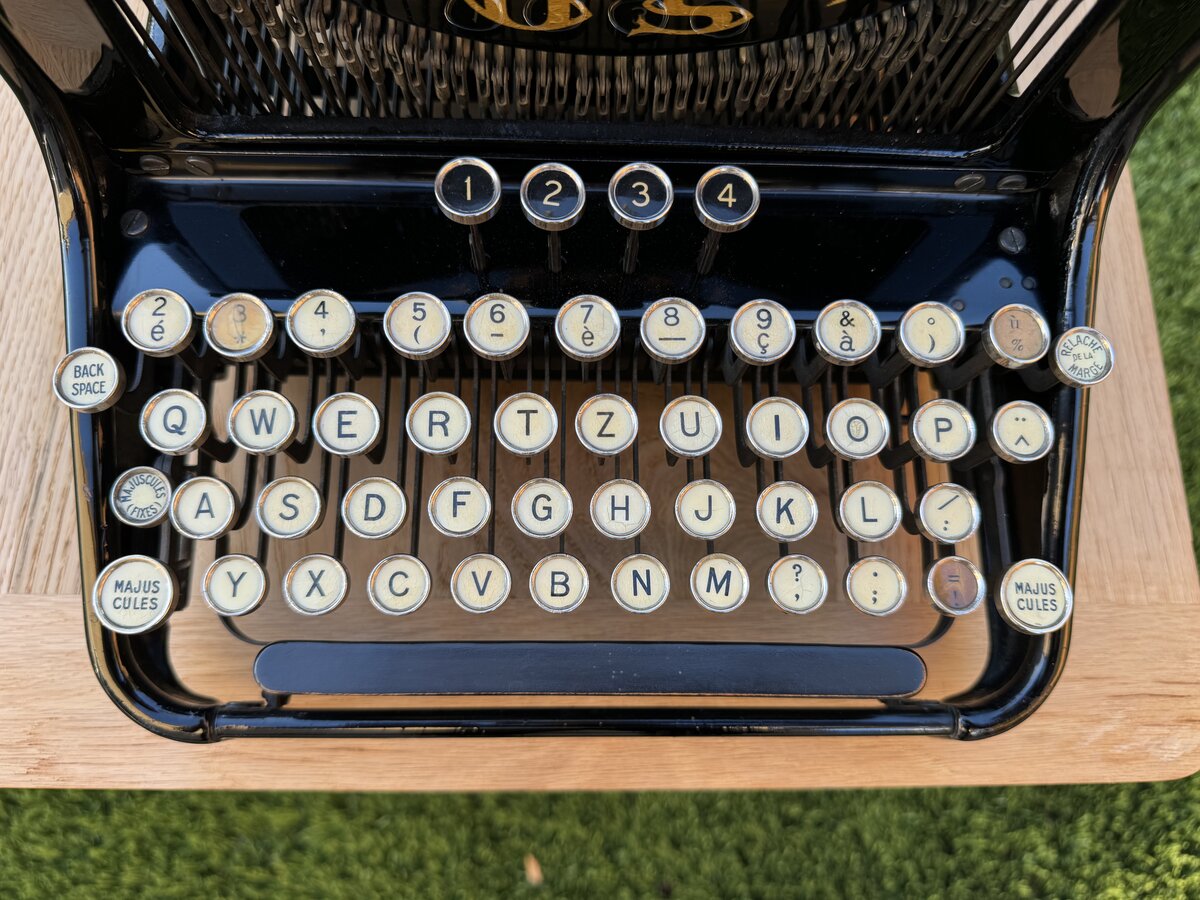
The labels on the keys are in French
- “Majuscules” (Shift)
- “Majuscules Fixes” (Shift Lock)
- “Relâche de la marge” (Margin Release)
One exception is the “Back Space” key that keeps it original English label.
The following accented characters are available:
éèçàù
Those all pertain to French.
In addition, a dead key includes:
^¨
These two accents are also used in French (see “être”, “Noël”, etc.). Interestingly, numbers require shift, while the symbols are directly available.
Conclusion and further work
This has been a little more work than I had initially expected, due to the whole shellacking process. But I learned a lot. I think the machine looks quite good now. Please check the photo album linked below for more pictures.
There are a few remaining tasks:
- I haven’t yet processed the base. It is in good condition, but needs cleaning. I will consider whether light sanding and shellac would be a good idea.
- The platen is rock-hard and uneven. It is not a particularly nice color or style, so I might yet replace it. The feed rollers would need replacing as well.
- The feet would definitely need replacing. However I don’t know if anyone has made compatible feet at this time.
- I need to try to rotate back the “M” key ;)
- Finally, I plan to include a typeface sample and video of machine in action.
References
- Photo albums
- Related posts
- External references
Comments powered by Disqus.